I guess that by now you have managed to master the basic first steps of workflow set out in part 1 and so I give you, without further ado, part 2.
Post Processing. There are many different ways of doing post processing and a plethora of software to choose from to help get your photo editing just right. Which you use will depend on which operating your computer runs on and how much money you’re willing to part with. If you have a Mac it most likely came with iPhoto already on it which will let you do editing such as adjusting exposure, contrast, fill light, sharpness, red eye removal, retouching, cropping, straightening & adding special effects such as sepia. For Windows and Linux Google’s Picasa is a great piece of free software (it is also available for Mac users if iPhoto’s not your thing) that allows similar editing control. If you’re happy with this level of editing control the best thing to do is get into the habit of transferring your photos from your camera (or card reader) directly into Picasa or iPhoto and using them to do the organising and editing parts of your workflow. Both will back up the original photos so if you mess up the editing you can go back and start again!
Advanced Post Processing. If you want a bit more control over your post processing, especially if you shoot in RAW and want to make full use of it, then you’ll need some more advanced software. Adobe Photoshop is the most well know and you can also get Adobe Bridge which will do the transferring and organising part for you. Aperture is Apple’s version of Photoshop and is only available for Mac users but if you are on a Mac it’s worth trying out the free trials of both Aperture and Photoshop and seeing which you like best. There are thousands of sites out there with tips on how to use Photoshop so I won’t go into details but here is a series of tutorial videos on eHow. Apple’s tutorial site for Aperture can be found here.
A Bit More Organising. You may decide that rather than use a folder system, as I do, you want to just let your software (iPhoto, Picasa, Adobe Bridge, etc) do you photo organising for you. If this is the case make use of the organisational options they offer. Add keywords and geotags to your photos and rate them so you can easily find your favourites. If you go with folders create a new folder inside the one you originally transferred this batch of photos into and name it “finished photos”. Put the edited photos there. Mac users can use a program called Geotagger to tag their photos using Google Earth.
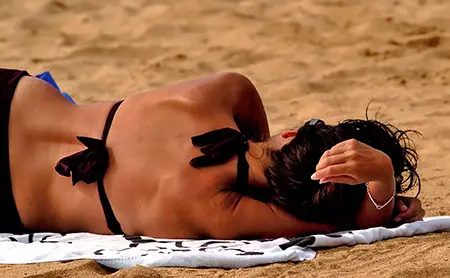
Share Your Photos! If you use a photo sharing site now is the time to upload your photos but be selective, choose what you feel are the best 25% of this batch and upload those. If you prefer to print photos (or like to do that as well), again be selective but now is also the time to do it (printing is often something that when put off doesn’t get done!), either upload them to a web service offering printing, put them on a suitable portable device for taking to a printing shop, or print yourself at home. Try different photo printing services and see which one you like best and keep your eye out for special offers and deals.
And that’s it for basic workflow, the key is to try and make sure it all gets done to each batch of photos so that you don’t end up with photos all over your computer, half of them out of focus, a quarter of them edited, and only a third labelled in such a manner that you can actually remember where/when you took them!