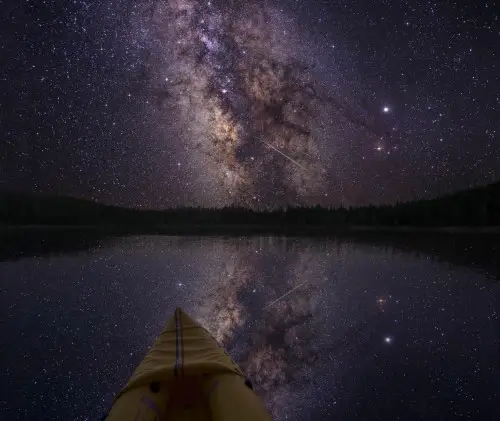
Our fascination with the stars has lasted for eons. So it is no surprise that so many photographers rotate their lens into a vertical postion to capture these natural wonders!
But as many of you may have already found out, photographing stars can be a little tricky, as many factors come into play, and certainly the most irritating is that, in order to shoot them, you need a long exposure. To make matters worse, our dear old planet moves, ruining any exposures lasting several minutes, and the stars simply appear as faint lines.
Below, you’re going to find all the information including the various tricks as to how many of the world’s top astrophotographers capture these fascinating balls of fire!
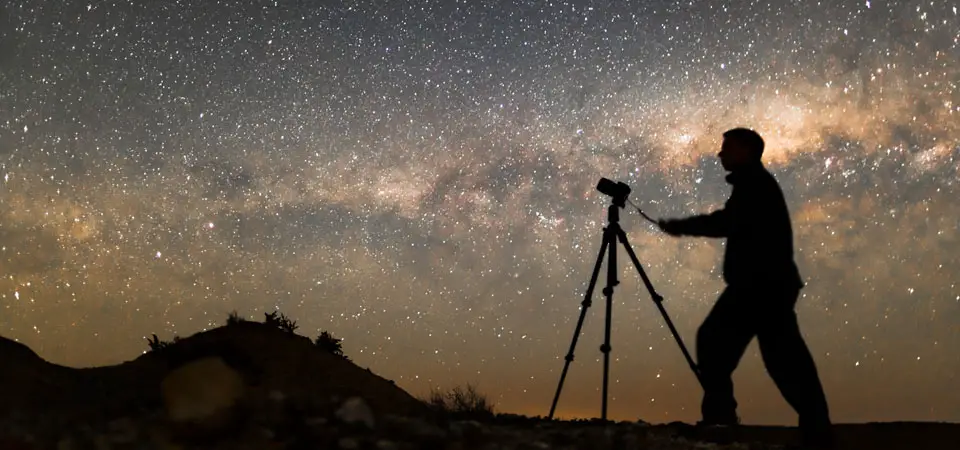
First up, the Basic Set up
Mount your camera on a sturdy tripod, ideally, one that doesn’t wobble or that you got for 20 bucks at Walmart. The legs need to be solid metal or carbon. That way, even a hurricane would find it tough knocking over your camera.
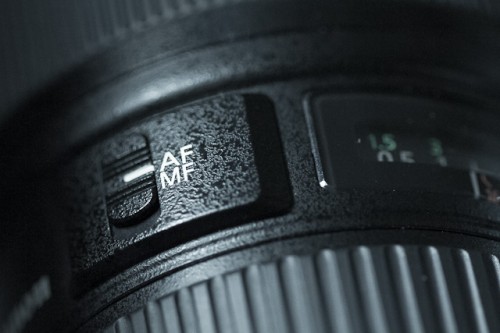
Set your camera to manual focus. You’re doing this because the camera won’t take a shot if it can’t focus on anything. Rotate the focus ring, and set it just before infinity.
If you happen to have anything in either the foreground or background, make sure that you take two photographs. These can both be combined in Photoshop later.
Set your shutter speed to bulb, and invest in a camera release that has a sticking button feature.

Set the widest aperture and lowest F-Stop of your lens. That way, you’ll get as much light onto your censor as possible.
Now the Intimidating Stuff
That concludes the basics. If you decide to just simply follow that basic guide that you’ll find regurgitated all over the internet, be prepared to get frustrated, as, even when implementing the above basic elements, photographing the night sky correctly can still be tricky and time-consuming. There are also a number of factors that you need to consider before going off into the night. These include:
- The type of astroshot you want
- Location
- Time of shoot
- Position of the lens
What Are You Shooting for?
Before setting off into the night, you need to decide what kind of photograph you want to take. It’s all well and good just deciding that you want a whole bunch of sexy star photographs to impress your friends, but you need to ensure that the images you come back with are ideally part of an astro series. Otherwise, what’s the point?

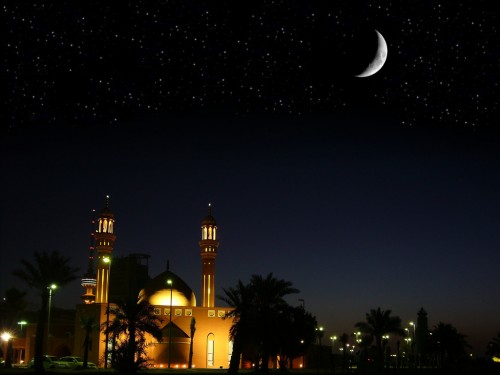
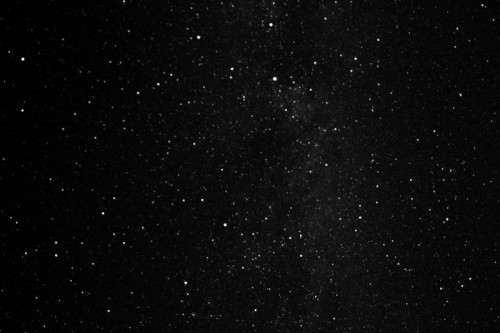
There are three types of astrophotographs: One where stars are moving, another where stars are fixed with no foreground or background images and another where stars have these elements or at least a mix of them.
Location, Location, Location!
It goes without saying that any city-dwellers reading this won’t find it easy taking shots of the stars. This is due to all of the nighttime ambient light that a city produces, thus creating light pollution that blocks out the light from the stars. Solution? You have to get rural.
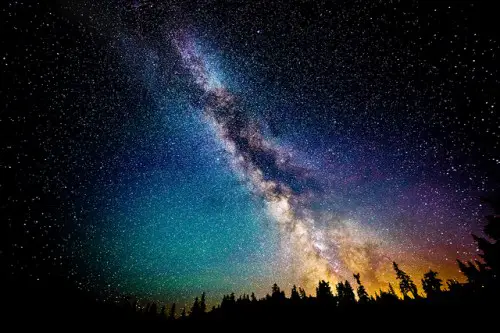
Farmland, desert or even the coast offers great location ideals. They also offer an array of interesting foreground and background subjects.
Timing is Everything
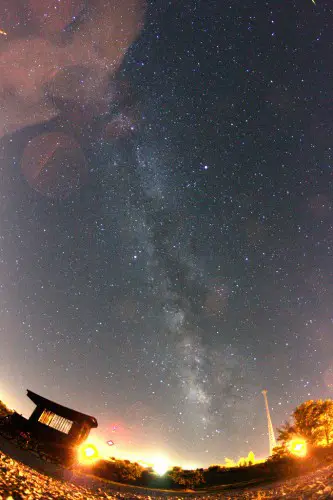
Stars are their brightest just after dusk or moments before the dawn.
Also, during these times, you’ll find that the sky holds host to all manner of interesting colors and visible clouds. You’ll also get a warm glow from the sun as it makes its way back into the horizon.
Talk to Me About Positions
As it’s going to be dark, your exposure time might be for several minutes. This is fine. However, anything longer than 5 or 10 minutes, and you’re going to capture the movement of the Earth and thus end up with stars as lines as opposed to spots of light.
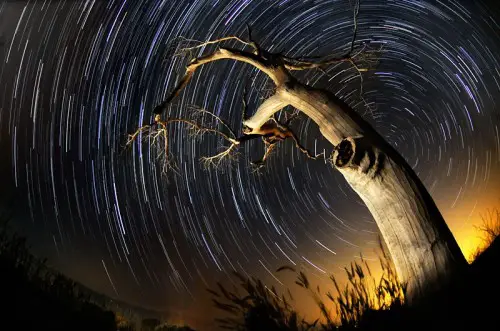
If, however, this is actually the shot that you’re after (see above), then you need to find the North Star. Locating it is easy. Look for the Big Dipper. Once you’ve found him, find the top right of the holder, and the star directly above this is the North Star, which all stars in the sky rotate around. With this knowledge, position your lens accordingly so that photographing stars in this way creates the desired spiral effect.
Top Tips!
It’s not always about the speed. Many photographers will tell you that, for best results when photographing stars, set your camera’s ISO to around 3200, as the higher your ISO is set, the brighter your stars. However, on the less expensive DSLRs, this will simply make your images fuzzy and grainy. 400 ISO is actually perfect as you get the best balance.
Be cautions of the dots; not all bright lights in the sky can be stars. Many are planes or satellites. Simply ensure that these have been accounted for, or try to include them into your image somehow.
For the best results in your final images, make sure that you stop down the lens from its maximum aperture, at least half to one full stop. This will reduce the uneven lighting known as the uneven field illumination. This will reduce any aberrations in the stars, as sometimes they can appear larger and misshapen. When photographing stars this way, be sure that the light is perfect.
If you happen to have any stories or further tips on photographing stars, please do let us know below. It’s a tough art, but together we might just crack it!


Does the type of lens you have make a difference?