There’s something fascinating about a county fair. I’d never been much of a fan of the whole concept until after I’d gotten hooked on photography. And then, one Summer, I went to the fair and brought my camera along. Maybe it was because photography had taught me how to see again. How to see the wonder and grotesquerie that abounds at a county fair. There are more photo opportunities per square meter than almost anyplace I can think of.
Part of what makes a visit to the fair so enchanting is the sheer aliveness of the place. People come from miles around to shop and eat, drink and play games, win the stuffed bear for their girlfriend, and to scare themselves silly on the thrill rides. People lose some of their inhibitions at the fair. They’re more open, friendlier. Everyone is there to have a good time.

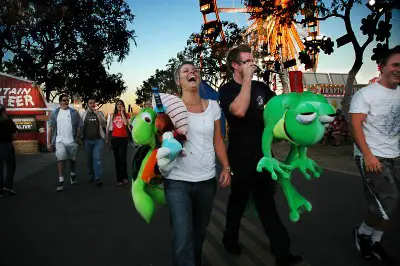
Laughing. 1/200s @ f/3.5
There are a million photo opportunities at the fair. The menagerie of people is fascinating in itself. And you’ll find all kinds from children to grandparents, meek, brash, and eccentric. A barker trying to get someone to spend his money on a game of skill. Riders on the roller coaster laughing and grimacing.

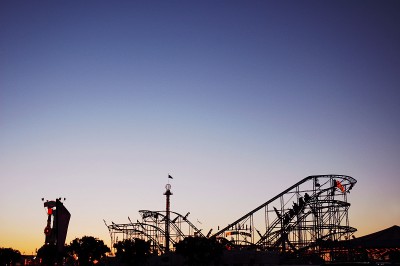
Thrill rides. 1/200s @ f/5
The very attractions themselves can be beautiful. Huge, colorful, spinning machines. Giant arms rising and falling. Trains speeding by leaving only the echoes of happy screaming and laughter in their wake.

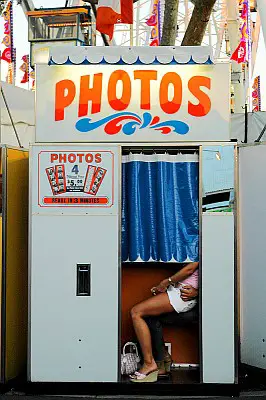
Ready in 3 minutes. 1/200s @ f/4.5
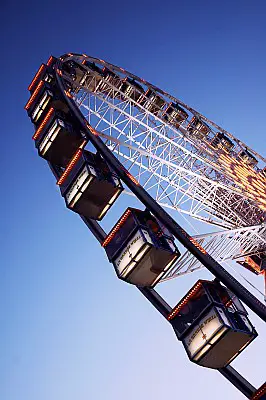
As the sun goes down, the lights of the fair come up. The entire character of the fairground changes like magic. Families and children begin to go home and the nighttime fair goers begin to arrive. The garish lights and vibrant colors of the night make the fair all that much more of a spectacle.

Ferris wheel. 1/200s @ f/3.8
Some shooting tips while spending the day at the fair:
- Shooting under bright sun. Unless the sky is helping you out with dramatic cloud formations and nice light, you probably aren’t going to get any decent wide shots of the grounds or attractions in the morning or early afternoon. Stick to details, closeup portraits, or to scenes in shaded areas or indoors.
- The golden hour. All of the photos in this essay were shot during the golden hour, the hour before sunset. I had the same camera with me all day and I wasn’t getting any shots. Then like magic, as we entered the golden hour, every shot I took was a keeper. As you wander the fair, frame some scenes in your mind that you know would look better under the warm, soft side-lighting of the setting sun. Know which direction West is.
- The light changes extremely quickly as the sun goes down. It gets dark fast. Keep that in mind as you shoot and make the necessary exposure adjustments. You probably won’t need a tripod unless you want to make a deliberate long exposure. As the sun sets, the bright fair lights come on providing plenty of light for decent shutter speeds, even at ISO 200.
- The contrast between a darkening sky and the bright lights may fool your meter into overexposing. Give a stop or so less exposure to accurately capture the dark sky and the colored lights.
- Night. If you’re shooting something brightly lit, even at night, you can probably get shutter speeds in the 1/60s range. Still, try to be as steady as possible. If you don’t have a tripod, you can always try bracing yourself against a wall or setting your camera on a post or other stationary object. All of the photos in this essay were shot hand-held.
- Long exposures. You can make some brilliant long exposure shots at the fair. Using a shutter speed of 6-10 seconds on a spinning ride with colored lights can make a beautiful photo. A tripod or other steady platform is a must for these kinds of shots.


