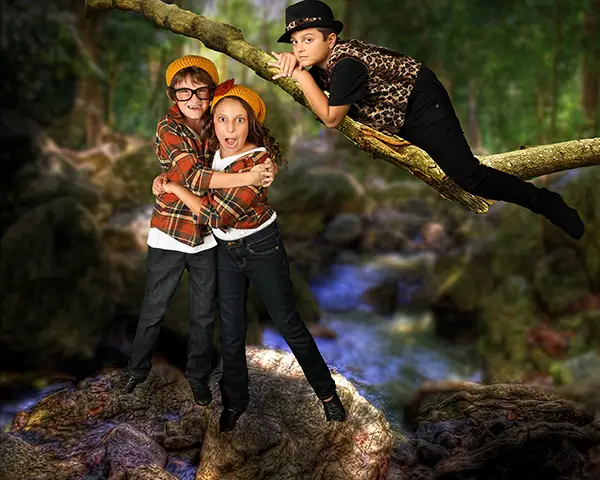
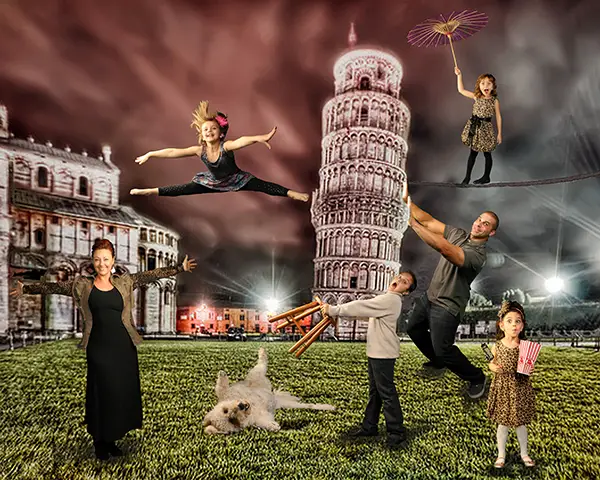
I have a family that I shoot several times a year, They’re “show people” , all outgoing and crazy and fun, and after at a certain point, the mom, Ginette, said to me, “You know, I love all of the perfect and beautiful shots that you get of us, but I think it’s time to show the world the kind of circus that I live in.

Ooh! Fun!!
Start with a Green Screen
You can get yours at any backdrop place. They are a Kelly green, which is usually a color that no one wears. I got mine on ebay, 9 feet wide, 12 feet long. I steam mine when I get them so that the wrinkles are minimized. You can also get a Blue screen for those odd times that people are wearing green. That one is usually a deep royal blue.
No matter what color you choose, it’s really important that no one is wearing any shade of that color because your green screen removal program isn’t selective. It will remove anything green, a fact that I learned the hard way.
Remove the Wrinkles
Something else that I learned the hard way, but somehow keep doing time after time is making sure that all of the wrinkles are out of the green screen. Do you see all of those wrinkles by Tommy’s feet? They are a different color green than the rest of the green screen, meaning that the green screen remover program won’t remove them and you’ll have to remove them by hand. There are a lot of good removers, I like Green Screen Wizard and Photokey Pro.
Light the Background Evenly
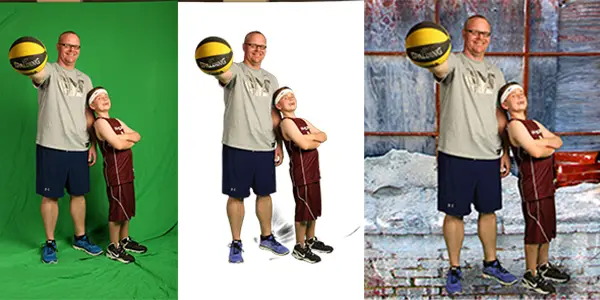
So if just wrinkles cast a shadow, if you don’t light the background, your subjects will cast a shadow on the green screen, causing you more work. Light the background so that it’s pretty evenly exposed to a Kelly green, no matter what you’re doing with your subject. You can see that I went cheap on this and just exposed the subjects, but the green was still Kelly everywhere except by their feet, so I was ok. You can use two softboxes or two umbrellas to evenly cover the whole green screen. I know that this sounds kind of stupid and tedious, but you’ll be thanking me if you do it.
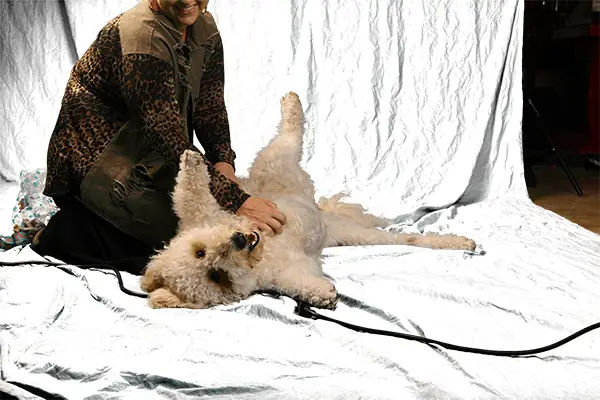
The doggie was going nuts, so I just let the green screen wad up…big mistake. Huge.
Watch out for White
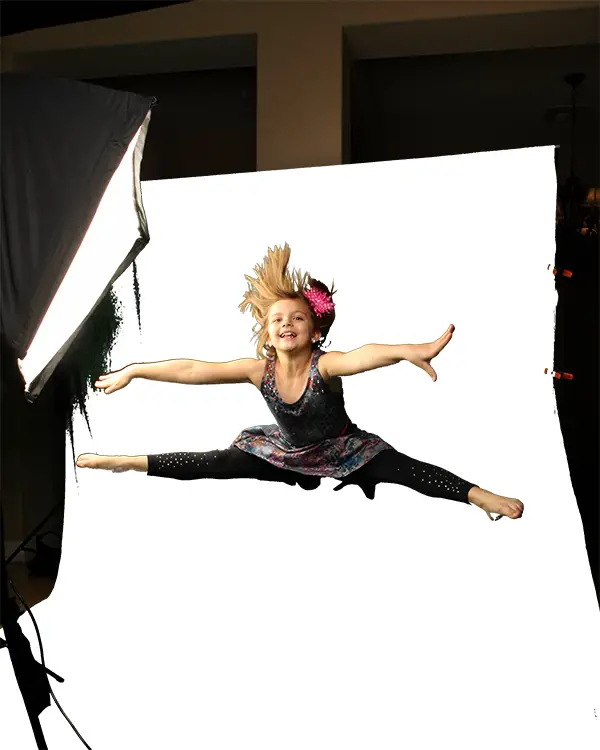
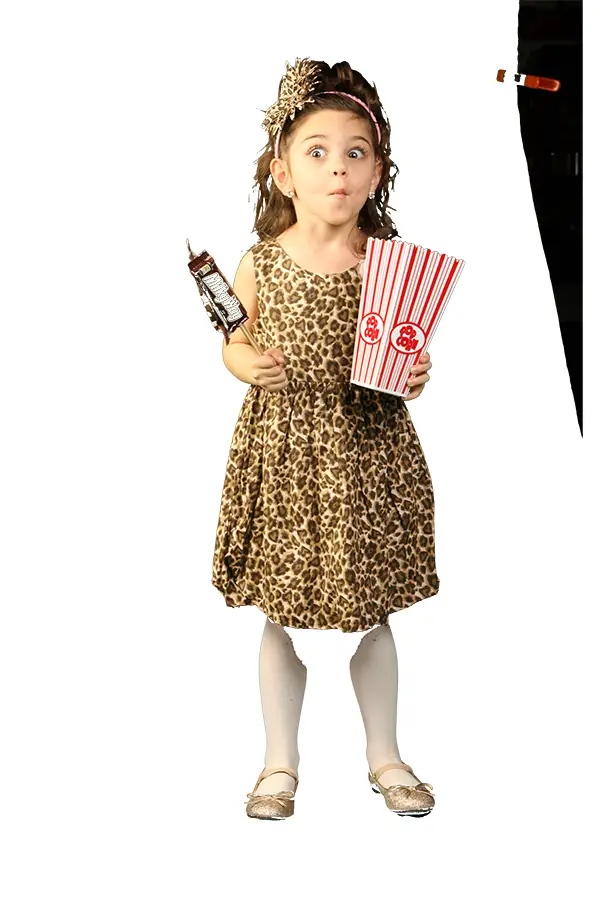
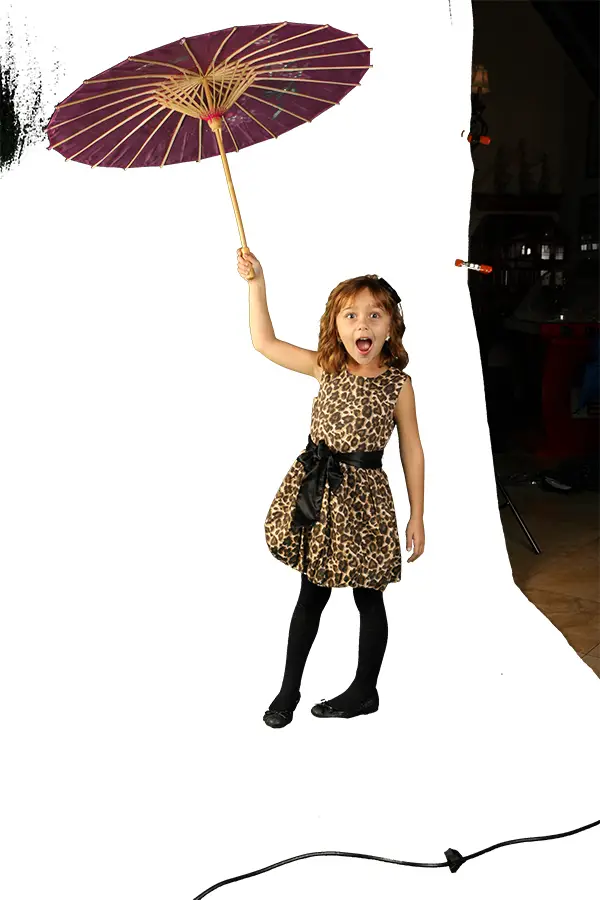
Sometimes the green screen takes too much, expecially if the subject is wearing white, like little Giada’s white tights. See where the green screen grabbed them? You can play with the “grabbing power” of the green screen to try to get it to take less, but it might be easier just to clone her legs back in. Save all of your shots as a gsw. That will put little grey and white squares behind it and the image will move where you want it to. The shot below, of Kendall with the umbrella is an almost perfect example of dropping the background out. And erasing the black to the left of the background and the rest of my house on the right is just a couple of quick swipes.
Take plenty of shots
One thing you won’t want to do is this whole thing again, so try different poses out that you might want to stitch together, like with them facing left, right, and head on. Standing, sitting and laying, so that you have plenty of choices.
Be Meticulous
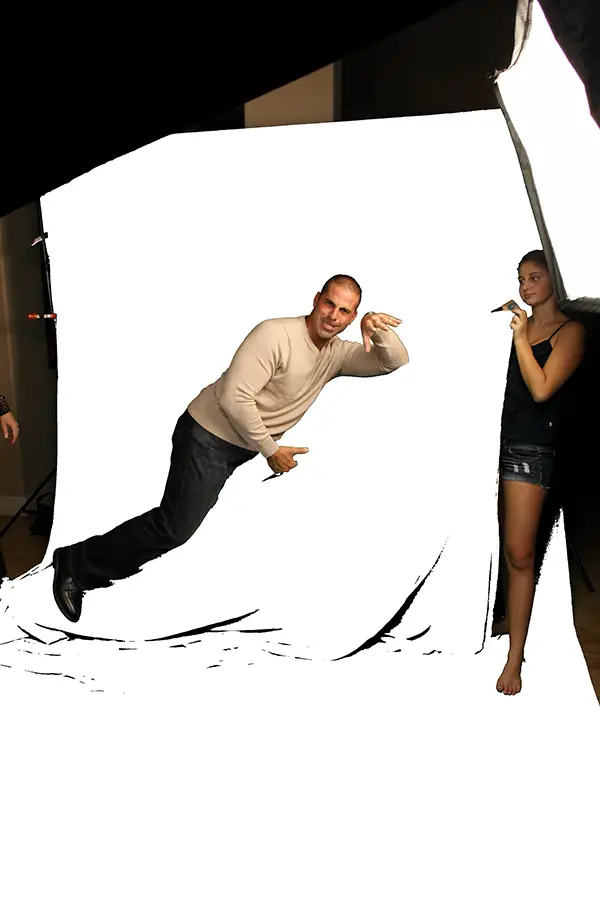
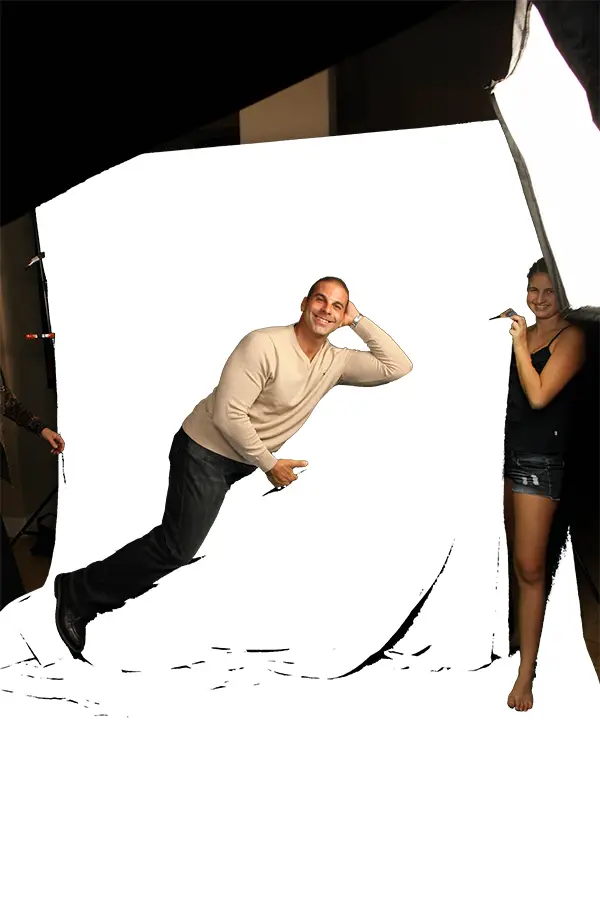
Including the background, this shot had 26 layers. One thing that you DON’T want to do is have streaks of black coming from goodness knows where, so grab the eraser tool in photoshop, take your time, and get rid of every single bit of everything that isn’t your subject.
Watch also this video illustrating how the green screen is used in movies!
Then Go!
Put your background(s) in first, and move around your people until you love it. You’re done! You can use this technique to create all kinds of fun shots.


Awesome work.Love it.