Architectural photography is for people who have an eye for buildings and structures. It’s the art of taking pictures of buildings as well as structures that are aesthetically welcoming and trustworthy representations of their subjects. Many of the best photographers who specialize in this discipline are normally well-trained in the use of both sophisticated equipment and methods.
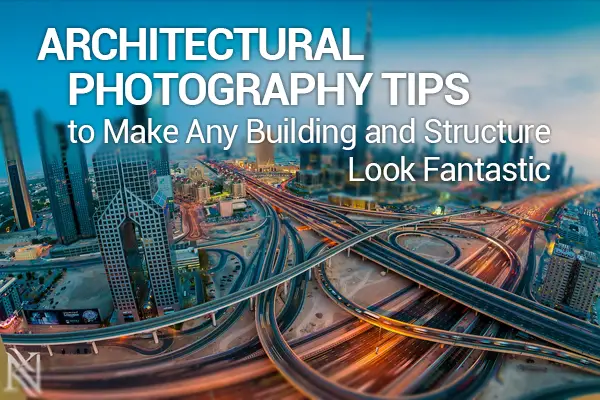
Architectural photography is essentially a verification of how society values the cultural and aesthetic significance of fine buildings and structures. By the 1860s, this discipline had already become a well-established niche in photography.
Whether the aim is contemporary or just classical, architectural photography is equal parts challenge and reward. We take you on a whirlwind walkthrough of how to use smart tips to get the most from this visual medium.
Be Mindful of the Light
You should be highly aware of the light’s direction whenever you’re taking shots of buildings and other structures. The reason is because the light is a huge factor: It can increase shadows, textures, contrast and even reflection.
For example, a high contrast level will trick your camera into exposing your scene improperly, yet you can get around this by applying some exposure compensation.
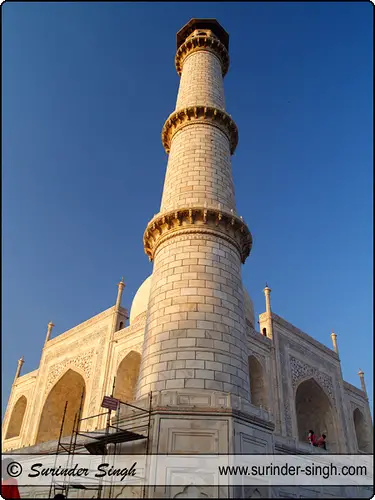
Another thing to keep in mind is bracketing your shots at various exposure values and thereafter merging them in an HDR program such as Photomatix. When bracketing shots, expose one shot for the highlights, one for your midtones and another one for your shadows.
Use a Wide-Angle Lens
A wide-angle lens isn’t the answer for everything, but when shooting buildings and structures, it is a godsend. This lens is perfect for architectural photography since it empowers you to frame the whole building inside of its environment. At times, the glass might not be capable of encompassing the entire scene, but you still have the panoramic format to help save the day.
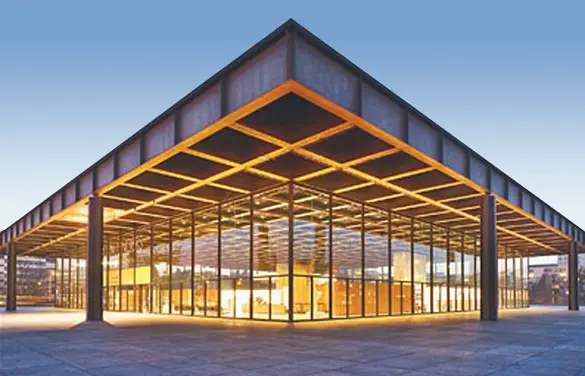
A lot of compacts today provide a special scene mode that stitches together several different shots on the camera. Another option would be to achieve the same effect in postproduction. Panoramic software such as PTgui and Hugin is an excellent choice.
Sunset and Nighttime Shots
When the sun goes down or is in the process of doing so, that’s when architectural photography can get even that much more interesting.
Sunset shots entail shooting the building as a silhouette as the sun goes down. To get the best shot possible, just position the building or structure between you and the setting sun at dusk. Of course, you’ll have to expose for the sky and deactivate your flash first. If you determine that your foreground is too light, then just place the exposure compensation to a negative value in order to have it darken. Get ready for some truly arcane-looking results.
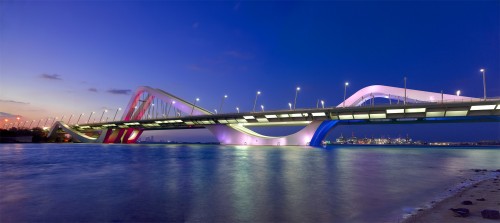
Shots at night can be even more atmospherically cryptic. Don’t wait, however, to take these shots when it’s pitch-black outside! Instead, take night shots when just a bit of light and color are still visible in the sky. This will have the dual effect of emphasizing details and incorporating some tone to the background.
Generally, just set yourself up in a good (read: comfortable) position, and place your camera on your trusty tripod. Then, just exercise some patience and wait for the mind-blowing display of urban lights that come from various windows, signs and street lights. The glow from these will surely add to the ambiance. Utilize a long exposure and a wide aperture; it’s useful to also rely on a low ISO to ensure that the details aren’t covered up by noise.
Think About Converging Lines
It’s a noble endeavor to go for the greatest degree of detail in architectural photography. To ensure that this aim succeeds, just keep any vertical lines…vertical. You can easily do this by simply increasing the distance between the building or structure and you. Of course, this may just not be possible all the time, as when you need to rely on a fisheye lens to capture the entire structure. Other times, it’s just not likeable, as when you wish to have some artistic license in your shots.
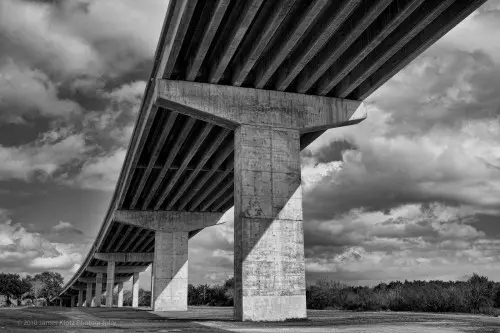
At the end of the day, simply do what it takes to get the desired look that you have in mind. However, keep in mind the usual convention against using converging lines in your architectural-photography shots.
Stabilization Comes in Handy
Anytime you are taking pictures, it’s in your best interest to want to stabilize your camera, or else, you will wind up with camera blur that will ruin your pictures. The good news when taking pictures of inanimate objects is that you will not encounter the problems that other kinds of photography have with light and motion.
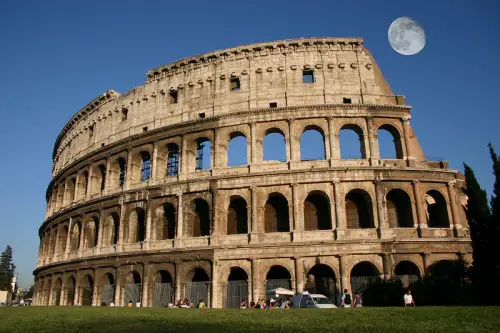
It is more than possible for you to take your sweet time and collect as much light as necessary onto your camera sensor. Just know that it may well take a little bit longer as well as require a really stable camera to do so. So how can you help yourself here? Just buy a really good tripod—there are many that don’t cost that much money—and don’t be shy about using it.
Inanimate Objects Rock
If you have a really keen eye and appreciation for great architecture, shapes and lines, then architectural photography should be your cup of tea. Taking pictures of inanimate objects may seem, at first, to be easier than other types of photography because you’re not dealing with motion or anything dynamic. However, you’d be surprised how challenging it can still be to take shots of buildings and structures so that they turn out beautifully.
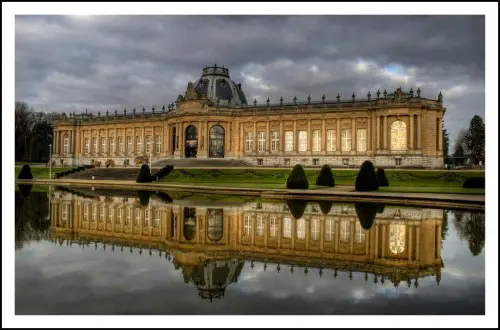
To get the most out of this discipline, just remember a few things. Light is your friend, using a wide-angle lens is beneficial, sunset and nighttime shots can be breathtaking, watch out for converging lines and work on your stabilization. Do all of these things properly, and watch how your foray into this discipline will come out looking wonderfully.
Have you ever flirted with architectural photography before? Do you want to try this out, yet don’t think that there are any impressive buildings or structures near where you live? Whatever the case may be for you, just sound off in the comments!


Out of all the places in the world, two of the photos used above are of the UAE, a country that was only founded 42 years ago – the distance it has traveled in that time is remarkable.
Yup, Chris, when you have massive oil reserves like the UAE does, it’s pretty easy to come a long way in less than half a century! 🙂
Actually they don’t have oil reserves. Real etates are the main source of their economy. Anyway, nice tutorial! I will definitely try this here in Qatar..
Interesting you say that, Ryan, because i just checked on Wikipedia under “UAE,” and it says that they actually do have the 7th-largest oil reserves in the world.
But thanks for using these tips in Qatar, anyway! 🙂
At last count, just Abu Dhabi had 98 operational oil wells 🙂 None of them are very photographic though!
Completely disagree Marc, look at the other countries in the “massive oil reserves” category – Venezuela, Iran, Iraq, Libya, Nigeria, Algeria. None of these countries can compare in development – what you need is vision, mission and leadership.
Other countries do have bigger oil reserves than the UAE…six other ones, to be exact. That’s why I specifically stated that the UAE only had the 7th-largest reserves. Did you miss that? LOL. Anyway, I do agree that oil is obviously not the whole story, and the things you listed definitely contributed to the country’s quick growth as well.
LOL I love a contradictory reply 😉
I don’t see the contradiction…I simply firmly stated my point and then did you a favor by also validating the claim you made, my friend. 🙂