Continuing on my journey towards total photo snobbery, I’ve come to realize that my friends and family and I have different ideas about what makes a “good” photo. I’ve actually gotten exasperated requests at Christmas to “just send regular pictures.”
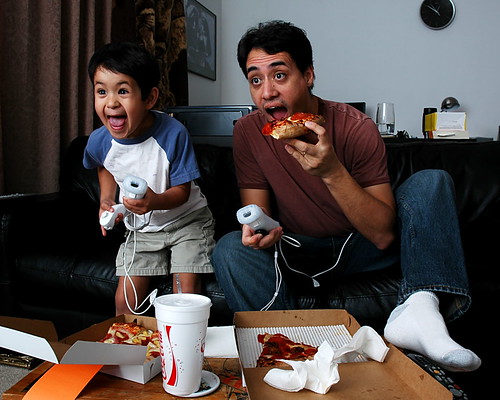
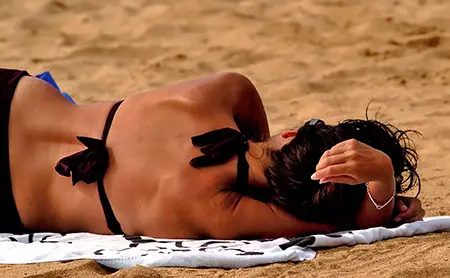
I prefer a documentary style approach to photographing my family and friends. I prefer more reality in my photos, capturing people doing stuff besides posing, looking natural and relaxed. But many people prefer smiling mug shots. I don’t go all prima donna and refuse to take requests. No, I just bury my pain deep inside of me where it can fester and create raging internal conflict and turmoil useful for artistic endeavors, smile, and say, “Say cheese!”
They like  but I prefer
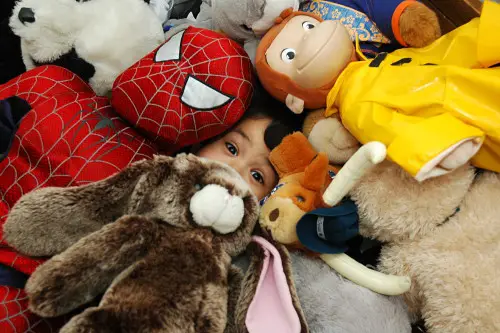
They like  but I prefer
They like  but I prefer
They like  but I prefer
I give them both. Once in a while,
 I’ve got a nice roundup here of food photography sources with a ton of great tips, tutorials, and videos for making food look tasty on camera. How seriously you take this probably depends to some extent on whether you’ve ever heard the term “food stylist.”
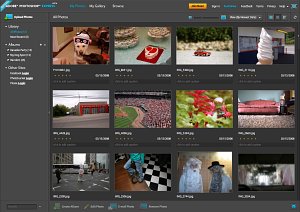 Adobe has finally opened up the beta of Photoshop Express, the long-awaited online version of Adobe Photoshop. I’ve just finished running it through it’s paces and I am impressed.