So you want to be a better photographer, and fast, right? Here are thirty things that you can do in 30 days to make your work a LOT better.
Remember that while there are rules, the most important thing is to experiment and see what looks great to you.
Day 1. Read your camera’s manual. Test every single little button and knob out on your camera as you read it.
Day 2. Now take your camera and put it in MANUAL mode. Anything else, and you’re letting your camera tell you what to do, rendering your expensive camera into a phone camera or worse.
Day 3. Learn how to adjust. The Big Three settings and what each one does.
F stop means depth of field. F2 focuses on one thing, i.e. the eyes and eyes only, F22 allows here to eternity to be in focus. ISO is your “Film” speed. The higher it is, the grainier your picture will be. Shutter speed meens how long the shutter is open. The longer it’s open, the more likelihood that your camera will have movement/blur.
( more light) F stop 2.8 4 5.6 8 11 16 22 32 (less light)
(Less light) ISO 100 200 400 800 1600 3200 6400 (more light)
(More light) Shutter speed 30 sec 15 sec 8 sec 4 sec 2 sec 1 sec ½ sec ¼ sec 1/8 sec 1/15 sec 1/30th 1/60th 1/125th 1/250th 1/500th/ 1/1000th 1/2000th 1/4000th 1/8000th ( less light)
This chart shows whole stops of light that you can play with in order to expose your camera correctly. So if you are shooting at f8 at 100 ISO and 1/250th of a second and it’s one stop too dark, you can open up your f stop to f 5.6, or upen your iso to 200 or make your shutter speed a little slower to 1/125th of a second. This lesson is a whole article on it’s own, probably, but it’s a good one to know.
Day 4. Shoot in RAW. That way if you make a really bad mistake, you can most likely save it.
Day 5. Event Day! Take the day and shoot strangers at an event. It can be a party, social, family gathering, your choice. A lot of people just starting out get nervous and shoot people from behind, while they’re walking away. Unless you’re shooting Kim Kardashian or Evangeline Lilly, no one looks good from behind, so get out front. The lesson is getting in front of them so that you can see their whole face and front of their body. If they look directly at you and look mad, lower the camera, smile, and tell them that they look so perfect that you would like to take their picture. or better yet, ask them BEFORE you take their picture. Men, do not even think of doing this with a child unless you ask their moms first, and NEVER take a picture that you think you might publish without a signed model release. EVER.
Day 6. Spend the day laying down. Anytime you shoot something, shoot it from below to get a new perspective on what things look like.

Day 7. Get on up on a ladder. See what live looks like from on high. Watch the vertigo
Day 8. Watch videos and tutorials of other people working to see how they do it. I just learned a background smooting technique on Youtube that was amazing and easy and took like three seconds, and I have been doing this for 20 years!
Day 9. Try to shadow someone who not only knows what they’re doing, but can explain the how and the why of it to you.
Day 10. Use the triangles that I always tell you about to make your composition look pretty. It’s harder than it looks.
Day 11. People Day! Use people you know and love Direct your people how to pose. No one knows how to pose. In fact, if you took 100 teenage girls and stuck them in front of a camera and told them to pose, 95 of them would do that typical five-year-old dancer pose with their back knee bent , their front hand behind their head and their back arm up in the air with their hand bent at the most awkward angle possible. The other five would curl up in a ball and start crying hysterically. Know what you want them to do and have them do it. If possible, demonstrate the pose. There’s nothing like an “old” person demonstrating a tough pose that will spur your model on to greatness.
Make sure that you: Don’t take ONE SINGLE PICTURE of people:
a. eating. You’re welcome.
b. standing normally
c. talking
d. who don’t want to be there
e. who aren’t giving your shoot their all. You’re there trying to get better. Don’t let them be on their phone/complaining/rolling their eyes.

Day 12. Object day! You haven’t shot enough to have a specialty, and even though I do have a specialty, Fashion and Beauty, I am asked to shoot products, landscapes, food, jewelry and events all the time. So take this month to discover what you love to shoot. See what you can do to make your object look interesting.
Day 13. Move out of the middle. Put your subject into the rule of Thirds. Don’t know what the rule of Thirds is? Draw a tic tac toe. Put your subject in the contact points where the vertical lines and the horizontal lines touch.
Day 14. Get meticulous, and get it right in the camera. Whatever your shoot today, make sure it’s right. The exposure, the lighting, the composition. You have a preview of what the shot is going to look like right in the back of the camera for goodness sakes…don’t rely on photoshop or lightroom to make your picture right. If you can’t get it in the back of the camera, don’t give up until you Can!!

Day 15. Sports/timing day: Shoot basketball. I know that that sounds funny, but if you can get the player’s eyes sharp and the ball in the shot and not on the ground, you know that movement is stopped at 1/250th of a second, you know how to focus, and you know not to cut people off at the knees.
Day 16. Reflection day and speaking of cutting people off at the knees: Don’t do it. Never crop a person at their joints. Shoot body parts all day, You can put it all together if it’s too hard to do the whole body at one time. Pay attention to their hands. Try to turn their hands so that you can only see the “c” that forms between the thumb and the index finger, not the Giant Claw that feels good on people’s hands when they stand naturally Make sure that the feet are pointed, and that every single thing that can bend…does.

Day 17. Object awareness day Look up from this article at the first thing that you see and shoot it 30 different ways today. The first thing that I saw when I looked up just now was a glass. So I can put it by the window and shoot it with the light coming through it at different times of the day, with different kinds of liquids in it, from the top, from the bottom, a closeup, from all different sides in all different lights to see what moving just a bit will do to it… against a wall with different light, away from anything, with people holding it, in the middle or the road, far away, in relation to others, with many glasses, all alone, etc. Perspective and light will change the way you see, and very quickly make you better. Make sure that the horizon isn’t cutting the object in an unflattering manner or making it look weird.
Day 18. Be a Copycat. I saw a picture the other day with a light so unique that I had to try it. I really obsessed over it and it took me a while to figure it out, but I mastered it and now I have a new lighting setup in my arsenal, and I have been a photographer for such a long time that fooling me is no easy feat. Find a photograph that speaks to you, look in the peson’s eyes or check the shadows to see if the light source is small or big, and where the light was placed, and dig right in and try to copy it exactly. Don’t stop until you get it the way you want it, you might even surprise yourself and like it better with your own spin on the shot!
Day 19. Landscapes day! If you’re shooting landscapes, do yourself a favor and be at your location an hour before sunrise and an hour before sunset, and don’t shoot a lot longer than an hour after sunrise/sunset. That’s when you shoot landscapes, no other time, unless you’re shooting water, in which case, shoot at high noon on a sunny day.
Day 20. Window light. Shoot an object or person with no other light than that of a window. Move you and the object around to see what happens.
Day 21. Take the window light setup from yesterday or try a new one and add a reflector, it can be a white sheet, or aluminium foil if you don’t have an actual reflector. Put it opposite of the window and see what happens.
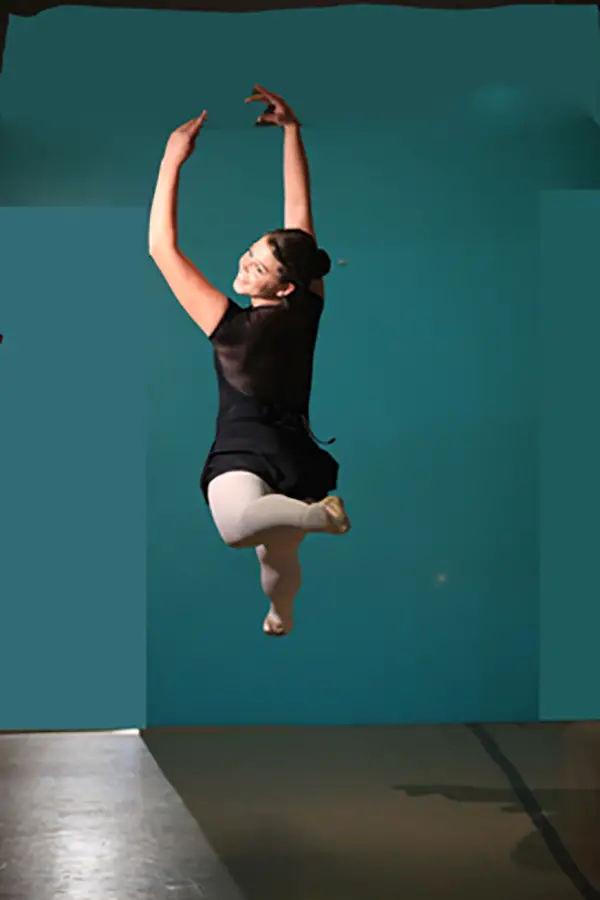
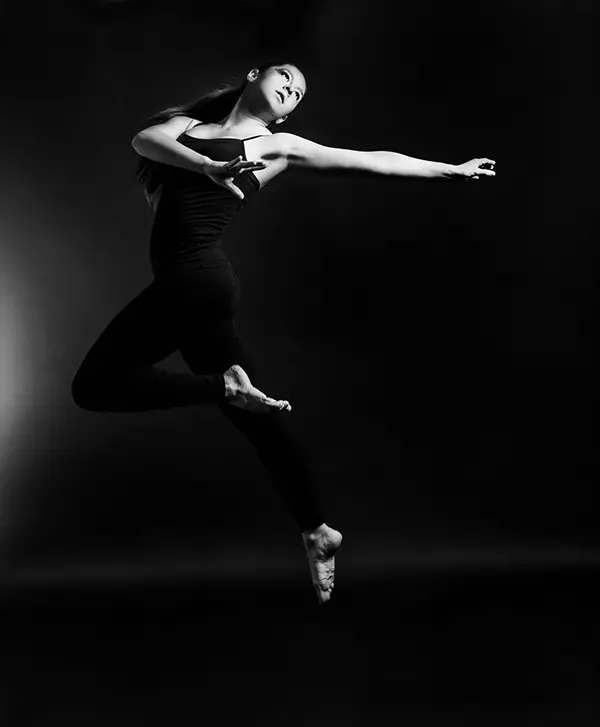
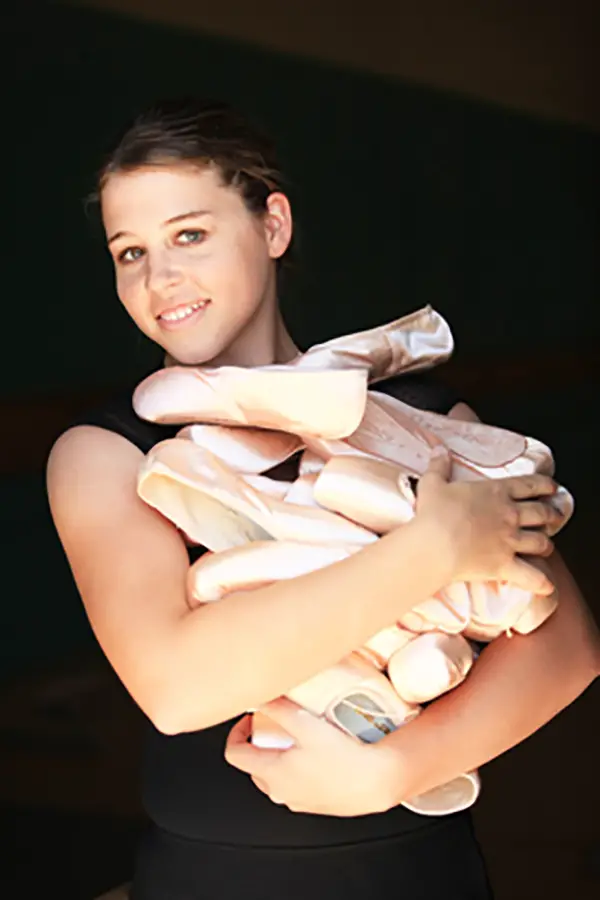
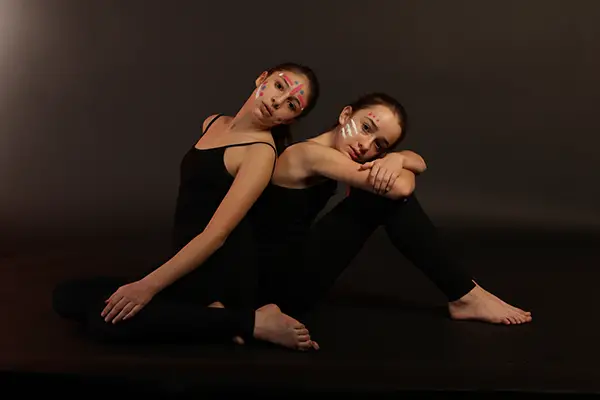
(These two ballet shots of Angela were taken in the same room in front of the same window. In the first case, Angela was standing really close to the window and standing really close to it. In the second case, the window is camera left, the sun is coming through from in front of her, reflecting off the ballet mirror on camera right.)
Day 22. Take it outside. One huge common mistake I see is shooting people when they’re looking directly into the sun…they squint, they crease their foreheads up, it’s not good. Instead, turn them away from the sun, push your shutter button halfway down and meter on their jeans that are in shadow or the shady grass. Both of those are 18% gray, which is your camera’s “Happy Exposure Place”. The models will be backlit by the sun, and their faces will be perfectly exposed.

Day 23. Object day. Find something totally boring that you’d never think to take a picture of. Cross makes a huge business taking beautiful, amazing pictures of pens, and don’t even get me started on lunch meat companies, so take a page from their book , find something ordinary and make it into something amazing. It’s really pretty to take a picture of Sedona, but you really have to reach to make Bakersfield come alive.
Day 24. Experiment with blurs. Put your camera on a tripod, set your shutter speed to 1/15th of a second, and let your action rush by you. A successful blur has the background in focus and the moving subject blurry in movement but still recognizable.
Day 25. Try panning. Put your camera on a tripod, set your shutter speed to 1/15 of a second and move your cameras with moving cars, bikes, runners and other things that are moving side to side. It’s a win if even one part of the moving object is in focus.
Day 26. Use a different lens than you normally use to see in a different way. My go-to lens is a 2.8 70-200 Canon ultrasonic IS. So I used my 20 millimeter lens… it changed everything.
Day 27. Shoot leading lines to create interesting compositions leading lines can be a ton of the exact things all lined up in rows and columns. They might look boring, but you can make them really visually interesting.
Day 28. Landscape day. Take something that everyone shoots and find a new way of seeing it. Google pictures of the Eiffel tower and you’ll see the typical stuff, but see what your eye is attracted to…it’s going to be totally different than what you’re used to seeing. Go to a local landmark and see what you can do to make it look totally different, while still recognizable.
Day 29. Another whole day spent photographing people, but this time, get pickier…don’t take pictures of people unless they’re looking great. Turn them, move them. Make them suck in their stomachs. They might grumble and groan, but they’ll thank you later.
Day 30. Take a picture of the same subject that you shot immediately before you started this challenge, but this time, do it using something that you learned. Send it to me at [email protected] so that we both can revel in your accomplishments!


I always tried to be a good photographer. Your tips will help me more.Thanks.
It is hard to not beat myself up while I am still on the journey of learning photography, this pro tips helps me too much, thanks 🙂