Controlling your camera’s exposure is not only a fundamental topic to achieve good photographs, but it also becomes essential knowledge to be able to explore the creative possibilities of photography.
You might have heard of aperture, shutter speed and ISO. These are the camera controls that directly affect exposure and, finally, how the picture turns out. You can use many combinations of these settings to achieve correct exposure, depending on your “intention” of the picture.
Aperture is the one we will talk mainly about in this article, as we can take advantage of how small or big apertures create different effects in our pictures by controlling depth of field.
What Is Depth of Field?
The depth of field is the zone that is in front of the camera and that appears to be sharp.
How much of that zone is sharp or in focus is determined by the choice of aperture, the focal point and the focal distance of the lens. There are charts and formulas that will help you know exactly how long your depth of field is with different combinations, but we won’t go into that detail here. Our main focus (pun intended) is to work with the aperture.
Changing the Aperture
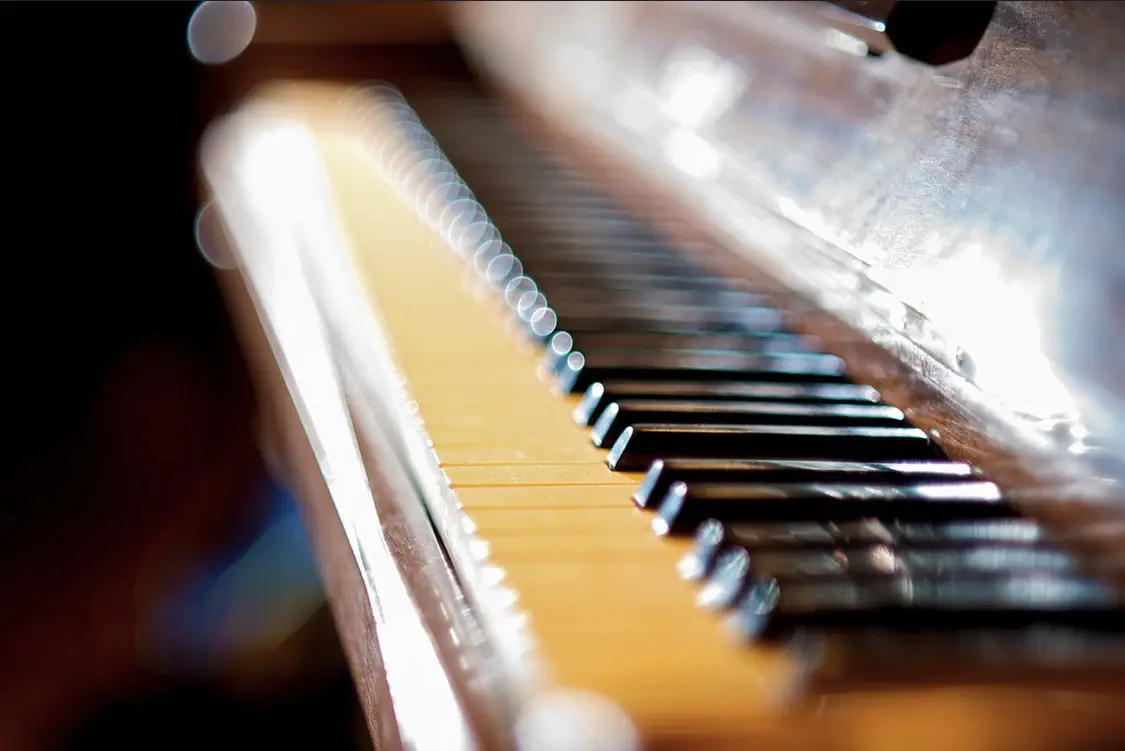
To get used to aperture settings, you need to step away from auto settings first, so you are now shooting manual or in Aperture priority. Remember this: The smaller the f-stop number, the shallower the area that will be focused.
For example: Using an F-stop of f/22 will produce a picture where almost everything is in focus (long depth of field), which is very different from using an aperture like f/1.8, as only a part of the picture will appear to be in focus (shallow depth of field).
These are the apertures we want to explore and play with. Depending on which lens you are using, we can create a wider aperture and a more drastic effect with a narrow depth of field.
TIP: Aperture numbers are sometimes also referred to as “wide” or “narrow” because, the smaller the number, the wider the aperture physically is. Think of it as something like the diameter of the pipe. If this confuses you, think of the number as a fraction (1/8 is a bigger fraction than 1/22).
Go Wide
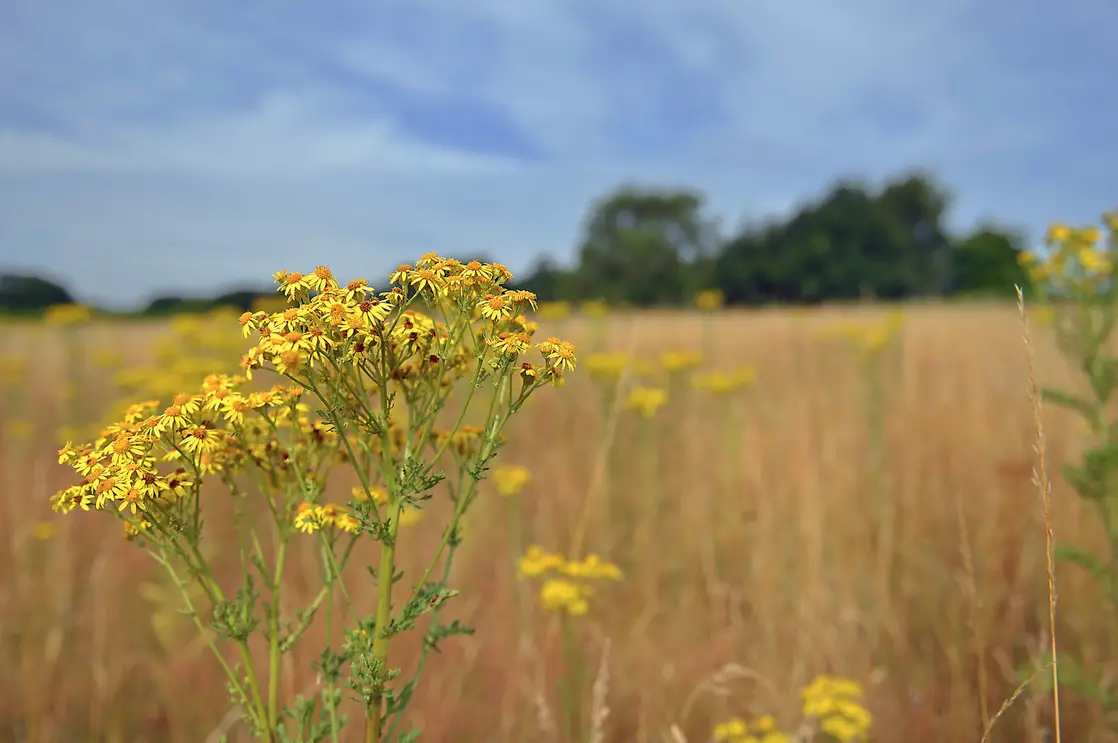
Most of our examples in this article suggest that you use a wide aperture (small number) to achieve these creative results. You can go as low as your lens will let you. Prime lenses usually have apertures of F1.4 or F1.8 , but you can also create amazing results with an aperture of 2.8 and even a 4.0 with zoom lenses.
Wide apertures are also fast and recommended in low light situations, so you have that going for you!
Be Specific With Your Focus
Your camera will choose what to focus on, usually choosing the closest object to the center and locking the autofocus there. If it doesn’t find it in the center, or if the area is bigger, it might choose a different AF point and focus there.
The truth is, unless you help the camera choose where to focus, the camera will choose for you. We want to be in full control and choose where the camera is focusing. Yes, we are going to be artistic, but we still want to have sharp images.
In some cases, the nearest object is not where we want to focus, so explore the options your camera offers to manually choose your AF point.

Subtle Stories
A great way to use a shallow depth of field is to tell a story. Accomplish this by having different elements in the picture and then use the specific focus and the depth of field to dictate what more “important” in the picture.
For example, the main focus in a portrait is, of course, the model. However, by incorporating a scene in the background, we are telling a story. We add softness to the image with a shallow depth of field and, even though other elements are in the frame, the focus directs the spectator to the main subject.

TIP: Your “model” could also be on the side or further than the object. Use of your focal point is very important here.
Patterns
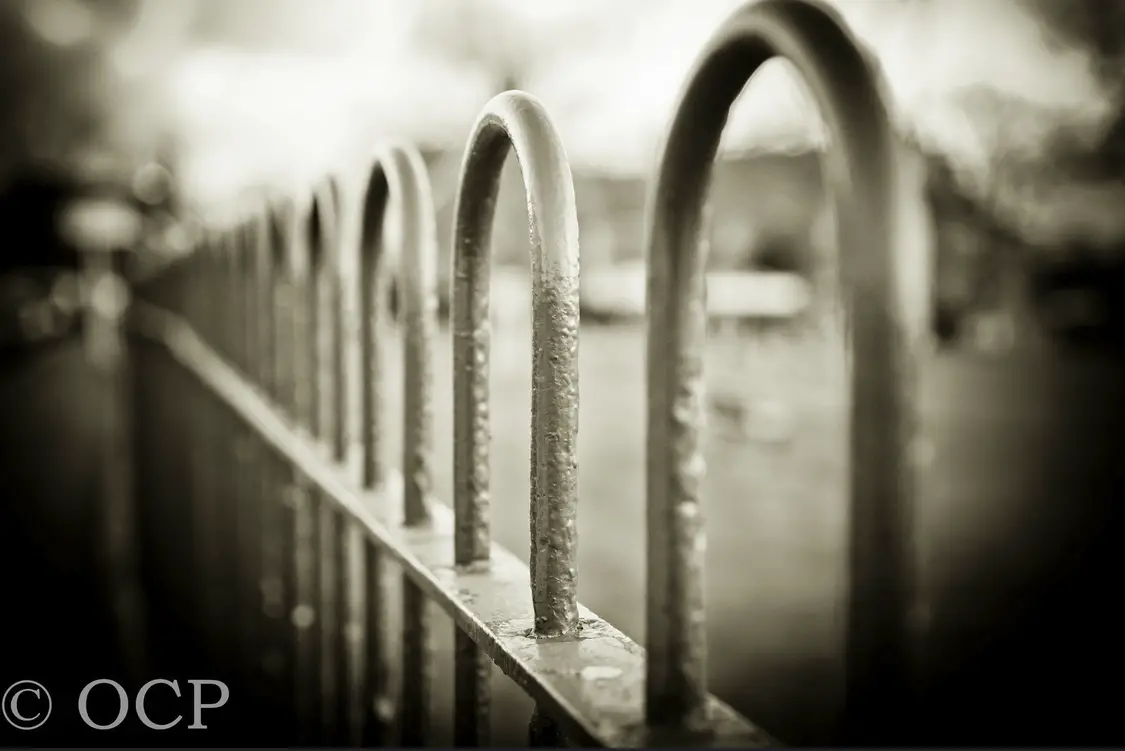
Using a narrow aperture is especially fun when shooting a pattern or when we have multiple subject planes by softly make it them “disappear.” Enhance the effect with a different perspective to get really creative with your D.O.F. and work a great composition as well.
Remove Distractions
By creating a shallow depth of field, we can isolate our subject in a busy scene. This works wonderfully in portraits, as we can still portray our subject in a real, colorful scene and use the blurred shapes to add color or interest to the shot.
This technique is also used for subjects in nature, as we can blur the distractions from branches, leaves and trees, and enhance the focus on what we really want to portray.
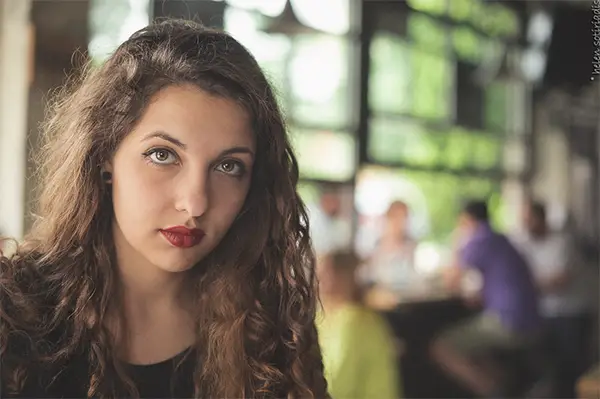
Add Distractions
While it sounds contradictory, purposely adding blurred distractions to our scene can create a very interesting effect and composition. By doing this, we are taking advantage of the surroundings in a creative way. These blurred, out-of-focus shapes you see are created by the lens when a part of the scene is outside the depth of field. These are known as “bokeh.”
Bokeh is especially fun to use with lights in the background, as well as objects or leaves in front or the sides of the subject. Get creative and experiment!
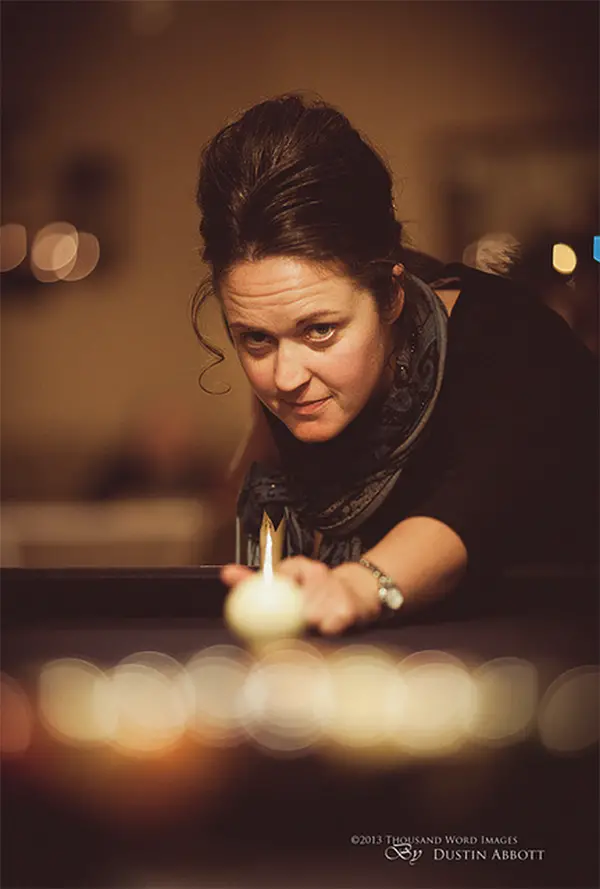
Frame
Another way to use depth of field creatively is by framing our subject with out-of-focus elements. This immediately drags the eye to the point of interest (usually the sharpest part in the image). For intimate or closeup subjects, this is another option you can explore to achieve creative portraits.
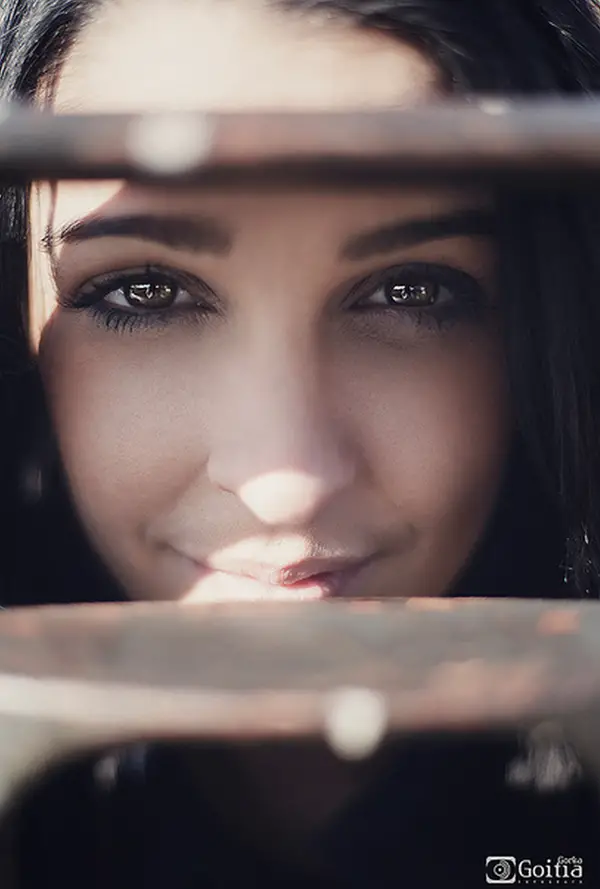
Experiment With the Opposite, Too!
When it comes to your photography, you are the one to dictate where you can apply the depth of field possibilities to enhance it.
You can maximize the depth of field by using a narrow aperture (as f22). However, you might need a slower shutter speed to achieve the correct exposure.
Have fun and experiment with different scenes to compare results!


0 comments