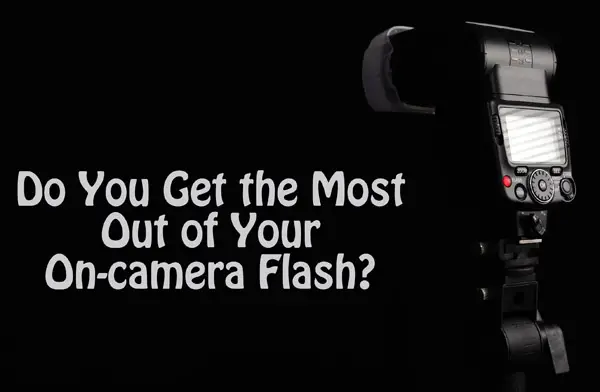
Life is happening all around you. Every day is full of amazing, once in a lifetime moments that you can’t wait to capture and share.
Unfortunately for us as photographers, the moments we most want to capture often happen in less than ideal lighting conditions.
This is why flash photography is a great tool to have in your arsenal. Flash photography allows you to take well-exposed photos in virtually any lighting condition.

On-camera flash is the most convenient and accessible method to begin using flash. In the following examples we will be using a hot shoe flash such as the Canon 600EX-RT or the Nikon SB-910.
On-camera flash is typically used in one of three ways:
- Direct
- Diffused
- Bounced
Direct flash is your worst case scenario solution
Direct flash will insure that your subject is lit, has accurate color, and it will freeze motion. If you find yourself in terrible lighting, pitch black, or you are completely overcome by events – direct flash will make sure you walk away with a picture.
On the downside, it may not be the most flattering picture. Direct flash tends to have problems with exposure, and since your on camera light source is a small, un-diffused light source you will also have very intense speculate highlights. The image below was taken with direct flash.

The entire subject is brightly and evenly lit with an intense, small speculate highlight in the center. Shadows will be harsh and prominent with direct flash, and the texture or contour of the subject will be flattened.
Diffused flash provides a softer, more flattering light source.
Speedlights have a built in diffuser panel that scatters the light from your flash, thus softening the light. The photo below was taken with direct flash diffused with the built-in diffuser panel.
The built-in diffuser panel spreads the light more evenly across the object and slightly softens the highlight.

Using a diffuser globe
Another option for direct flash diffusion is a diffuser globe like an Omni-Bounce. The photo below was taken with direct flash diffused with a diffuser dome.

You will notice that the specular highlight is now larger and less intense, the shadows have been lightened and softened, and the light is diffused to the top of the object.
Bounced flash allows you to diffuse the light source even further by bouncing it off of a large surface like a wall or ceiling.
Speedlights allow you to choose the angle of the flash head from 0 degrees (direct flash) to 180 degrees. This allows you to bounce your flash off the ceiling, a side wall, or a wall behind you. Many speedlights also have a built-in bounce card that can direct some of the flash forward while bouncing the flash off the ceiling as well.
Bounced Flash
The following photos are all taken with bounced flash.
Flash head at 45 degrees, no bounce card:

Flash head at 90 degrees (pointed at ceiling), no bounce card:

Flash bounced off right wall:

Flash bounced off rear wall:

While you still see evidence of a strong specural highlight, you will notice that the flash is much more diffused, resulting in a broad, soft lighting pattern.
Mastering on-camera lighting provides you a range of lighting options that are portable, accessible, and versatile. This is a technique that is easy to practice at home and requires very little gear. Once you feel confident with these basic diffusion techniques, you can start experimenting with the many after-market modifiers that are available such as
to achieve a more diverse portfolio of lighting techniques.
Do you have a favorite modifier for your on camera flash? Share your favorite links in the comments.
About the author: Mollie Tobias is a wedding and portrait photographer based in Northern Virginia and the author of “The Wedding Photographer’s Guide to Getting Published”. When not photographing she likes tacos, pit bulls, and cake. See more from Mollie on her blog at www.blog.mollietobiasphotography.com or find her on Facebook.


0 comments