Have you ever wondered just how to create that perfectly blurred background in your photos? You know like the professional shots that have the subject of the image in super sharp focus, but everything else is a blur like you forgot to put your glasses on?
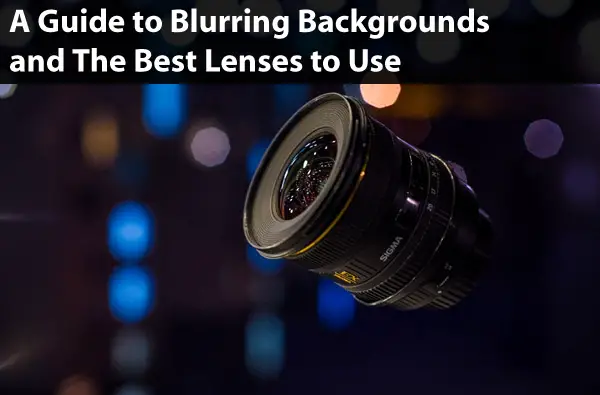
While these kinds of photos may look difficult to create there’s actually only a few things that you need to master in order to create your own blurred background images.
The art of the blurred background satisfies a deep aesthetic craving, allowing the eyes to instantly focus in on the photographer’s intended subject. While having the right camera lenses will certainly help you to create a better blurred background effect, there are actually only 4 things that contribute to the blurring of an image. These are: how far away you are from your subject, the focal length, the camera’s sensor size and the aperture.
Sure, with advancements in technology you can now easily create a blurred background using the camera on most smartphones but as we know our phones don’t always allow us the freedom that our cameras do. Understanding and mastering the ability to create blurred backgrounds will not only allow you to capture stunning, professional looking portrait photos but will also allow you to bring these skills into other types of photography thereby creating new and unique images.
What is Blurred Background Called?
In photography, especially portraiture, having a blurred background that allows the subject to almost jump out at you is a mark of professionalism. It’s one of those things that helps distinguish a professional-looking image from a casual snap you took with your friends. And just like other professional things the process of creating a blurred background has been given a technical name.
Known as Bokeh which is taken from the Japanese word for blur it is most commonly associated with blurry, out of focus lights. It is defined as the visual quality of the out-of-focus areas of a photographic image, especially as rendered by a particular lens (Google’s English Dictionary).

It can be seen in many different types of photography, including portraiture, wildlife, travel, and macro and with varying degrees of blur. From a soft barely blurred effect right through to can’t-even-tell-what-the-background-is blur, playing around with bokeh can bring a whole new direction to an image.
How Do You Get a Blurred Background in Photography?
While most smartphones can now create a blurred background for you using certain modes or settings, when it comes to cameras a DSLR or mirrorless camera is the one you will need to reach for. Your simple point and shoots and action cameras don’t have the ability to create a blurred background in camera. You may be able to achieve it using software editing post-shoot but generally these kinds of edits don’t give you the same freedom or high quality as creating it in camera.
The type of camera and lenses that you use will make a difference in the quality of blur you can achieve. However, you do not need to rush out and buy some very expensive new lenses in order to create this effect. The ones that you already have along with mastering a few of your camera settings will be more than enough to create those cool bokeh effects.
Choosing your Aperture
Measured in f-stops, aperture defines the amount of light that is allowed to reach the camera’s sensor. Depending on the settings you are using you can set your aperture manually or leave the camera to automatically choose.
The aperture you choose affects the depth of field in your image- in other words, how much of the image is in focus. The wider you open up the lens and the more light you let in the shallower the depth of field is. This means that there is less of the photo in focus and the rest of the image is blurred. Which is exactly what we are after in our bokeh images!
This is where lens choice comes into play. Lenses with a lower f-stop number open up wider and so can create a shallower depth of field. Therefore, choosing a lens with a lower f-stop would allow you to create images where more of the image is blurry.
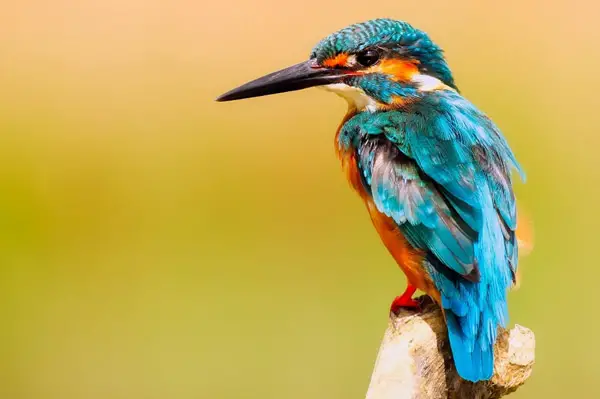
That’s not to say that if the only lens you have available to you is one with a 3.5 f-stop (as opposed to a 1.8 f-stop) you won’t be able to create great blurred background images because you can. You just might have to consider and bring into play some of the other settings that affect creating bokeh images.
How Far Away from Your Subject Are You?
I’m sure it seems really obvious, but you will be surprised at how many photographers forget that they are in fact allowed to move around with the camera. Obviously, there will be certain situations when that is not possible or as easy but if you are shooting handheld then remember, you can move your feet.
There have been numerous times when I have been trying to capture an image with a blurred background and I haven’t quite been able to create it the way that I want. Its usually because I’m either too close or (more commonly) too far away. Moving closer to your subject is a really easy way to get around not having a really low aperture lens. To heighten the effect, try to keep the subject far away from the background as well, as this will increase the overall blurring.
Choosing Your Focal Length
The focal length of your lens is also an important factor to consider when creating images with blurry backgrounds. The shorter the focal length of a lens the wider the angle of view. While these lenses tend to have a larger depth of field they also tend to keep more of the image in focus.
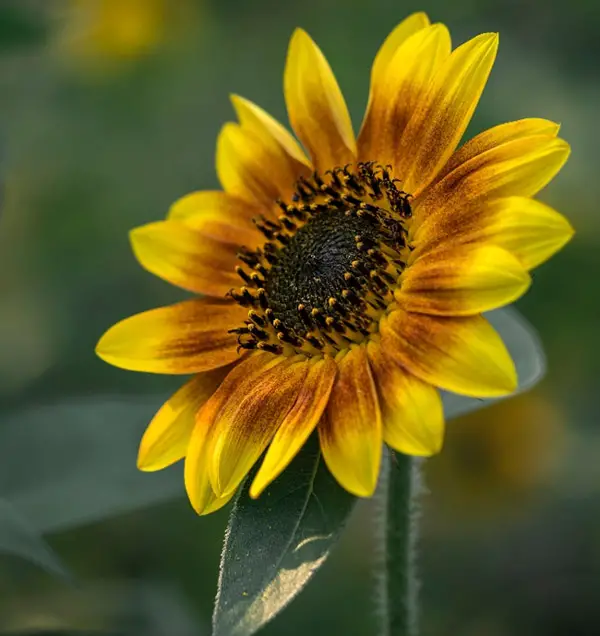
A longer focal length gives the appearance of “zooming in” thereby narrowing the angle of view. This allows you to easily create more background blur even if you don’t have a super low aperture lens. This technique is especially apparent in macro photography or sport and wildlife photography where telephoto lenses are often used.
Your Sensor Size
Full frame cameras have the largest sensor size and so are able to create longer focal lengths and thereby better background blur. Cameras with small sensors such as those found in mobile phones and point and shoot cameras only have small sensors which is why creating a bokeh effect isn’t possible. However, shooting with a cropped sensor such as the APS-C would allow you to create a blurred background but depending on the other settings would probably differ slightly from a camera with a larger full frame sensor.
How to Take a Portrait with A Blurred Background
Portrait photography is probably the type of photography that most commonly uses background blur. This is because by blurring the background you are able to take away any distractions and leave the eye to only focus on the sharp, crisp in-focus subject. Here are the steps:
- Decide whether you are going to use the Aperture Priority (A or AV) or manual (M) mode on your camera. While manual mode gives you full control, aperture priority mode hands the shutter speed and ISO settings over to the camera. This can be helpful especially if your subject is moving such as wildlife or a sports person.
- Open up the aperture to as wide as you can. i.e., choose a small f- number.
- Position yourself closer to the subject than the subject is to the background for a stronger blur.
- Take your photo.
- Review and alter settings as necessary before retaking (optional; your first photo might be great already).
Here’s Hayden Pedersen’s explanation for creating blurred backgrounds:
What Canon Lenses Blur the Background?
As I’ve mentioned before, your current DSLR or mirrorless camera lenses are probably sufficient enough to be able to create images with a blurred background. However, if you’re looking to upgrade your lenses, here are the best Canon lenses to choose for background blurring.
Canon EF 85mm f/1.2L II USM lens
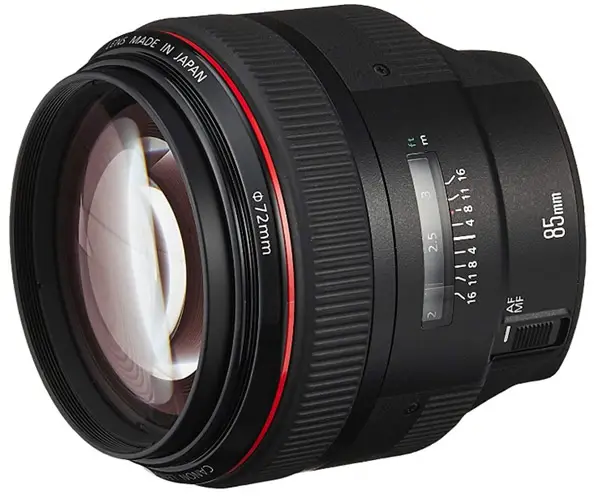
This high-speed, medium telephoto fixed lens is perfect for blurring your background. It comes with a circular aperture (meaning that any blurred lights will appear circular too), as well as fast autofocus and ultra-sharp image quality.
Looking to shoot outside? No problem. This lens is weather sealed to keep out moisture and dust and is overall exceptionally durable. Plus, with a maximum aperture of f/1.2 you’ll easily be able to create smooth blurry backgrounds.
Canon EF 50mm f/1.8 STM Lens
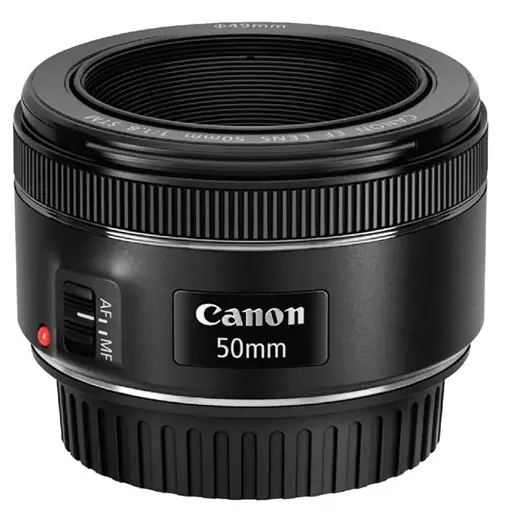
Not just your general-purpose prime lens, this 50mm lens with its wide f/1.8 aperture is made for creating those signature portraits with blurred backgrounds. Plus, with all that extra light being allowed in, your subject will be even more crisp as it enhances contrast while reducing distortion.
Plus, at just 160g it’s not exactly going to weigh you down!
Canon EF 24mm f/1.4L II USM Wide Angle Lens
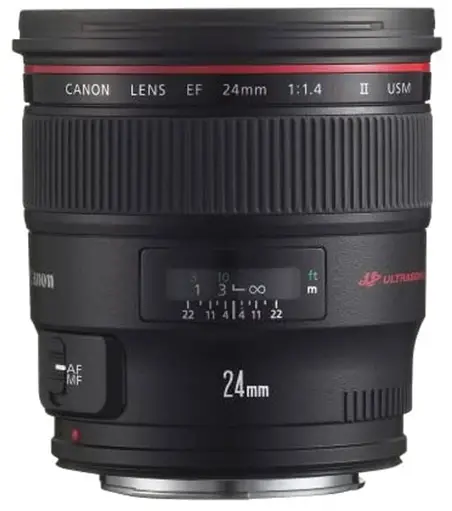
OK, so with everything I’ve said so far you wouldn’t expect a wide-angle lens to be great at blurring a background. However, the really wide maximum aperture of f/1.4 actually enables it to be able to do this beautifully.
Plus, it’s great for those landscape and low-light shots too! Perfect if you are a landscape, nature or even a travel photographer and need your lenses to be versatile.
Canon EF 35mm f/1.4 USM Wide Angle Lens
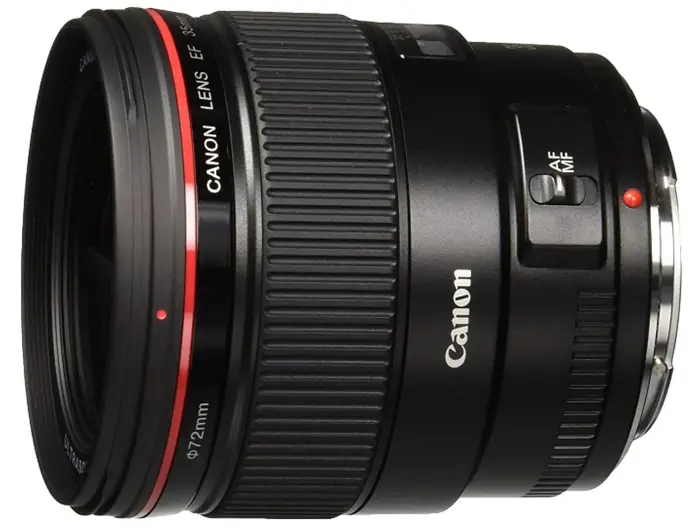
This lens functions as a wide-angle lens if you are shooting on a full frame camera but a regular lens if shooting on a crop frame camera. It comes with a focusing distance of 1 foot meaning that you can get up close to your subject to capture them in sharp detail and create a cool blurred background at the same time.
This lens is a favorite of photojournalists for capturing a subject in their environment without distorting perspective as well as being robust and resistant to dust and moisture.
Canon EF 135mm f/2L USM Lens
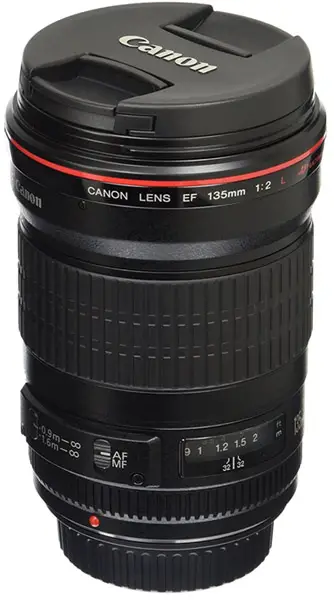
One of the fastest telephoto lenses of its type, this lens is ideal for indoor sports, portraits and for creating background blur. It uses two UD-glass elements giving super sharp images with outstanding color.
While the focal length is a little unusual for a prime lens, the bokeh is really smooth in part due to the eight-blade diaphragm. Plus, the quick autofocus is perfect for those in-the-moment shots.
The Best Non-Canon Lenses for Blurred Background
While Canon is my preferred camera, not everyone uses Canon or even Canon lenses as there a few different types of lens brands such as Sigma that are designed to be compatible with other brand cameras. Just make sure to choose the correct lens that fits your camera brand.
Sigma 35mm f/1.4 DG HSM ART Lens
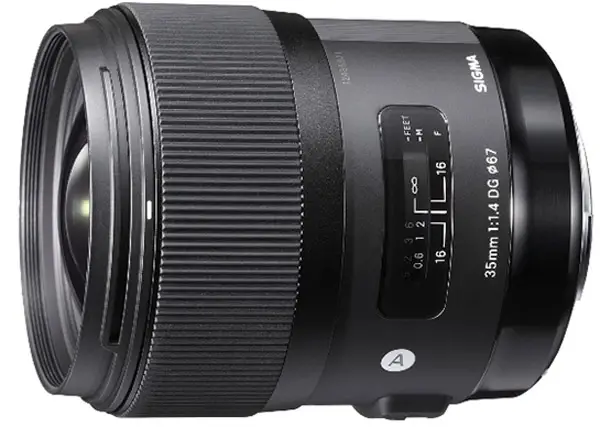
This wide-angle lens with a maximum aperture of f/1.4 is made for blurring backgrounds. Plus, if you’re in need of shooting some wide-open landscapes then it’ll have your back too! Great in low-light conditions and an ultra-fast autofocus, you can capture even the quickest of motion well.
Not to mention that this lens has been designed to be compatible with Canon, Nikon, Pentax, Sigma, Leica, and Sony mounts. So whatever camera you use this lens has you covered.
Sigma 105mm f/1.4 DG HSM | A
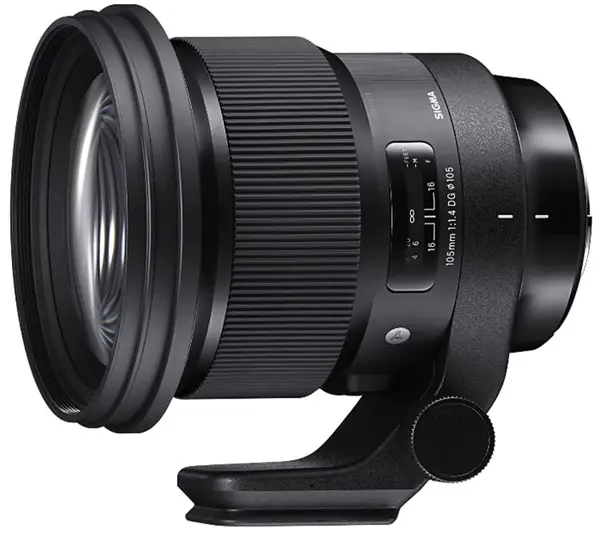
Designed for full frame Nikon DSLRs it is actually also compatible with Canon, Sony, and Sigma cameras too. Creating really smooth blurred backgrounds with sharp, crisp focused subjects this lens gives you more bang for your buck than its branded counterparts.
The lens also comes with a tripod mounting ring which is handy considering it weighs in at a hefty 1,635g. The Hyper Sonic Motor (HSM) makes autofocusing a breeze and the nine-blade round diaphragm contributes to the aesthetically pleasing blurring of the background.
Nikon 35mm f/1.8G AF-S DX NIKKOR Lens
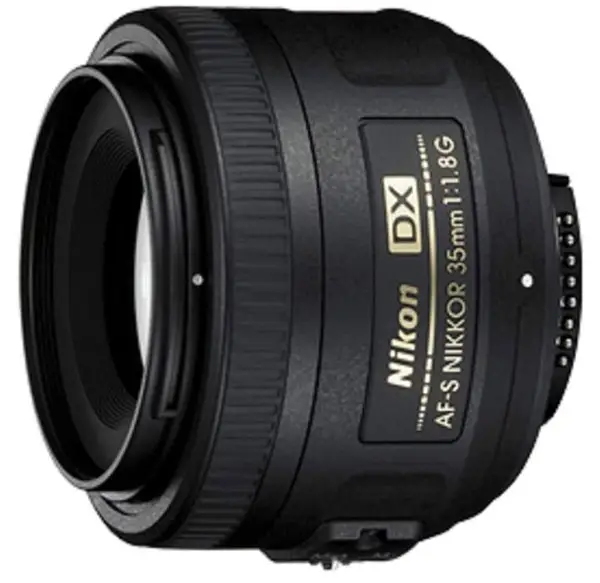
This compact, lightweight prime lens has great all-around capabilities. The f/1.8 maximum aperture gives you great control over the depth of field making it easy to create stunning photos with soft blurry backgrounds.
This lens is also great in low light conditions and is made with aspherical lens elements to eliminate lens aberration.
Well that is all. I hope you enjoyed the article as well as the lens roundup. Now get out there and shoot some great bokeh photos!
Learn more about how DSLR Lenses work by clicking here.


1 comment