If you love photography and have a blog, then it’s a no-brainer to put them together. I’m betting you can probably take some kick-ass photos too (especially if you follow the tips here. 🙂 When you know how to take photos for your blog, you become more powerful than ever.

Unfortunately, while beautiful photos can get you bunches of “likes” and “pins” and “tweets,” if you want to take your blog to the next level, then your images must also fit the article you’re writing. They have to fit the overall tone of your blog, too.
This is where it gets more complicated…
Of course, you don’t have to take your own photographs. There are bunches of stock-image sites with gorgeous options, such as Flickr, 500px and the Creative Commons. However, taking your own photographs does a number of things:
- Sets you apart: Your blog will have a more personalized tone or “brand.”
- Gives you more control: You can take the specific images you want, as opposed to having to hunt through the Internet to find one that fits your vision.
- Build trust and connection: Your people can see your world.
- Save time and money: Stock images can cost money, and it can take time to find the right ones.
However, taking photos for your blog could be an even bigger challenge, especially at first. Below, though, we’ll go through some basic steps to get started. And we’ll begin by looking at someone who has done this like a pro…Gary Arndt.
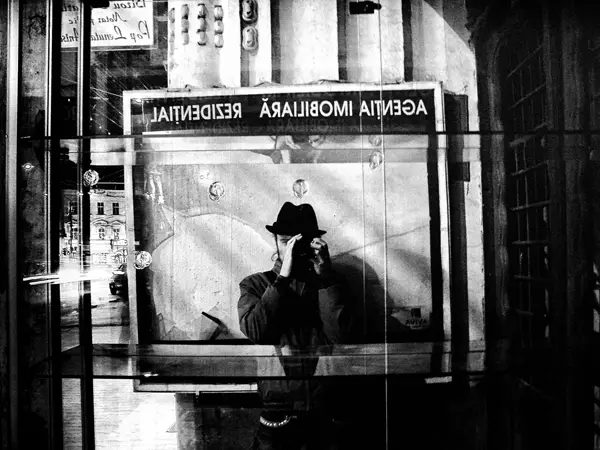
Gary’s blog, Everything Everywhere, was named one of the Top 25 Blogs in the World in 2010, according to Time Magazine. Since 2007, he’s been traveling the world and has visited over 140 territories and countries, more than 125 US National Parks and more than 250 UNESCO World Heritage Sites.
Not bad, right? Plus, since November of 2007, he’s posted a photograph every day and has taken or is posing in “99.99%” of the photos on his blog. So when you scroll through his website, you get a sense of who he is and what he likes, and it almost feels like you know him after awhile.
With scads of other travel bloggers out there, many who are cuter than Gary (sorry man :)), I’m betting his photography has played a large part in why his blog has been so popular. Plus, if you look at other popular blogs, you’ll see many mommy blogs, fashion, tech and business blogs with big, gorgeous images.
But you can’t just have pretty pictures and expect to dominate the blogosphere, as I came to realize. Your photos also need to share your message.
When I started posting my photos on my blog, I loved to share the photos I thought were the best. Which often meant photos that were darn cool looking, but weren’t related to the article. This was fun, but didn’t lead to the best results.
To squeeze the most from your photos, they must also be relevant. According to the MDG Advertising infographic, articles with relevant and compelling pictures get 94% more views than posts without images. What is relevant? Well, the photos must fit within your post or story. They must also fit the tone of your blog.
This leads us to the topic of visual literacy, which is just the ability to understand what images communicate. Graphic designers, filmmakers and photographers pay a lot of attention to the content of their images, because they know that the composition, colors and subject matter affect how the image is perceived. And if you want to grow your blog, like a big ole oak tree, then you need to as well.
The tips below are designed for all blogs, so you’ll have to use your best judgement on how to apply them to your situation.
1. Don’t Be Whimsical
Always ask yourself, “What does this image say?”
Put clarity first, and, when making a point, look for images that show the words you’re using or convey the tone of this part of your story.
Ultimately, each image you choose should further drive home the point you’re making or add another detail to the story you are telling. Adding beautiful, yet whimsical, photos can be confusing and distracting to your audience.
2. Subtlety Works, Though
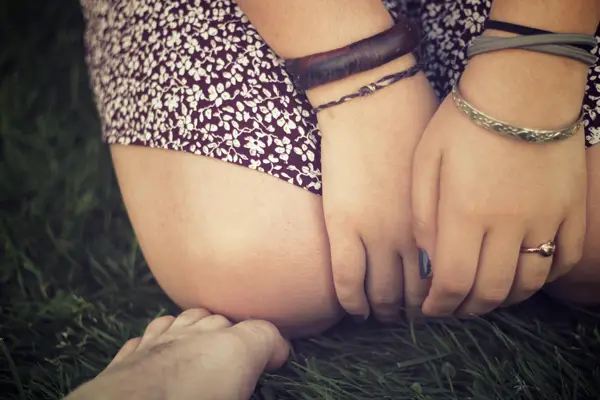
You don’t need to be obvious every time, though. In fact, your audience may appreciate it if they have to work a little harder to see the connection. Is there a way of making your point that isn’t obvious upon first glance? Or consider what the feeling you’re trying to express is, and show an image of that.
3. Focus

Tell one piece of the story with your images, not the whole thing. Keep in mind that it’s hard to look at images on a computer screen. It’s not like looking at a blown-up photograph at an art gallery, where you can appreciate the complex details. So when you’re shooting, try taking photographs of one thing.
Macro photography works well. You could also invest in a lens (with an aperture of at least f/2.8, but f/1.4 is even better) for a powerful bokeh effect. Then, when you’re downloading your images, tag them, and start your own searchable database of images.
4. Use Natural Light
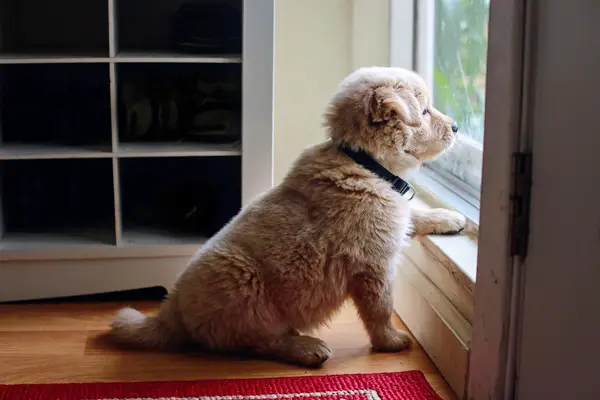
Natural light makes for the best photos, so ditch your flash. In fact, if you’re shooting photos of products, food, your clothes or other stuff in your home, choose a place with lots of indirect light, and make it your “home studio.” Then note the times when the light is the best in your new studio.
5. Shoot Unique Perspectives

Take photos of your subject from all angles and perspectives. Go for different, weird and unusual (as long as you’re still being relevant :)). What shots would you never think to shoot? Often, amateur photographers will see something beautiful, whip out their camera and snap a bunch of pictures. Then, they’re off to something else. A pro photographer will spend a lot of time looking at a subject from all angles before he even starts shooting.
What tips have you learned when you’ve posted photos on your blog? If you have one to share, please take a minute to type it into the comments section below. Or if you have a question, please ask, and we’ll try to answer personally.


0 comments