Of all the different types of photography, capturing images of landscapes is one of the most popular.
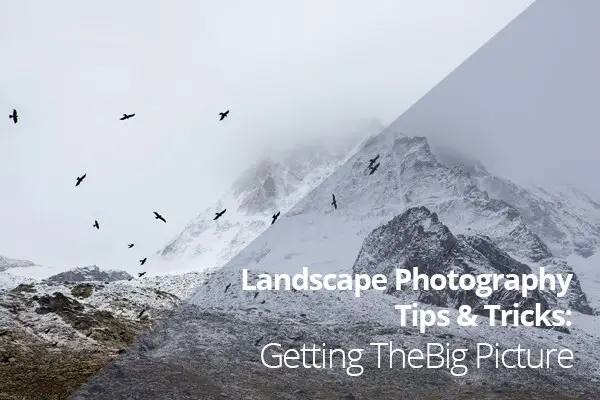
The compulsion to capture breathtaking images of sweeping vistas, crystal shorelines and towering mountains comes on especially strong whenever people travel to new places. You’ve probably noticed this whenever some of your friends go on vacations. Their Facebook walls become flooded with photos of beaches or snow caps or whatever is near them.
And if you’re a photographer, whether aspiring, intermediate or professional, you probably notice that these vacation shots are typically, well, not breathtaking. The photos are often fuzzy, blurry, or just plain boring. If you’re passionate about good photography, you probably want to do better. And we are here to help.
Sharpness
When shooting landscapes, the name of the game is sharpness. The idea is that you want everything in your image to be as sharp as possible, most of the time. The most certain way of doing this is to stop your lens down to the smallest aperture it has. This will maximize your depth of field.
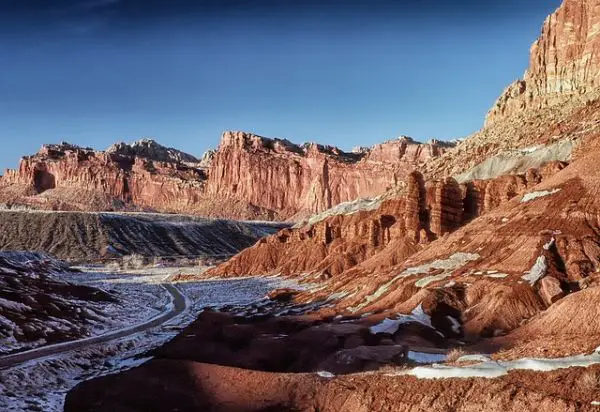
This doesn’t mean, however, that you just focus on infinity. You should still find an object to set critical focus on. If you have a zoom lens, you can make sure far-away subjects are in sharp focus by zooming in on them, focusing, then zooming back out.
Speaking of which, wide-angle lenses are going to give you the biggest landscape photos. This will allow you to include as much of the landscape as possible.
If you use the smallest aperture your lens has, you will likely need to slow your shutter speed to accommodate this. In that case, a tripod is a must-have. If you’re looking for a tripod specifically for landscape photography, keep the weight of the tripod in mind. Remember that you’re going to be carrying it around a lot outside. And yes, you most likely will have to lug it around, often up and down hills. We’ll go into changing your point of view later. Just remember, the heaviest tripod available is probably not the best bet in this case, unless you’re trying to get an endurance workout in while you’re shooting.
Another item that might prove useful is a remote trigger for your camera. Using a remote to trigger your shutter will help ensure the camera doesn’t shake when taking photos. This can be especially helpful if your tripod is on an uneven or unstable surface. Using your hand to press the shutter release on the camera itself in these situations might cause the camera to shake and ruin your photo.
Most remote triggers are inexpensive and easy to find, but if you don’t have one and don’t feel like finding one, your camera probably has another option built it. Your camera’s timer can prove just as effective. Just set the timer for two or three seconds, start it, then step away. Just make sure your camera doesn’t continue to wobble after you push its shutter release.
Lighting
Check the weather to get an idea of ideal times to shoot outside. While shooting when the sun is high in the sky and shining brightly might seem like the best time to shoot, too much sunlight can actually cause more problems than it solves.
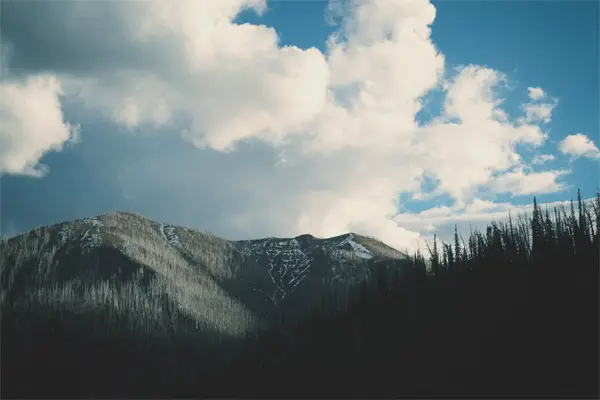
Cloudy days often provide the best lighting for shooting outdoors. The landscape will still be covered in wonderful natural light, but everything won’t be washed out or flat, like it would be if the sun was in full swing. Different weather conditions can provide different opportunities for interesting shots.
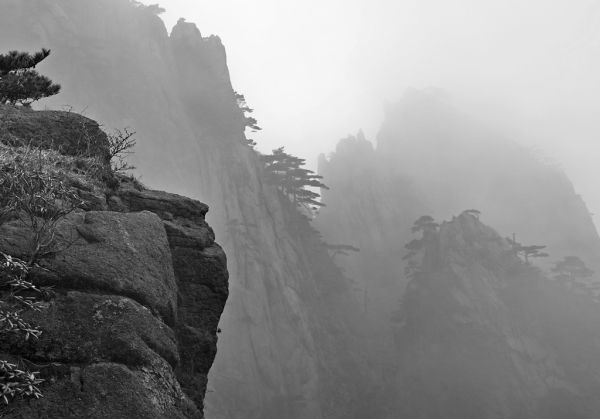
And the sun, when high in the sky and unimpeded by clouds, often means no shadows. And as any seasoned photographer can tell you, shadows often produce a great deal of visual interest, including diagonal lines, which we will get into further a little later.
Many landscape photographers take advantage of the “golden hours,” or the hours during dusk and dawn, when the sun is at its lowest during the day while still illuminating the land. These golden hours also often produce vivid colors that could make the difference between a good photo and an amazing photo.
Fill Flash
People often don’t consider using artificial light when shooting outdoors, especially landscapes. They either think it unnecessary, or they simply don’t think of it. And most of the time, there’s no need to reach for a flash when shooting landscapes. But if you’re feeling adventurous, there do exist instances when a fill flash can add that extra something that can make your photo outstanding.
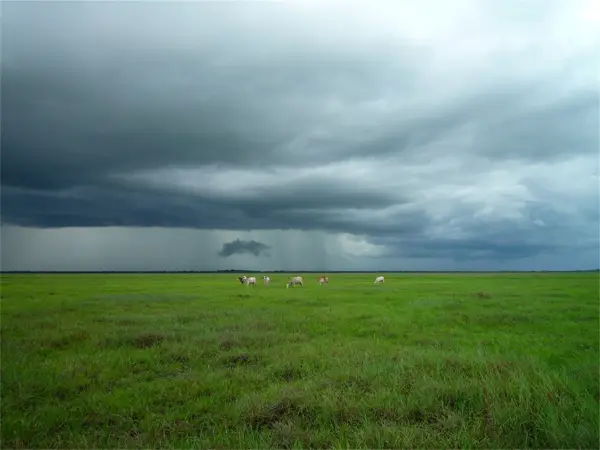
Some fill lighting can come in most handy when objects in the foreground are near you when you’re shooting, especially during those “golden hours” we mentioned earlier. In those instances, the nearby foreground objects are often underexposed. Just think back to any time you’ve tried to capture the perfect shot of the sky, only to have the objects on the ground turn out dark, or even silhouetted.
When using a flash, start by setting it to a lower brightness, then work your way up. If you’re using a flash’s TTL system, just make sure it registers the darkest area you’re shooting. If it registers the brighter parts of the image, your foreground might still turn out underexposed.
Composition
Find and include diagonal lines in your landscape images. Diagonal lines lead the viewer’s eyes around the image, ultimately making the image more interesting. This concept works especially well when photos include items in the foreground and background that create angles. Objects such as fences and train tracks often serve this purpose well. Check out our guide on including triangles in your images for more information.
Also, make sure your landscapes are balanced. This just means that, if you have an object or point of interest on one side of your image, try to include an object on the other side, too. Remember, you don’t just want people to look at your image and say something like, “Oh, what a pretty mountain.” You want them to appreciate the image as a whole. Keeping it balanced helps with this.
Hopefully now you’ll feel inspired to take your camera outside and not only take some great photos, but see your surroundings in a new way. Got any more tips for capturing great landscapes? Let us know in the comments below.
Also, make sure to check out our awesome collection of awe-inspiring websites of landscape photographers.



Nice tutorial and awesome hard-work. Thanks