I recently came across a proof book that I had shot wayyyy back in the dinosaur ages, when people used a thing called film, and photography was about your skill with a camera, not skill with your computer….but that’s a topic for another day.
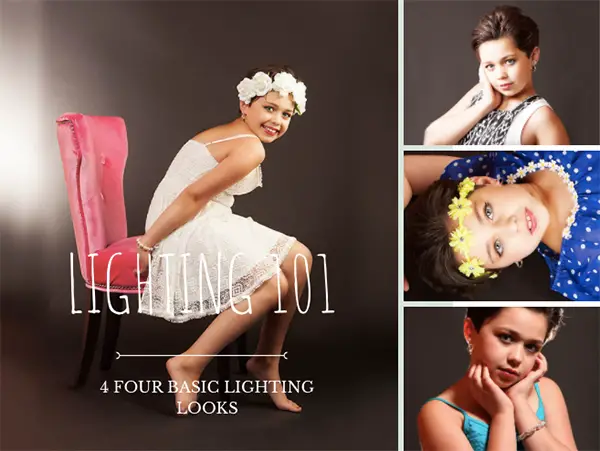
Anyway, in those days, I was all about people’s expressions, and not lighting at all, which resulted in lousy pictures of people with great expressions. Luckily, I “found the light”, saw how much better it was, and haven’t looked back, and today, I’m going to show you how to do the same.
There are four basic lighting looks, and within those looks, you can use hard light, like a professional beauty dish, a bare lightbulb, or a flashlight, or soft light, like a northern exposed window, or a softbox, so you can do all of these looks that I’m about to show you without having professional equipment or spending more than ten bucks.
Butterfly
Look at the shadow under the lovely Brooke’s nose. That’s usually where you can tell what kind of lighting is being used. The shadow falls directly straight down from her nose, and should be 1/3 to ½ way down between the nose and the lip, never touching the lip.
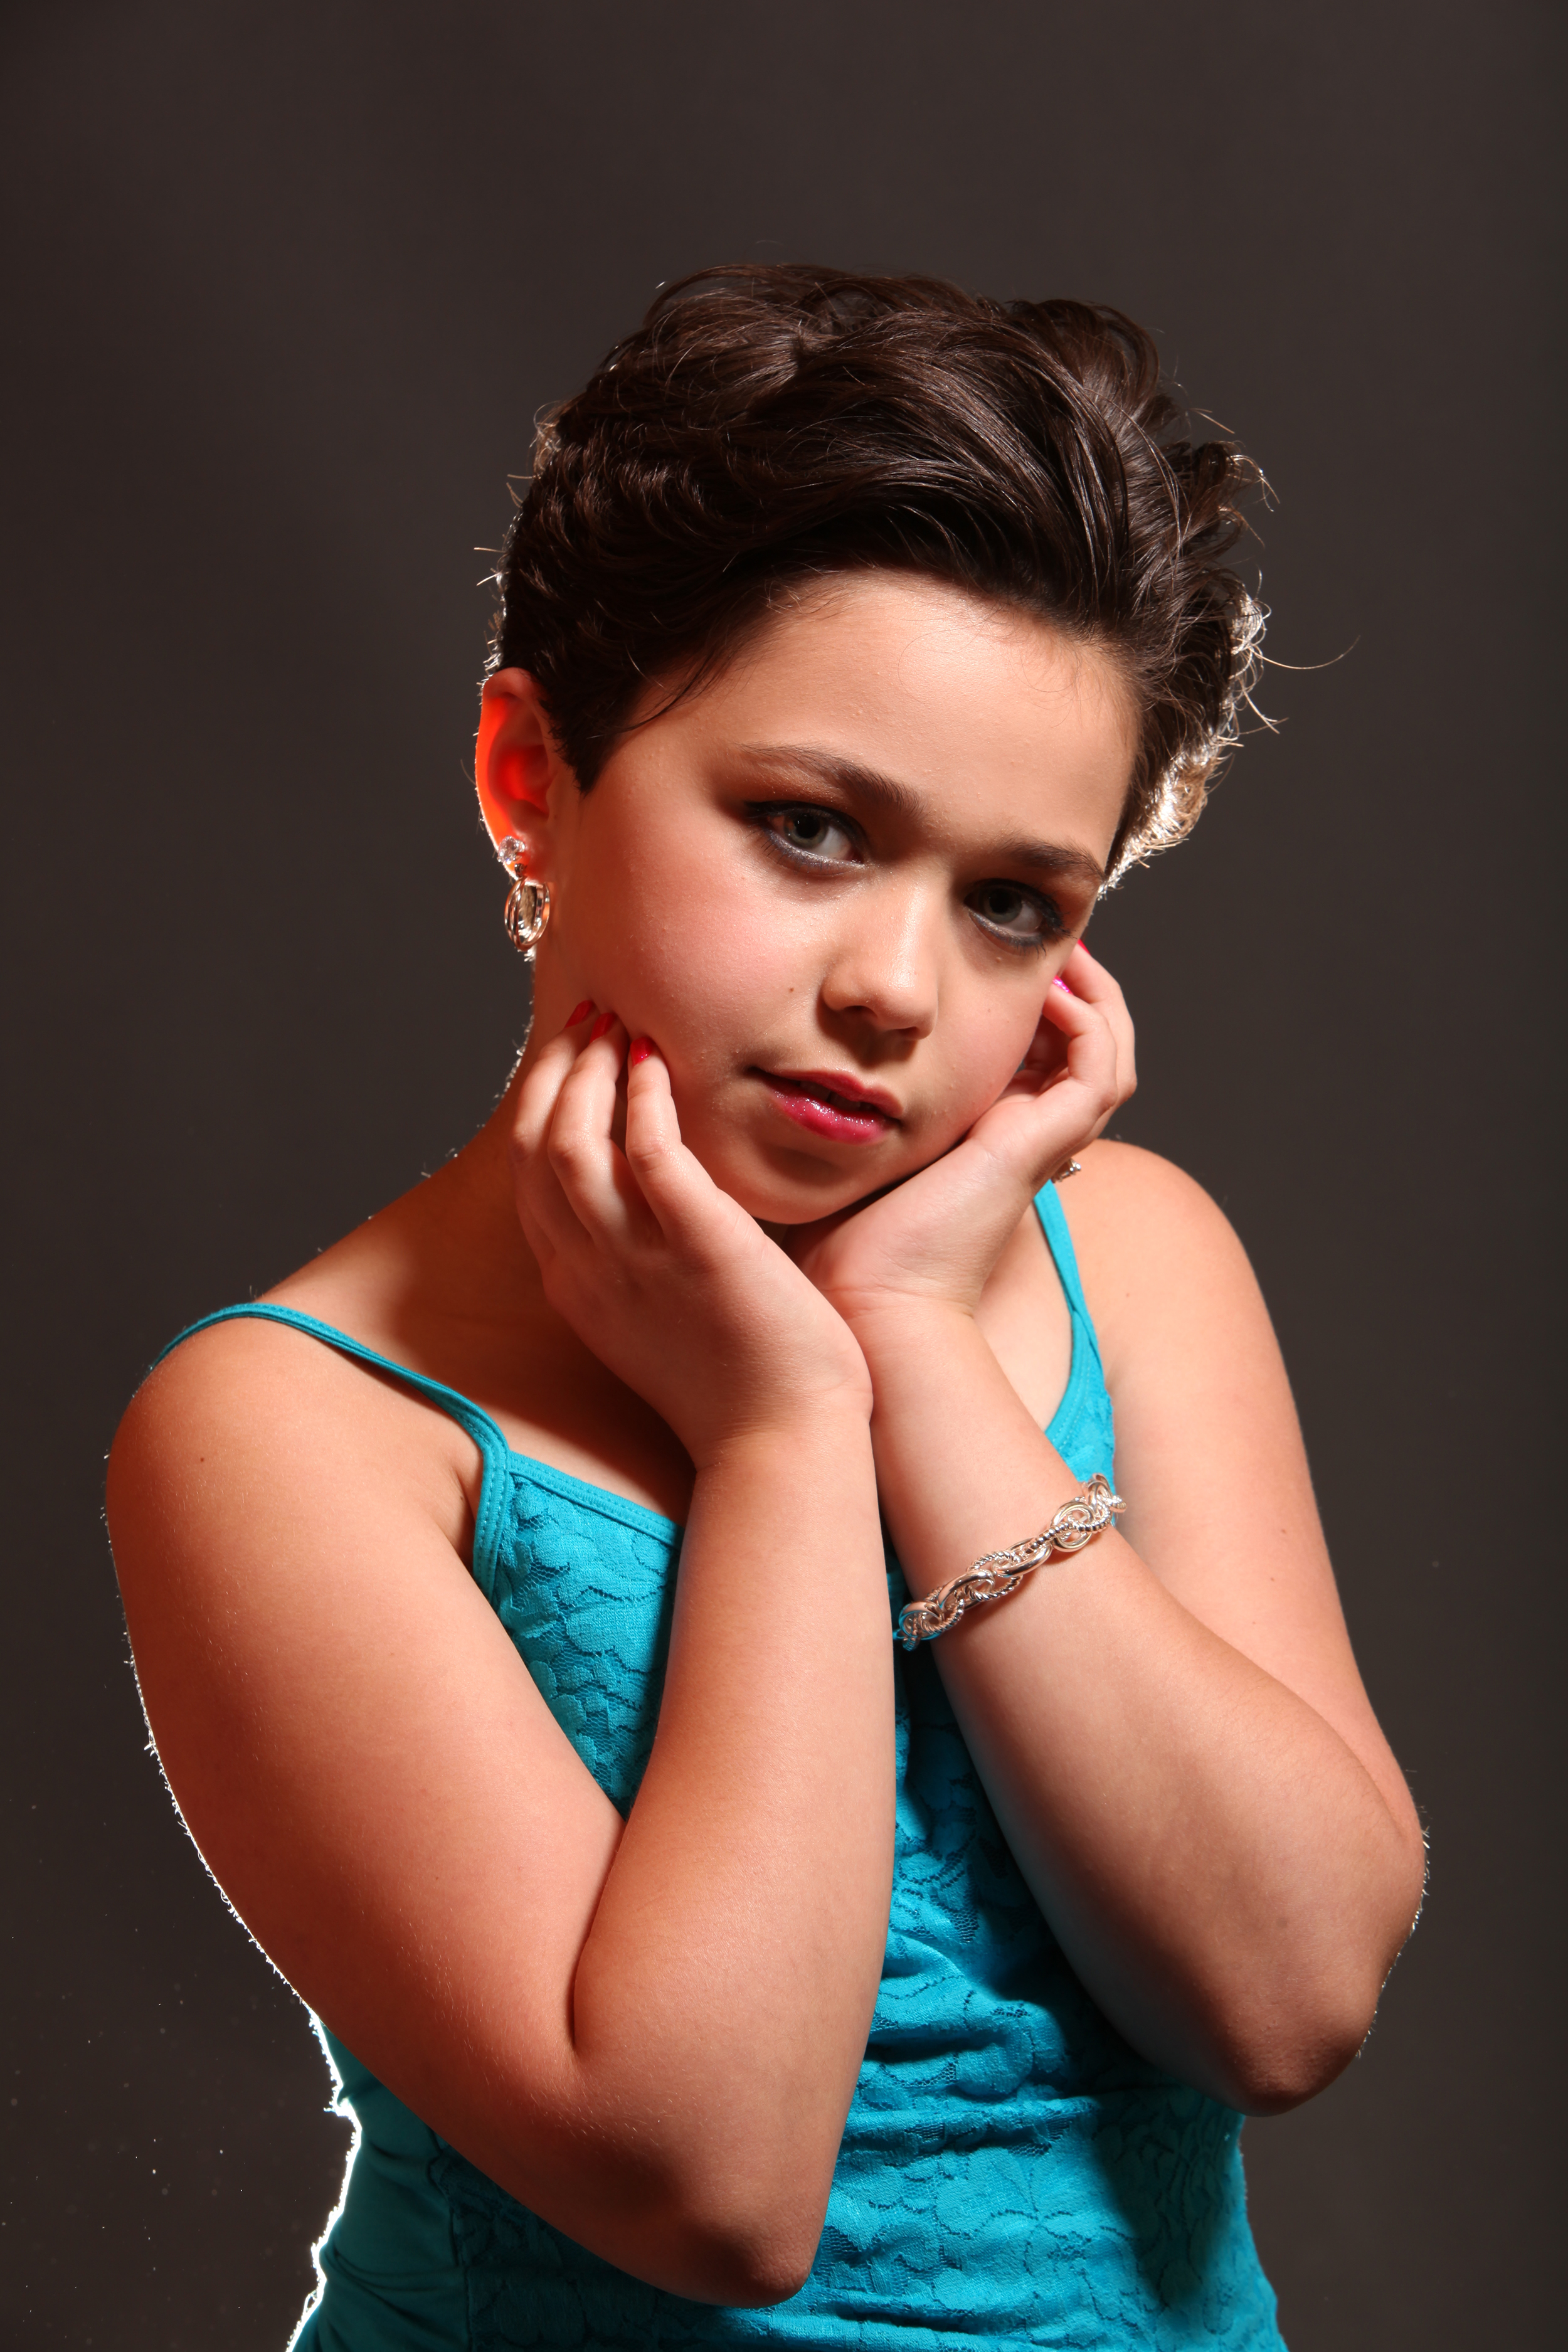
This light is a “hard light”, which not a lot of faces take well, but Miss Brooke has one of those faces that looks great in hard light. Hard light makes dark, “crunchy” shadows, while soft light makes soft, “barely there” shadows.
The key to making the butterfly go straight down is putting the light directly in front of her face, as opposed to directly in front of the camera. Brooke’s face is turned to the camera right side, so the light is placed to my right, above her, shining down.
Loop
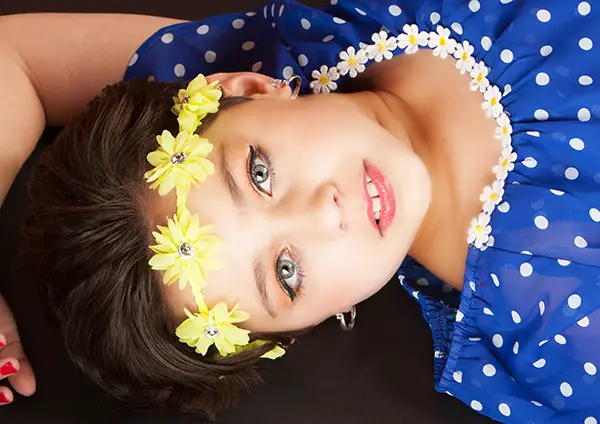
Hard light on the left, soft light on the right. A look is a shadow off the side of the subject’s nose, a third to a halfway down between the nose and lip. The nose shouldn’t touch the cheek shadow, because touching it would make it a Rembrandt light. Loops, whether in hard or soft light, are most often used for beauty lighting.
To make a loop, move the light around to the side of her face around 45 degrees, turn off the room lights, and check. If you’re having a hard time seeing it because the room is too light, take a flashlight, make the loop, and then put the light that you’re using where the flashlight was. Or just use the flashlight.
Rembrandt
See that little triangle of light on Brooke’s camera left cheek, by her nose? That is the loop connecting into her cheek shadow into a Rembrandt light. This kind of lighting is usually used on men, with a hard light to make them look rugged or wrinkly, so that’s why we used a soft light here. The light is almost behind her to make this look.
I never put drawings of where your lights are supposed to be, because then it makes you a slave to the drawing, and your model’s faces would always have to look in the same direction, instead of you actually seeing where your light needs to go, and then putting it there. I sit there and adjust the heck out of my lights before I shoot, so you can too ☺
Split
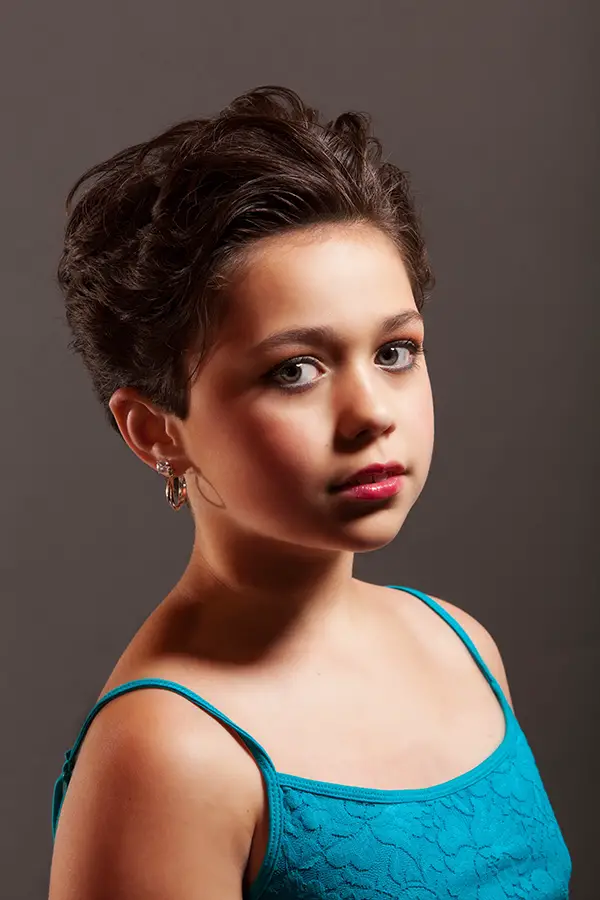
A split light is a light that illuminates one whole side of your face, and leaves the other side in shadow. This split light was done with a softbox, so a little bit of light wrapped around Brooke’s nose and made it so that her face wasn’t in complete darkness, where a hard light would have made the far side very dark.
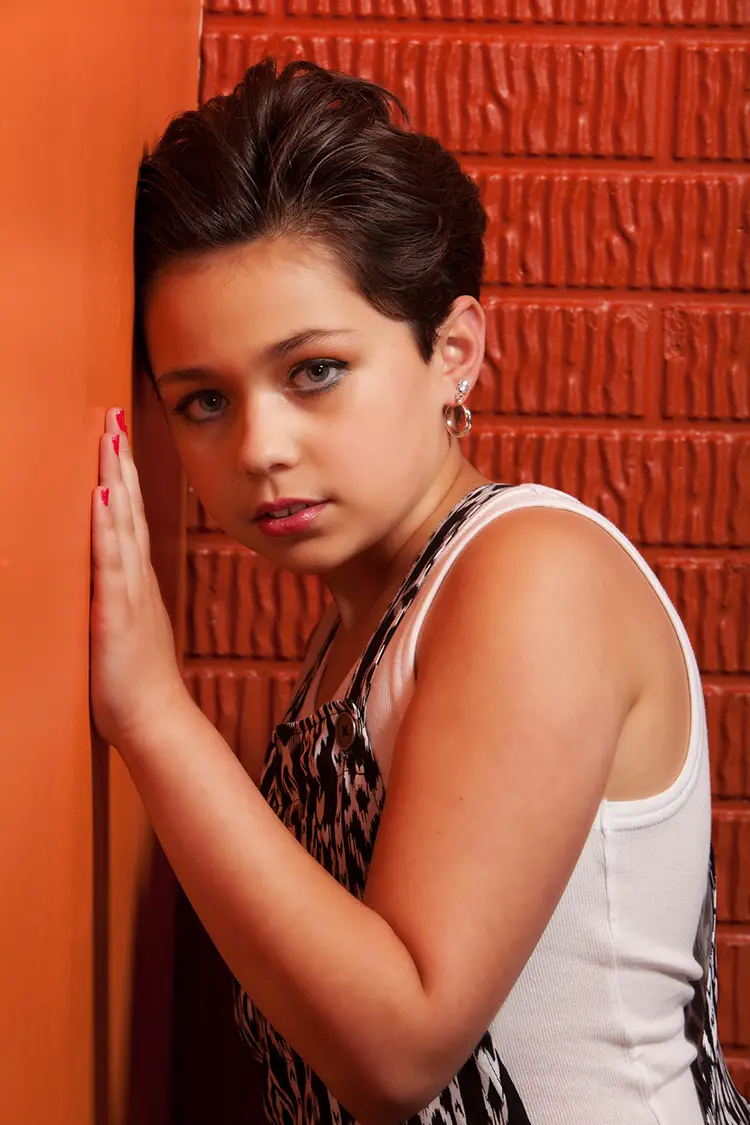
To achieve a split light, point the light source at her ear, and don’t let any of that light go past her nose. Don’t use this kind of lighting if your subject has a bump on her nose or if her nose is off center, as this will just emphasize the flaw.
So there you have it, it’s not that hard, right?! Send me your wins and fails to [email protected] and I’ll talk about them to you. Let’s get better together!


KInd of hard for me to look at pictures of 11 years old with heavy make-up. Does not sit well with me :-(…
Different light and different looking.Nice work.