So you’ve been shooting for a while and you want to add a little more visual oomph to your shots, why not try a little low key?
Low key lighting is a classic technique, a la where you use shadow and high contrast to show the shape of your model. Making the background dark can be super complicated or super easy, your choice.
The complicated theory is called the Inverse Square Law of Light, which means that in order to know how much light is lost over distance, illumination decreases by the square of the distance. The formula for this is Intensity = 1/Distance Squared.
So like for 2 feet away, you have ¼ of the initial light output. For 4 meters you have 1/16 of the initial light output, and so on. Since I usually don’t have my calculator or measuring tape on me when I’m shooting, my thought is more visual: to go low key, get a dark background along with contrasty, hard, or interesting light on your model
How to Get a Dark Background
First of all, low key lighting doesn’t necessarily mean completely black. It just means that you usually only use one light on your subject, and maybe a little bit of fill light or a reflector to keep the shadows from becoming completely black, although completely black shadows in this case are ok, too.
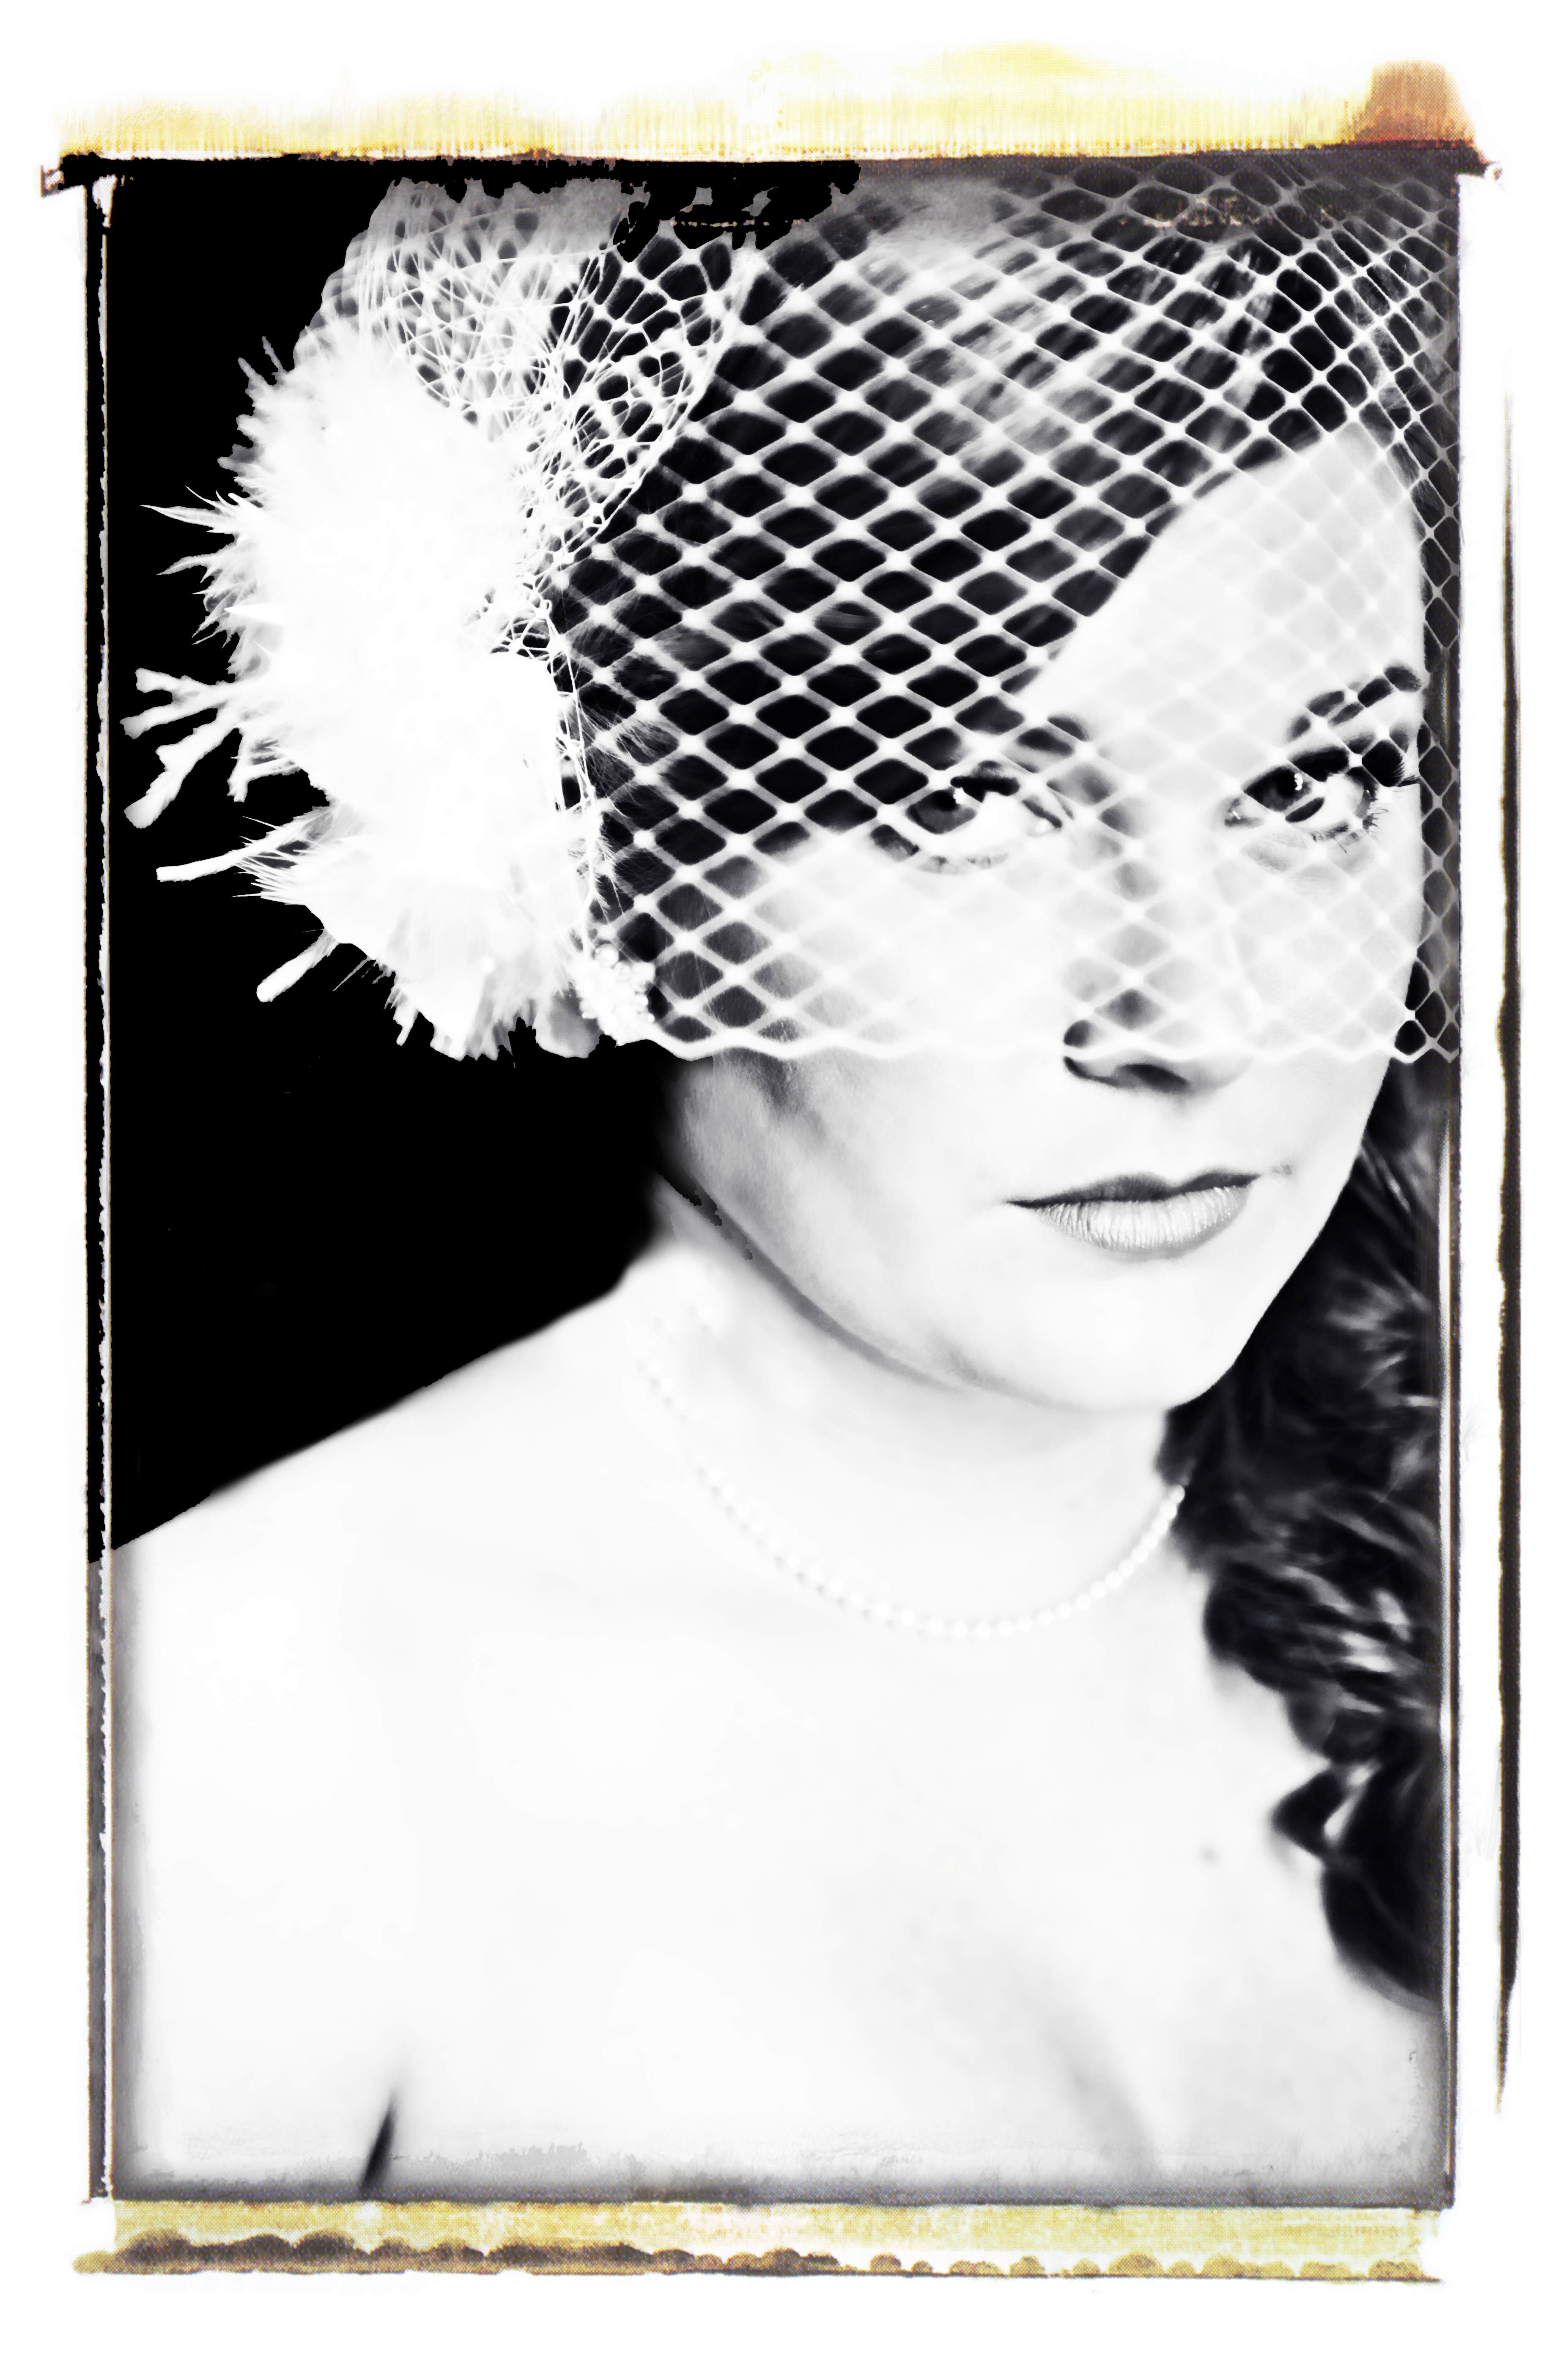
You can buy a reflector from a photo store, or you can use aluminum foil wrapped around a poster board, or the poster board by itself, or even a white shirt if that’s what you have, put it near the model, opposite your light source to kick a little bit of light into the darkest shadows. One easy way of having the background dark is to put your model at the very most lit edge of a garage, tunnel, barn or by a window. In the shot above, my bride, Erin, was having an outdoor wedding at a farm when the wind kicked up. We ran to the barn so that her hair didn’t get ruined, and I put her about a foot inside of the barn door.
There were all kinds of tractors and chickens and scary looking sling blade type things behind her, but the light fell off so much her that everything went dark. There are 7 light stops between pure white and pure black, so if your model is lit properly, say at f 5.6, and the background is 3-4 stops darker, somewhere between f16 and f 22, the background will appear black in the picture. I put my off camera flash at a 45 degree angle on camera right about a foot above her eyes to make the little loop of shadow that appears on the camera left side of her nose.
Low key lighting looks great with loops or butterflys (front light that’s directly above their eyes for women, and split light (half the face light, half dark) or Rembrandt ( a long loop of nasal shadow that connects with the shadow on the dark side of the face) for men. Low key can mean silhouettes as well.
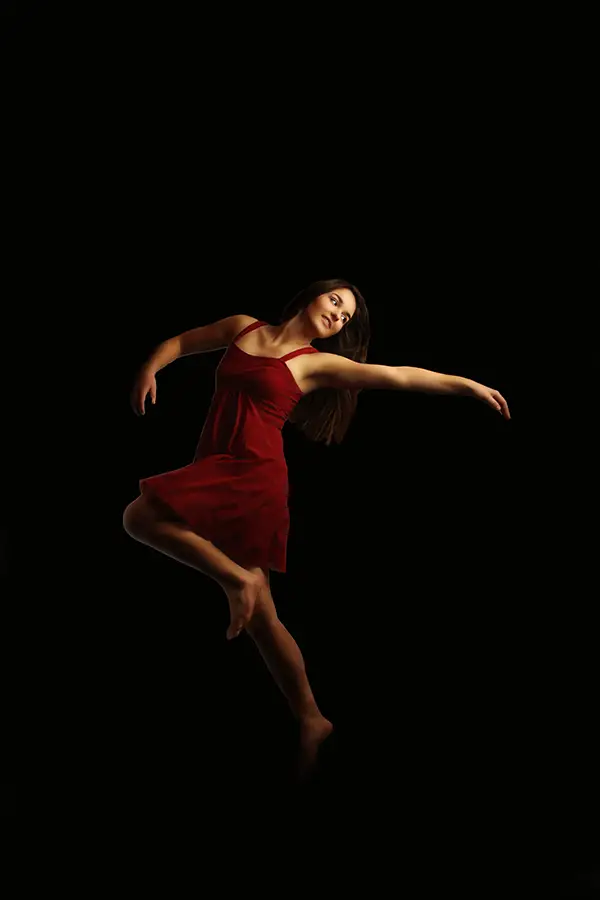
For this shot of the lovely Nicole, I lit her with one 4×6 soft box, placed at 3 o’clock, directly facing her. The box was about a foot away from her, and she was about 4 feet away from the background, which happened to be black, but didn’t need to be, since it wasn’t being lit and was a lot further from Nicole than her light was.
If you have light spilling onto the background and you don’t want it there, you can put something in the way of the light to direct it where you want it to go called a flag, which can be a prefab expensive piece of felt wrapped around a shaped wire, or you can tape black aluminum foil around the light, , hold a book there, or even put a person between the light and the model.
Low key using Natural Light

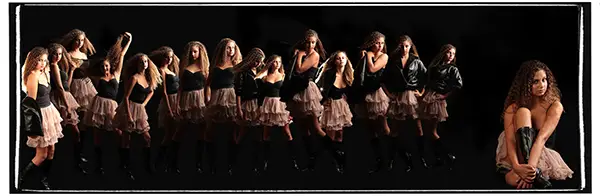
For this shot, we were outside, and the light was to the camera right side of Carmen, pretty low, but a good couple of hours before sunset. I positioned her so that she was mostly in front of bushes and hills which were in shadow, four steps darker than her face, and didn’t use any kind of reflector so that I could really show you the contrast. Having sun on your model’s face is kind of risky, since sun hurts their eyes and can cause unpleasant expressions, but dark eyes tend to take sunlight a lot more easily than light eyes, Have your model close their eyes while they turn their faces to the right position. Then count down a “ 3-2-1 open/close” so that they open, you shoot, and they close and can rest their eyes in between shots.
Think Out of the Box
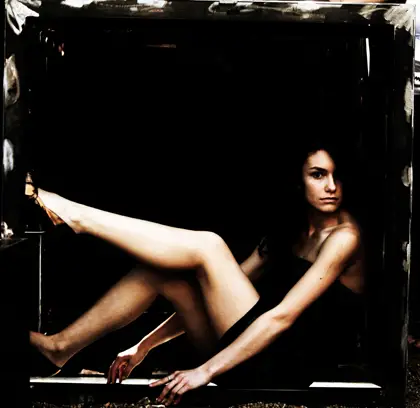
Dylan and I were wandering around the grounds of a lavish five star Phoenix resort one early afternoon with the sun directly overhead, and what attracted my eye? The cacti, the mountain vistas, the amazing architecture or floral arrangements? Nay, sire. I say nay. There was a little nasty cobweb ridden box just sitting there waiting to be thrown out, and that little beauty crawled on in like nothing. There was a tiny handhold opening on the top right of the box, and the sun came glinting through it, illuminating her back arm and the bottom of the box, her face was lit by just the diffused daylight, and the other funky white stuff around the outside of the box is just a sloppy border that I tacked on because I thought it looked cool.
Send me your low key winners and fails to [email protected], follow me on Instagram at @barbstitzerphotography, I’ll follow you back, and we can talk about your images. Let’s get better together!


Wow!!! nice job.