The world around us, that which we often consider mundane, if we consider it at all, is infinitely detailed.
The carpet beneath your feet, the grass in your front yard and along the sidewalk you stroll down each day, the corners of your cupboard behind the cereal boxes, all of these places contain mind-boggling facets and edges and curves, if we only take the time to look at them.
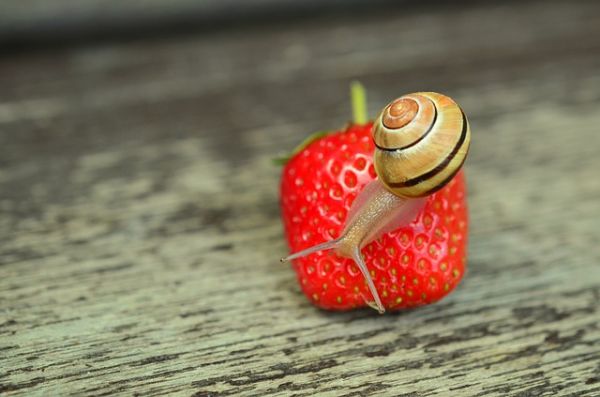
Macro photography has a specific definition that boils down to an image captured that is the same size as its subject.
So if you take a photo of a grasshopper’s head, the image that reaches your camera’s sensor would need to be the same size as the grasshopper’s actual head, or larger.
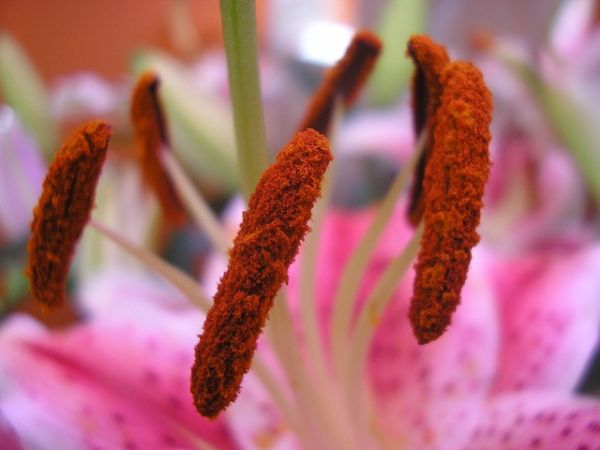
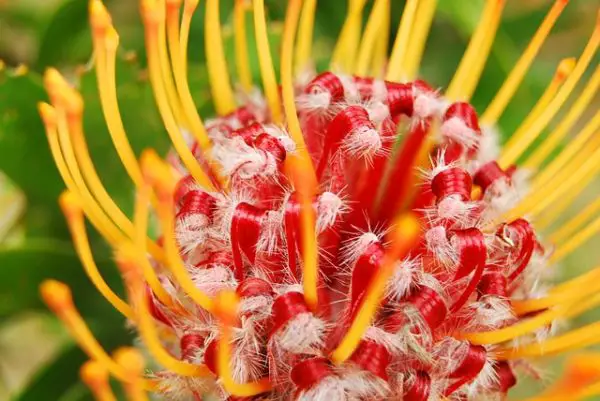
In the popular vernacular, though, the label of macro photography is applied to any close-up image showing the small, sharp details of a subject. Often, when people think of macro photography, they think of seeing details in an insect’s eyes, or the tiny bits of pollen inside a flower. And those things definitely fall under macro photography, but you as the photographer are free to shoot whatever you like.
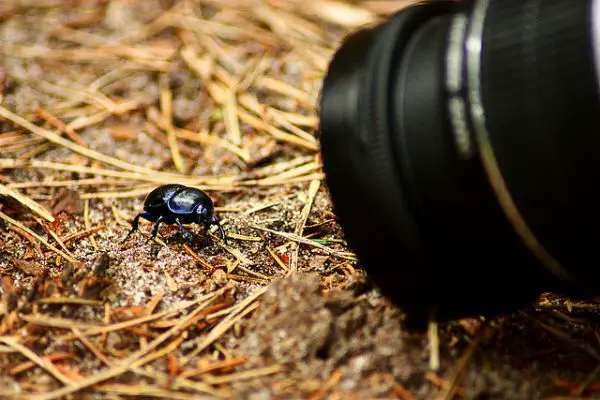
In order to encourage you and help you along, we’ve put together a few tips and bits of information that will hopefully assist you with seeing the world around you in new ways.
Do I Need an Expensive Macro Lens?
The first thing I wondered when I first thought about trying macro photography was whether I’d have to buy an expensive specialty lens. A little research, though, showed that, while using a dedicated macro lens provides the best results, there are other ways to use gear you may already have to achieve some very respectable results.
Having said that, my poking around online also showed me that macro lenses aren’t all as expensive as I’d thought. Decent quality macro lenses can be found starting in the neighborhood of $300. They go up pretty quickly in price from there. Luckily, other options are available.
If you have a small point-and-shoot camera, you might try using its macro mode. Many small cameras have this option, which adjusts the lens mechanisms to focus on subjects close to the lens. Using this mode, though, usually precludes the manual controls in favor of shooting in automatic. And of course, you won’t get the image quality that you’d achieve with a DSLR. But if you have a point-and-shoot with a macro mode, it might be worthwhile to check out.
A Series of Tubes
If you’re not able or willing to buy a dedicated macro lens, you can try using extension tubes with the lenses you already own. Extension tubes are pretty simple, for the most part. They extend the space between your camera’s lens and its sensor, which magnifies your subject. The longer the extension is, the greater magnification.
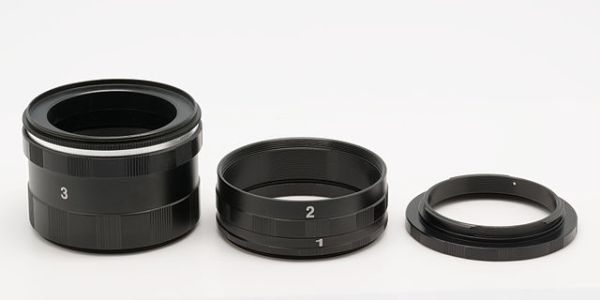
There are some drawbacks to extension tubes you should consider. The greater length of the lens barrel means less light gets to your sensor. So you’ll have to work a little harder to get your exposure right. If you’re in a controlled situation, such as shooting in a studio with extra lighting, this won’t be a problem. But shooting outside might prove a little trickier.
The other issue is that the less expensive of these tubes don’t allow you to control lens functions like aperture and focus from the camera body controls. You can still control focus from the lens, but if your lens doesn’t have a control ring for aperture, you won’t be able to control it at all.
Most major camera manufacturers also make extension tubes that allow you to maintain all of your normal controls. They cost more than the simple ones, but the added benefits might be worth the extra money.
Hold It Steady
You’ll often be shooting with a large aperture in order to let as much light in as you can, as well as to allow for selective focus. This also means you end up with a very shallow depth of field, so even the slightest movement can move focus away from where you want it. In order to avoid this, try using tripod and a cable release or remote release to eliminate any chance of camera shake.
Lighting
As is typically the case, the more control you have over your shooting environment, the better. Since macro photography typically involves brightly-lit images full of small, sharp details, you need a lot of light. If you don’t have a studio, check out our guide on easy product photography, which will show you how to make a small, cheap space for shooting high quality images of small objects.
When shooting outdoors or in uncontrolled environments, keep your backgrounds simple and bright. A shallow depth of field will help with this, but a bunch of lines and shapes behind your subject will be distracting, even if they’re blurry. But when shooting outside, finding an angle with the right background could conflict with getting the details you’re looking for in your subject. Just use your best judgment and take as many different photos as you can.
Finding Your Macro Muse
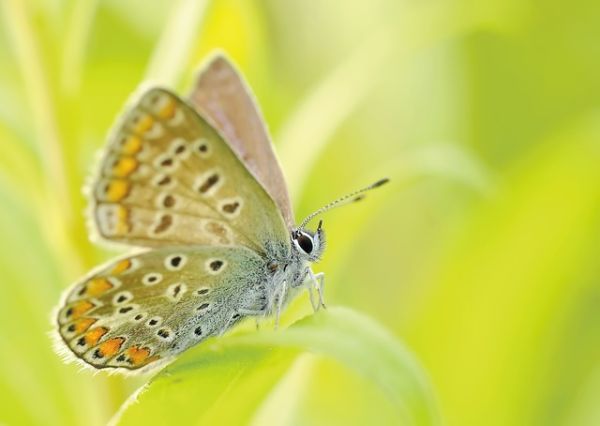
Assuming you’re all set to start getting some crazy up-close images, what are you going to shoot? Many people like to get outside and find some ladybugs and butterflies, while others are captivated by flowers and plant life. All of those subjects are fine and should provide you with plenty of subject matter.

But I’d also encourage you to get off the beaten path, figuratively, if not literally. The potential for stunning imagery is almost limitless, and often without leaving your home. Explore the nooks and crannies of your living space. Look for those forgotten corners and secret spots that only the tiniest of critters know about. Then shine a bright light in there and see what those critters are up to.


0 comments