Have you ever seen those photographers whose portfolios have so so many amazing portraits? You look at all of their pictures, wondering how they do their magic. They must have “great subjects” or work with people that aren’t camera-shy like your friend.

The truth is that great portraits aren’t about the models or how photogenic or “picture-perfect” they are, but more about how the photographer directs the model.
A great portrait is not only about the perfect exposure or the most awesome location, but about how your subject “looks” in the picture. If your subjects looks awkward or her arms look forced, well…your picture will then be a little bit less awesome. And we will admit that the idea of posing people can be really intimidating, but posing people is easier than what you think!
When shooting, it’s a lot about direction and interaction. Communication is crucial to make your subject feel good and to let her know that she is doing a good job!
If you are interested in portraiture, this is where you have to start: Don’t be shy! You need to get out there and tell people what to do (with confidence and kindness) while you work your shutter out.
Instead of studying 130 poses, simplify things by checking out some of these portrait posing tips and learning a handful of simple poses. Practice them on your own, so you can show your model what you want her to do. Sometimes showing is easier!
Take your portrait posing skills to the next level! Get our best-selling 99 Posing Tips Cheat Sheet and always have a chance to refresh your knowledge right during the shoot. The cheat sheet contains dozens of attractive poses for male, female, and couple models. Print it out or save it on your smartphone to never miss a good pose!
1. DON’T: Let your model just “stand there!”
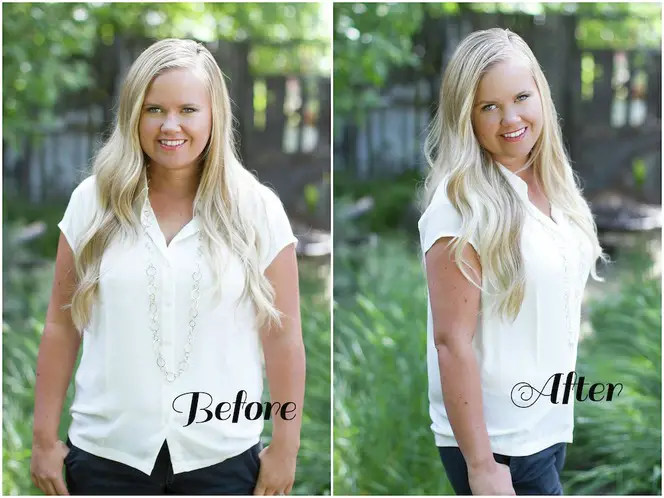
Ask your subject to turn slightly and even drop her shoulders a little bit. You will see what a big difference it makes! (Shoulders and hips are the widest parts in the human body, so it’s a great slimming tip, too!)
Make sure to give your model some tips on what to do with her hands, arms and feet. “If it bends, bend it,” say the wise ones. Help her put her arms somewhere, usually away from her body to create a more dynamic line, and even ask her to tilt her head to the side .
TIP: Don’t shoot people straight on from the front all the time. You can move your feet as well!
2. DON’T: Forget about the light
Pretty light makes pretty pictures. Outdoor portraits are a great choice since you have different backgrounds and multiple choices to work with. However, don’t forget about facing people the right way!
You could easily ruin the photo with the wrong direction of light and the perfect pose. Check the shadows in your subject’s face, and make sure you are not creating strange shadows with her direction to the light.
Facing your subject directly to the sun can create non-flattering shadows and make her squint.
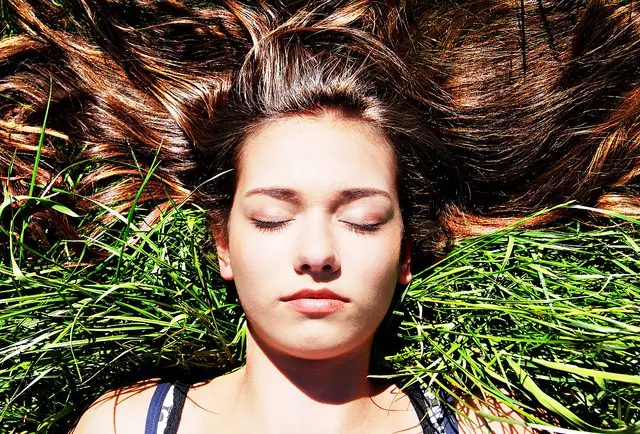
Check this tutorial on “Identifying light” to know where the light is coming from and how soft it is!
3: DON’T: Make the session go on forever
Part of the magic of shooting pictures is for your subjects to feel happy and relaxed when they are done!
When you find a great pose that looks great, zoom in or zoom out, and try different angles by moving yourself. Try small changes to the heads or where they are looking at! This saves so much time and works better than getting into a whole, new pose. Maximize the time in the spot you choose for the pictures, too.
You might need to be the one to check and realize when everyone is done or when the kids are tired. Make an enjoyable experience for everyone!
TIP: Do keep shooting between poses to maximize the time and get some spontaneous shots!
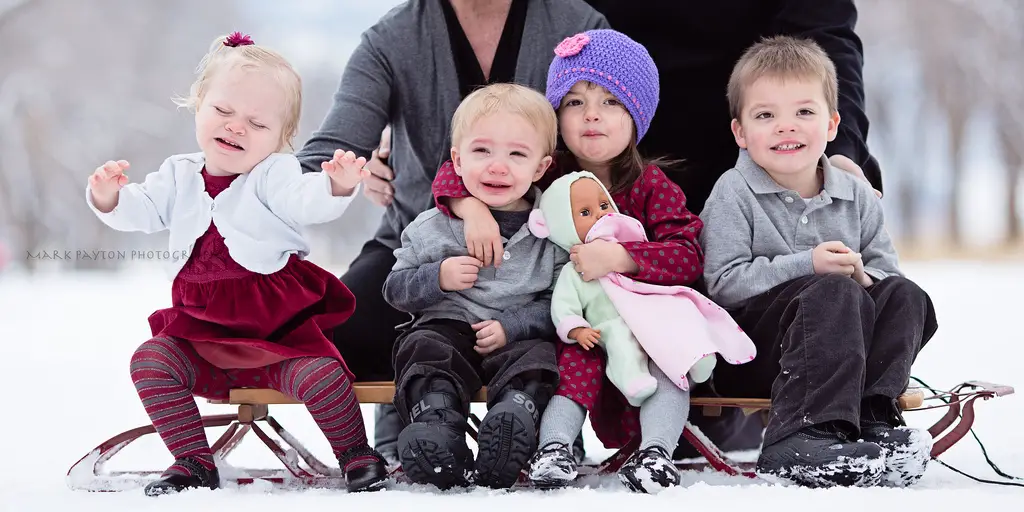
4: DO: Capture real moments by incorporating an activity
Give your subjects direction or a little something to do. If you are photographing a couple, you can ask them to look at each other or kiss or walk towards you and talk about something fun. During this time, use your zoom, and get close to those expressions.
If you are photographing a family or a group, ask them to interact with each other, to move around and to be a little bit silly (or a lot).
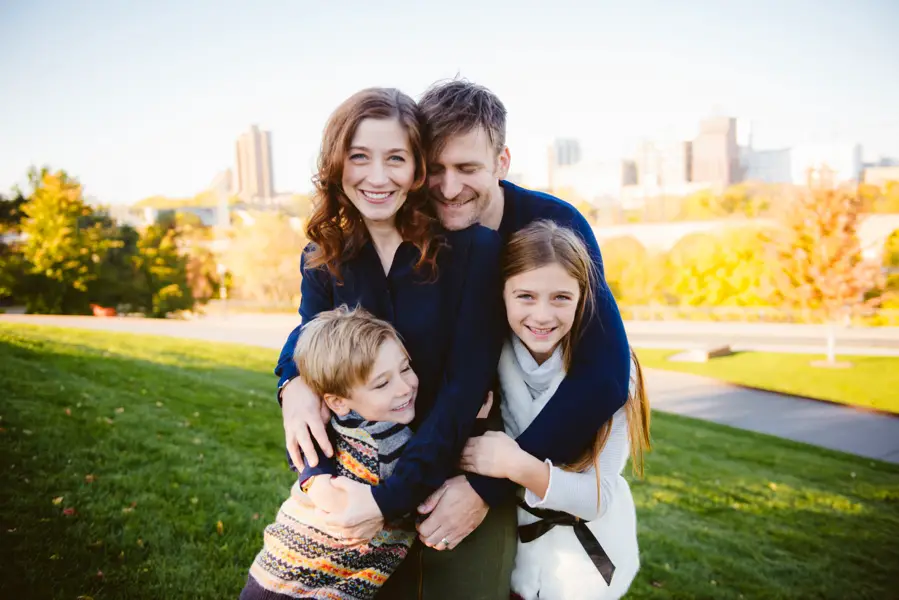
TIP: Don’t have your subjects pretend they’re something they’re not, and avoid under all circumstances any of these awkward poses.
5: DO: Keep a conversation going
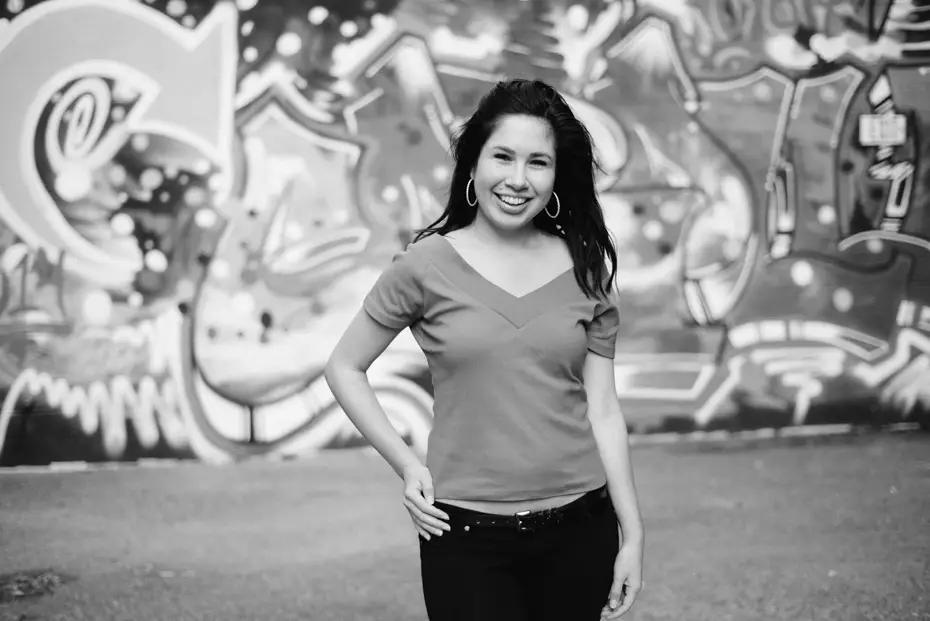
Not only are you building a connection with your subject, but you are also helping them feel more comfortable during the session.
Ask them about their favorite TV show or how they chose their outfit. Jokingly ask them about their modeling contract or something you can think of to help them relax!
Don’t rely on the word “cheese” or “smile” all the time. Look for real smiles, and be silly and tell silly jokes!
TIP: Ask them for a fake laugh, and then get them laughing about themselves.

6. DO: Avoid double chins and other mishaps
Double chins happen to all of us! Avoid shooting from a lower angle (keeping the camera at eye level or shooting from above).
Even better, help your model accentuate her jawline by asking her to bring her forehead “out” and “down.”
Watch this video “It’s all about the Jaw” by Peter Hurley.
Ask her to stand straight up or sit straight up if needed, and don’t be shy about asking her to fix her shirt or blouse. Don’t hesitate in letting her know if something looks strange! 🙂 You will be happier to edit less in post-processing!
TIP: Don’t forget the background! Avoid a lot of editing time by cropping the picture IN camera, remove clutter from the background and avoid posing your subject’s head right in front of a lamp post.
***
Don’t dare to forget to read our “How to pose in Pictures” article to rock your pictures!
More on poses? Check: 7 Poses to get you 21 Different Photos.
For more posing tips, you can refer to some of these posing articles by Digital Camera World.
The “Posing Guide” Series by Digital Photography School has eight articles on photographing women, men, children and more!


quick tip for photographing women- have them angle slightly away from you, , drop leading shoulder just a wee bit, keep head fairly level, and have them stretch and point their chin slightly towards you- this will give a give sharp chin line and reduce the double chin effect which your client will appreciate when you point out why you want them to contort in such a manner- it will feel a little awkward for them at first stretching their chin forward, but the results will speak for themselves and give a slimming effect to the neck and chin area-
woops I see further down that the tip I gave was covered- carry on soldier!
That Peter Hurley video was exactly where I got the tip from too- He’s a phenomenal photographer who really zeros in on small details and features in order to bring out the best in his clients- well worth watching the video