In Part 1 and Part 2 of the Retouching with Cloning Tools series, you learned what cloning tools are used for and the differences between each tool. In this part of the series, you will follow a step-by-step tutorial to learn how to remove power lines (or other unwanted objects) from an otherwise beautiful photograph.

This particular image contains distracting power lines on the left side of the stylish building, but the photo is oriented in such a way that simply cropping them out would look strange. Fortunately, there is plenty of white sky near the power lines to work with, so it will be easy to do some retouching using the cloning tools. Feel free to follow along in Photoshop and practice with your own image!

Step 1:
Open the image in Photoshop. Press Ctrl+Shift+N to create a new layer. Name the new layer “Retouch.”
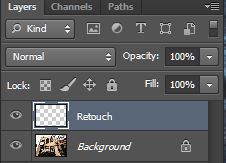
Step 2:
Press J to active the Healing Brush Tool. This tool is represented by an icon that looks like a bandage. Right-click the icon and select “Healing Brush Tool.” Select “All Layers” from the Sample drop down menu at the top of the screen.
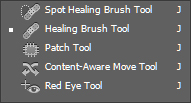

Step 3:
Zoom in on your image (Alt+Scroll) until you can clearly see the power lines. Hold Alt and click anywhere in the sky area to define the sample. Click-and-drag to draw over the power lines. Stop drawing right before you get to the edge of the building (if you go all the way to the edge, the healing brush tool will try to blend the sky with the edge of the building). After you are finished, the power lines will be most gone; however, miscolored blobs will have replaced them.



Step 4:
Right-click the Healing Brush Tool icon and select the Patch Tool. Draw around the dark blobs to make a selection, and then click-and-drag to an area of white sky or clouds to sample the new area. Release the mouse. Repeat this step until all of the blobs are gone.

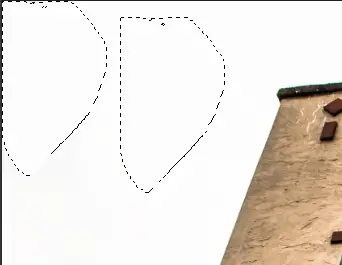
The only trace of power lines that remain on the photo now are the ones closest to the building. In order to prevent the smart tools from including the building the sampling, we need to force Photoshop to only take into account the area of sky behind the building. The easiest way to to this is to make a selection that only contains the sky and the leftover power lines.

Step 5:
Press W to activate the Quick Selection Tool. Click inside the area of sky. Click again in other part of the sky. Keep clicking until the only the sky and power lines are selection. If you make a mistake, Alt-click to subtract the mistake area from the selection.


Step 6:
Press S to activate the Clone Stamp Tool. Alt-click anywhere in the sky to define the sample area. Draw over the power lines until they are completely gone.
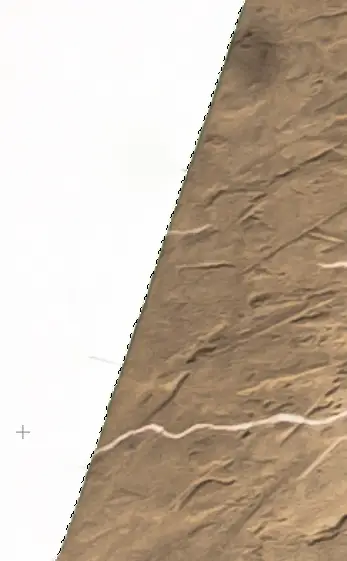
Here’s the final image.



Thanks for another brilliant post, Melanie!
And I’ve noticed that you have a beautiful new profile picture 🙂
cool and easy to follow tutorial. thanks 🙂