Imagine a photograph where time and space seem to bend and warp, creating surreal, elongated images that defy reality. This is the world of slit scan photography, a fascinating technique that has captivated artists, filmmakers, and scientists for decades.
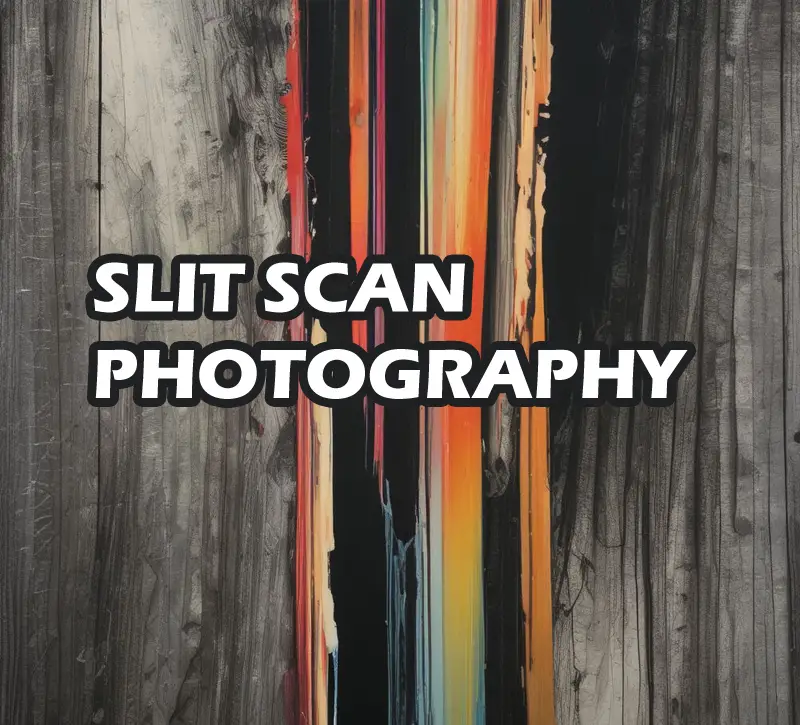
Slit scan photography is a unique method that captures motion over time, resulting in images that appear stretched or distorted. This technique first gained prominence in the nineteen sixties, most notably in Stanley Kubrick’s iconic film two thousand and one A Space Odyssey. The mesmerizing Stargate sequence in that film was created using slit scan photography, introducing audiences to its mind-bending visual effects.
Slit scan photography is a captivating and unconventional technique that produces striking, abstract images that defy traditional photography. This method involves capturing a scene or subject through a narrow slit, which moves across the image sensor or film, creating a unique, distorted representation of reality.
History
Slit scan photography has a rich and fascinating history that spans over a century, with roots in early scientific and astronomical photography. From its humble beginnings to its modern applications, slit scan photography has evolved through the contributions of pioneers, scientists, and artists.
Early Beginnings (1850s-1900s)
The concept of slit scan photography dates back to the 1850s, when French physicist Louis Fizeau used a rotating wheel with a narrow slit to measure the speed of light. This early experiment laid the foundation for the development of slit scan photography.
In the late 19th century, astronomers like Pierre Janssen and Warren de la Rue used slit cameras to capture solar eclipses and celestial events. These early slit cameras were designed to record the passage of time, allowing astronomers to study celestial phenomena in unprecedented detail.
The Pioneers (1900s-1940s)
In the early 20th century, scientists and photographers began to experiment with slit scan photography as a means to capture high-speed events. Harold Edgerton, a pioneer in high-speed photography, developed a slit camera in the 1930s to capture rapid events like bullet trajectories and explosions.
Frank G. Rudy, an American photographer, is credited with creating the first slit scan camera for artistic purposes in the 1930s. Rudy’s camera used a rotating drum with a narrow slit to capture abstract, distorted images.
The Artistic Era (1950s-1980s)
In the 1950s and 1960s, slit scan photography began to gain popularity among artists and photographers. John Stehura, an American photographer, created striking slit scan images that explored the relationship between time and space.
Andrew Davidhazy, a Hungarian-American photographer, is known for his innovative slit scan work, which pushed the boundaries of traditional photography. Davidhazy’s images often featured abstract, distorted representations of everyday scenes.
Digital Era (1990s-Present)
The advent of digital technology has greatly simplified the slit scan photography process, making it more accessible to photographers and artists. Stephen Wilkes, an American photographer, has used slit scan photography to create stunning, large-scale images that blend multiple moments in time.
Notable modern artists and photographers who have worked with slit scan photography include:
- Alex Reben: Known for his innovative use of slit scan photography in art and advertising.
- Cristina De Middel: A Spanish photographer who has used slit scan photography to create surreal, abstract images.
- Julian Beever: A British artist who has used slit scan photography to create mind-bending, 3D-like images.
Applications
The applications of slit scan photography extend far beyond cinematic special effects. In the world of sports, it has been used to capture photo finishes in races, precisely recording the order in which competitors cross the finish line.

Scientists have also employed this technique to study motion and time in various phenomena, from fluid dynamics to animal locomotion.
With the advent of digital technology, slit scan photography has evolved and become more accessible. Digital cameras and software now allow photographers to experiment with this technique without the need for specialized equipment. This has opened up new creative possibilities, enabling artists to push the boundaries of visual representation and challenge our perception of time and space.
The artistic potential of slit scan photography is vast. Photographers have used it to create dreamlike landscapes, abstract portraits, and surreal cityscapes. By manipulating the speed and direction of the slit movement, artists can produce a wide range of effects, from subtle distortions to completely abstract compositions.
Slit scan photography continues to intrigue and inspire, bridging the gap between art, science, and technology. Its ability to visualize time and motion in unique ways offers a fresh perspective on our world, reminding us that there are always new ways to see and interpret reality.
Whether used for artistic expression, scientific analysis, or simply to create captivating images, slit scan photography remains a powerful tool in the visual arts, inviting us to explore the boundaries of perception and imagination.
Principle and Process
In traditional photography, the entire image sensor or film is exposed to light simultaneously, capturing a two-dimensional representation of the scene. In contrast, slit scan photography uses a narrow slit, typically 1-10 mm wide, to expose the image sensor or film. This slit is moved across the sensor or film, scanning the scene horizontally or vertically, to capture a single, continuous image.

The process can be broken down into the following:
Step 1: Camera Setup
- Slit creation: Create a narrow slit, typically 1-10 mm wide, using a razor blade, a piece of cardboard, or a specialized slit scan camera. The slit can be horizontal or vertical, depending on the desired effect.
- Camera modification: Modify a camera to accommodate the slit. This can involve attaching the slit to the camera lens, creating a custom camera body, or using a specialized slit scan camera.
- Image sensor or film: Use a digital image sensor or film to capture the image.
Step 2: Scene Preparation
- Subject selection: Choose a subject or scene that will benefit from the slit scan effect. This can include moving objects, stationary scenes, or abstract compositions.
- Lighting: Control the lighting to achieve the desired effect. Slit scan photography often requires careful management of light and shadow.
- Composition: Compose the scene, taking into account the slit’s movement and the desired distortion.
Step 3: Exposure
- Shutter speed: Set the shutter speed to a slow value, typically between 1-30 seconds, depending on the desired effect.
- Slit movement: Move the slit across the image sensor or film, exposing it to light. The slit can move horizontally, vertically, or at an angle, depending on the desired effect.
- Exposure control: Control the exposure to achieve the desired level of brightness and contrast.
Step 4: Image Capture
- Image formation: As the slit moves across the image sensor or film, it captures a continuous, distorted image.
- Data capture: In digital cameras, the image data is captured and stored. In film cameras, the film is exposed and developed later.
Step 5: Image Processing
- Digital processing: In digital cameras, the captured image data is processed and corrected for distortion, color, and brightness.
- Film development: In film cameras, the exposed film is developed and scanned or digitized for further processing.
- Post-processing: Apply post-processing techniques, such as color grading, contrast adjustment, and cropping, to enhance the image.
Step 6: Image Review and Refining
- Image review: Review the captured image, evaluating its composition, distortion, and overall effect.
- Refining the process: Refine the slit scan process, adjusting the slit width, shutter speed, and composition to achieve the desired effect.
Tips and Variations
- Experiment with slit widths: Vary the slit width to achieve different levels of distortion and abstraction.
- Use different shutter speeds: Adjust the shutter speed to control the level of motion blur and distortion.
- Try different slit movements: Experiment with horizontal, vertical, or angled slit movements to create unique effects.
- Combine with other techniques: Combine slit scan photography with other techniques, such as multiple exposures or panoramic photography, to create complex, abstract images.
Characteristics and Effects
Slit scan photography produces images with distinct characteristics, including:
- Distortion: The image is stretched and distorted, with objects appearing elongated or curved.
- Time compression: The slit scan process captures a period of time, compressing it into a single image.
- Motion blur: Moving objects create blurred trails, while stationary objects remain sharp.
- Unconventional perspective: The narrow slit creates an unusual, almost tunnel-like perspective.
Uses

Slit scan photography has been used in various fields, including:
- Art and fine art photography: Slit scan photography has been used to create striking, abstract images that challenge traditional representations of reality.
- Scientific and technical applications: Slit scan photography has been used in fields like astronomy, medicine, and materials science to capture unique, high-speed phenomena.
- Advertising and commercial photography: Slit scan photography has been used to create eye-catching, attention-grabbing images for advertising and commercial purposes.
Challenges and Limitations
Slit scan photography presents several challenges and limitations, including:
- Camera setup and calibration: The slit must be precisely calibrated and aligned to ensure proper image capture.
- Lighting and exposure: The slow shutter speed and narrow slit require careful control of lighting and exposure.
- Subject movement: Moving subjects can create unwanted blur or distortion, making it challenging to capture sharp images.
Examples
Here are some stunning examples of slit scan photography, showcasing the creative possibilities of this unique technique:
Paul Bourke
Douglas Trumbull
Nikita Shokhov
Brian Donovan
Jim Kasson
These examples showcase the creative possibilities of slit scan photography, from capturing motion and distortion to creating surreal, abstract images.
Conclusion
Slit scan photography is a unique and fascinating technique that offers a fresh perspective on traditional photography. By understanding the principles, process, and characteristics of slit scan photography, photographers and artists can unlock new creative possibilities and produce striking, abstract images that push the boundaries of visual representation.
I hope you enjoyed reading this article and learning about slit scan photography. Click on the following link to learn about motion blur photography.


