Post processing is an important part of photography. No matter how good you are at photography, your commercial success depends entirely on your final product. Using Adobe Lightroom and other post processing software, you can transform your photograph into a truly remarkable commercial success.
Stock Photography is one of the most proficient ways of earning money for photographers but it has become very difficult for newbies to even pass the initial quality control test for different stock agencies. This tutorial is simply about overcoming that obstacle by editing your photographs in such a way as to make those appealing both for the agencies and the clients.
I’m going to explain the process by editing one of my own stock photographs.
The RAW mode Factor
The first rule of stock photography is that you should always take your photographs in RAW mode. RAW format gives you full control over editing exposure, balancing color, adjusting contrast, shadows and much more.Moreover, it’s free of all those compression artifacts that would otherwise ruin a great image.
Remember to take special care of the lights and exposure in stock photography as it would later determine the amount of balancing that your image requires. Under exposed photographs require some heavy editing and it always results in loss of fine details of the image. So, it’s always better to ensure proper exposure beforehand.
Step 1 – Taking the Photograph
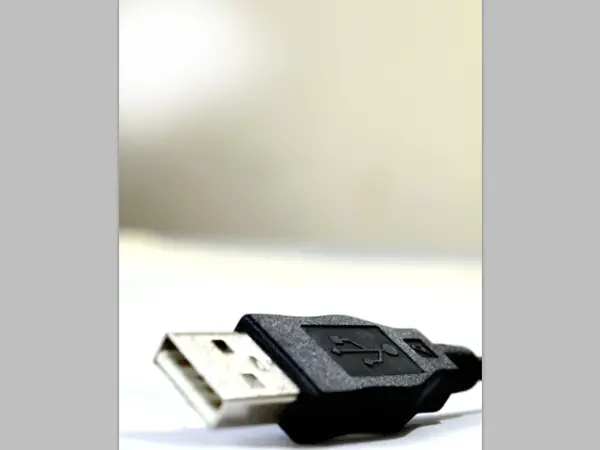
I have taken this stock photograph especially for this tutorial. It’s a simple image of a USB plug against white background. Although the background is not at all white but we are going to adjust that. Most of the stock photographs are basically taken against a white background. You can’t manage a full white platform unless you’re shooting in a studio. In this case I have placed the USB plug on a white card board and isolated it at almost 2 feet from an off-white wall.
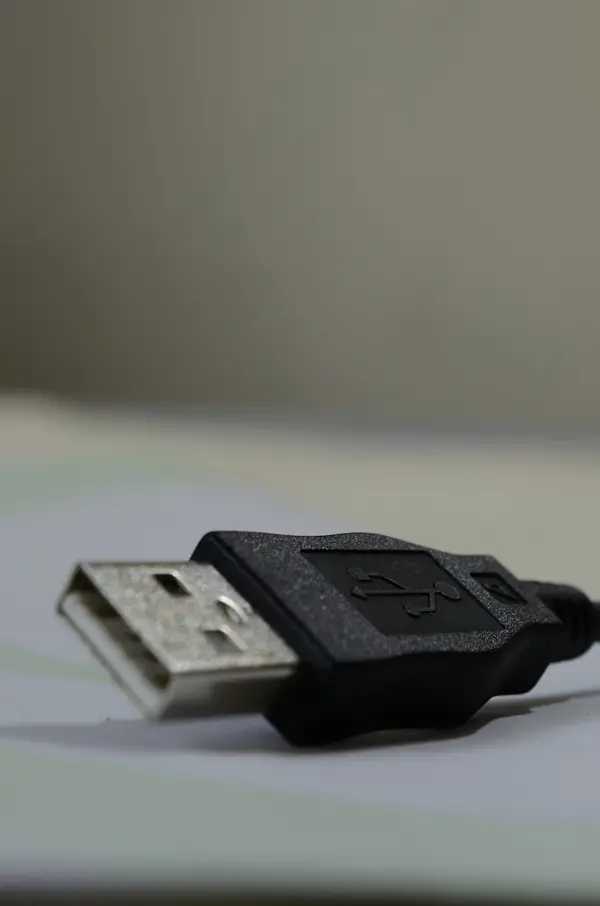
In order to isolate the object, I blurred out the background by using f/11 aperture at focal length of 52 mm. The shutter speed was 1.3 seconds with an ISO of 100. I used a tripod stand in order to maintain the sharpness of the image at slow shutter speed.
Step 2 – Setting the Exposure
I have used ViewNX2 software which is the standard Nikon RAW editor for editing RAW images. The first thing is to set the exposure. I took this photograph in a bit dim light so I knew I had to expose this a bit in order to isolate the object from the background.
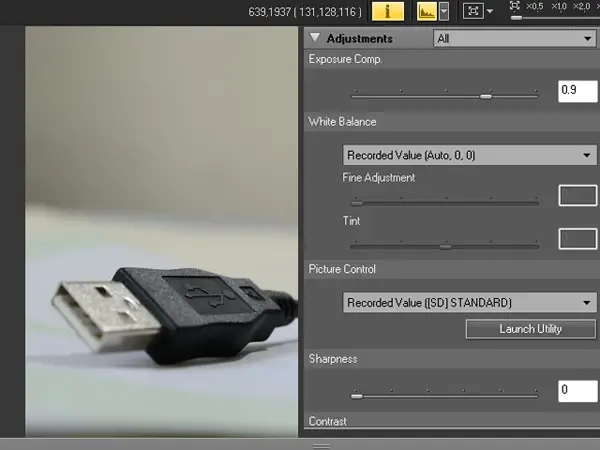
I set the exposure to 0.9 to highlight some major hidden details of the photograph.
Step 3 – Adjusting Contrast and Brightness& Shadow Protection
Contrast and brightness determines the main impact factor of your photograph. If used properly, it can bring out the best out of your image. Shadow protection is a great feature of ViewNX2. It allows you to decrease the intensity of shadows that gets created in case of high exposure photography. I always use high contrast for stock imagery as it puts more emphasis on the subject and helps more in its isolation.
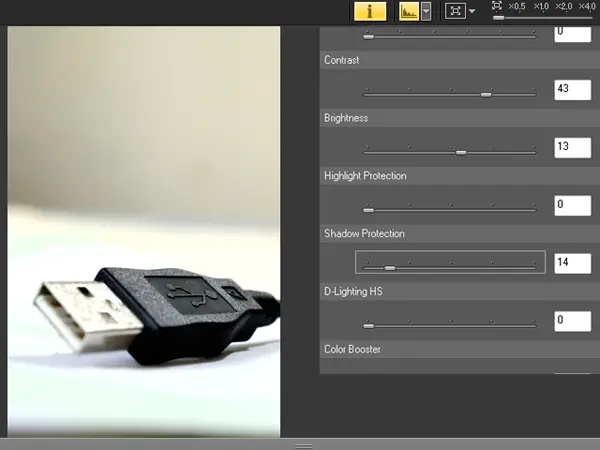
A small increase in brightness would add a lot more to the image if it’s used with high contrast. One of the downsides of increasing contrast is creation of more shadows. These shadows have grave impact on the overall image quality so in order to decrease those; I set the shadow protection accordingly.
Step 4 – Photoshop Editing
Before editing the image in Photoshop, I ensure three things:
1. Proper exposure of the subject
2. Isolation of the subject from the background
3. Appropriate brightness to make the base of the subject white
These three things would help me removing the background completely so the entire focus of the photograph shifts towards the subject.
After setting the exposure, I saved the RAW image as High Quality JPEG and imported it into Adobe Photoshop CS5.
In order to make the background white, I use brush tool. In this case I used a 1400 sized normal brush with 0% hardness to smoothen out the edges. Sometimes using such large brush size might cause spreading of the color over the main subject so it’s better to use a smaller size in case you’re doing some fine touches. The hardness should always be at minimum as it prevents formation of harsh pixels and boundaries.
After clearing out all the unnecessary details in the background with brush tool, I used curves and levels adjustment panel to fine tune the contrast and exposure levels. The final result came out to be this.
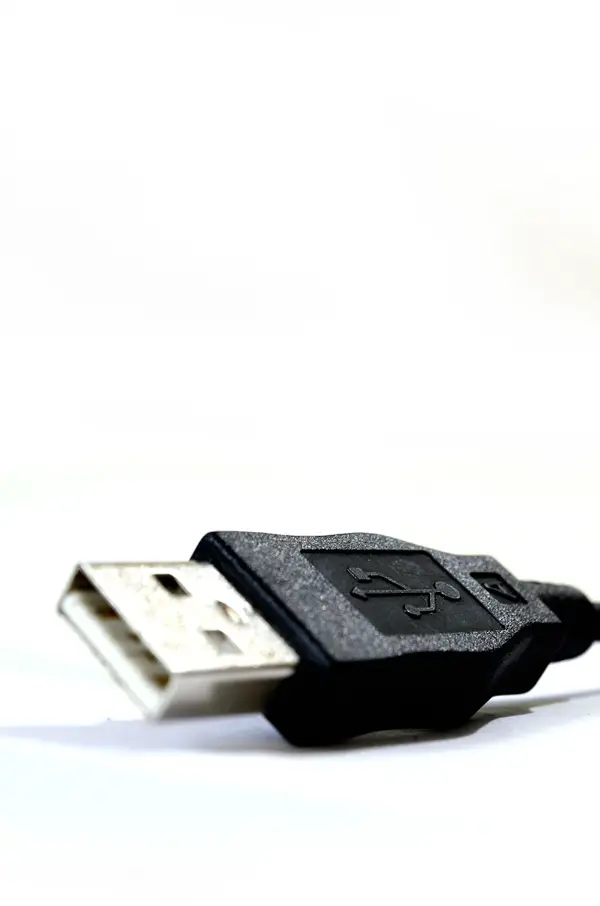
Final Image
The final image has a sharply focused object isolated against white background. It looks far more suitable for stock submission then before. Most of the professionals use this mechanism to fine tune their work. My advice in this case is simple.
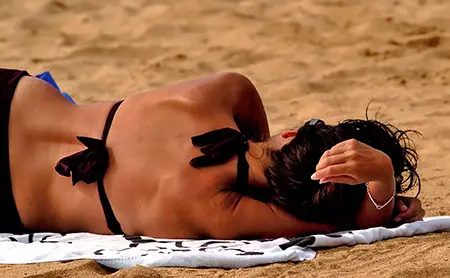
Always start from simple object before moving to professional portrait photography. Object images such as these are easy to edit. Model shoots require high levels of editing especially when it comes to removing the skin marks and wrinkles.


0 comments