As an amateur photographer, you can go a long, long time without knowing what white balance is or why knowing how to adjust it even matters. I had my first DSLR (my current DSLR is a Canon EOS 450D) for five years before white balance entered my photography glossary, and it took another few months until it felt necessary—or at least convenient—to learn the ins and out of it.

The thing is, if you have a halfway decent camera, it comes equipped with an automatic white balance (AWB) setting, and that generally does the trick unless your lighting is particularly intense. Even then, you may think the weird, off-balance colors add to the mood of the picture. Hey, sometimes they do! It’s not something that jumps to the eye as “wrong,” the way exposure, depth of field and grain do when they don’t come out right.
There are certain types of photography where knowing how to get your colors right and accurate is crucial, and once you know it, you can bet it will come in handy on a regular basis.
1. What It Is
White balance is really all-around color balance; the reason it’s often called white balance is that methods for balancing colors often focus on capturing the neutrals—white, black and gray—as accurately as possible. Other colors adjust in relation to the neutrals.
In my experience, it’s just much easier to notice when a neutral is out of whack—or, you know, inaccurate—than when most other colors are. That’s why I didn’t bother to learn about color balance until I decided I wanted pure white backgrounds for some of my product shots. Stuff kept coming out so weird I couldn’t for my life correct both the color of the product and the color of the background at the same time. It was one or the other, and, in the end, mostly it was the trash can.
2. How It Works
Different lighting has different temperatures, and different temperatures will cause differences in the way your camera perceives and captures colors. Check out this handy temperature cheat sheet you can refer to. In short, low-color temperature will add a warm (red, orange, yellow) tint to your photographs; think candles, sunsets and light bulbs. High-color temperatures will add blue to your image.
Knowing how to balance color will help you get rid of those tints—or deliberately create them and tweak them for artistic purposes.
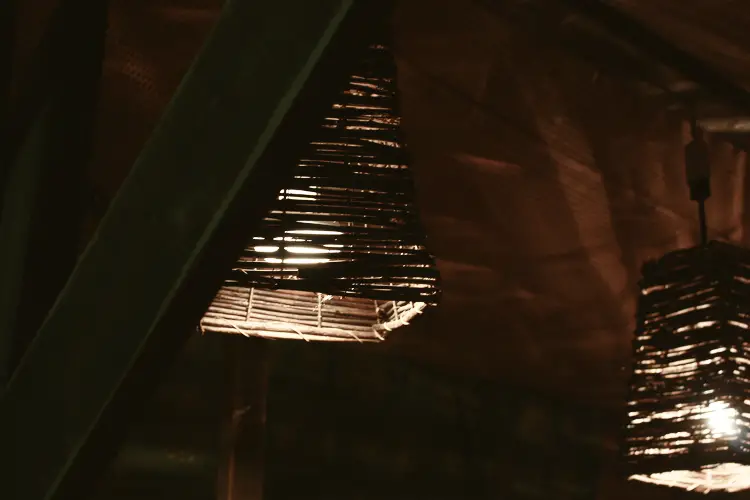
Also, the K next to the temperate numbers is for Kelvin, i.e., the degree-measuring unit that’s neither Celsius nor Fahrenheit. This is the kind of thing I get fixated on if I stare at it too long, so I thought I’d give it a quick mention.
3. How You Can Adjust It
Presets On Your Camera
Many of the shooting modes on your camera will allow you to change the white balance preset it uses to shoot. The button to access this panel is the one that says WB on it. I know that sounds awfully basic, but humor me: It took me a while to figure it out.
Not all cameras will offer the exact same presets or the same amount of them, but here are some of the options you might encounter there:
- Auto/AWB: This works fairly well with temperatures ranging between 3000K (tungsten light) and 7000K (overcast sky). The camera scans the lighting and adjusts the balance according to the color temperature.
- Tungsten: Adapts the color balance to low-temperature light from tungsten light bulbs, approximately 3000K. It creates a blue tint that makes up for the warmth of the light.
- Fluorescent light: Adapts the color balance to low-temperature light from white fluorescent light, approximately 4000K. It creates a subtler, blue tint to make up for the warm colors of the light.
- Daylight: Adapts the color balance to a natural, full-daylight setting, approximately 5000K. If you’re in that kind of setting, you’ll get about the same results from AWB. That’s why there are so many basic photography tutorials encouraging you to shoot in natural daylight. Cameras work wonderfully with it.
- Cloudy: Adapts the color balance to higher-temperature light from cloudy and hazy skies, approximately 6000K. It creates a reddish tint to make up for the coldness of the light.
- Shade: Adapts the color balance to high-temperature light from heavily overcast skies and shading, approximately 7000K. It creates a red tint to make up for the coldness of the light.
- Flash: Adapts the color balance to low-light conditions when shooting with flash. There’s usually no color temperature number specified for this, but it falls between Daylight and Cloudy and gives your photo that extra warmth that pictures shot with flash tend to lack.

Manually on Your Camera
You will find one or two more presets in the aforementioned panel:
- Kelvin: You can set up the temperature manually in Kelvin degrees.
- Custom: This works by showing the camera what a neutral color is. You’ll take a shot of a neutrally colored item—gray cards are common—in the same lighting and circumstances as the photograph you’re looking to take. The camera will adjust the color balance accordingly and keep that setting for the next photograph.
In Post-Processing
If you shoot in RAW, you can change the color balance of your image in post-processing. I’ve never shot in RAW, so don’t trust me on this.
If you shoot in JPG, there are plenty of photo-editing apps that you can use to fix the color balance should it come out wrong in a picture, and within those apps, there are plenty of tools to fix color balance, too. In Adobe Photoshop, you can get good results from Auto Tone and Auto Color; you can pump up the blues or the reds with Curves, Color Balance (especially Highlights), Hue/Saturation (if the only red is in your background, dial the saturation of Reds down to 0), Selective Color and more. Not all is lost!
But it’s really a pain fixing the red tint on four-dozen, modeled shots of hats when you could have set up the right white balance on your camera and get it right from the get-go. Unless you’re into that kind of work! I find it exhausting and frustrating, and the whole time I want to kick myself, but your mileage may vary!


January 3, 2014 & never shot RAW? Hmmm…
Amazing, right? I’m trying it out this year. I replaced my old dying laptop a few months ago, and managing RAW files on that thing would have been impossible.
You will love it.