If you have a new-ish DSLR, then you can probably “train” your camera to make a little movie for you. I’m talking about a time-lapse video, and while it might not be the next Hollywood blockbuster…it could spread like a virus on the Youtubez. 🙂
Read on to get started, and if I’ve done my job well (and you have the right sort of camera), you can make your first time lapse today.
If this technique is new to you, here are the basics:
“Time lapse photography uses a series of photographs taken during a period of time to make a slow process seem to happen much faster.” – The Macmillan Dictionary
Or I would say, “you set up your camera to take lots of photographs over a period of time, and when you’re done, you get to watch hours or days whiz past in seconds.” But however you define the technique, one thing is certain…if you do a time lapse well, then you can make a seriously cool-looking video, like this one about traveling around the world.
I got hooked on time lapses on my 30th birthday, just outside of a tiny town in Idaho. But my first one was a huge pain in the “you know what,” so hopefully this micro-guide will save you some headaches. Here’s the quick story…

Traveling at the time, I wanted to celebrate the big 3-0 by doing something memorable.
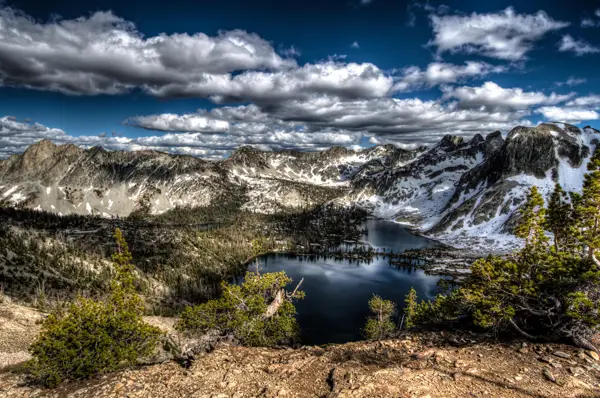
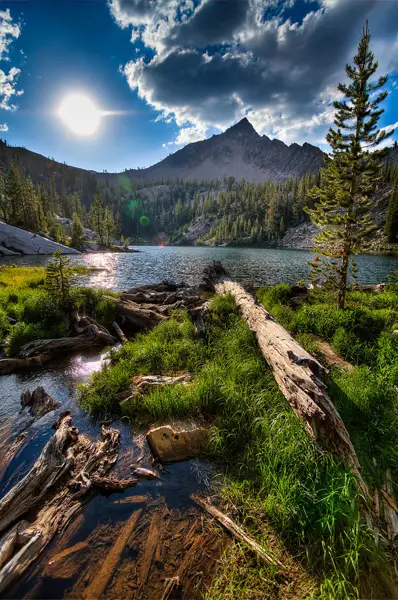
Unfortunately, all my family and friends were thousands of miles away, my traveling partner had flown to Europe a couple weeks previously, and I was in a town with less than 65 people. But I was also surrounded by the pristine natural beauty of the Sawtooth Mountains. Since I’d wanted to give time-lapse photography a try, I decided to shoot a 24-hour time lapse of the snowy peaks from one of my favorite meadows.
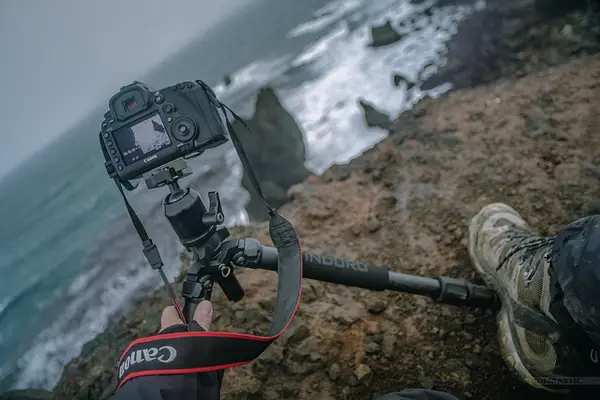
And while I don’t recommend shooting such a long video when you’re starting off, I couldn’t resist the chance to watch the majestic mountains for a whole day. So, when 5 am rolled around and I’d become a “mature, middle-aged dude,” I was hopping around on a silent hillside trying to keep my fingers from going numb, as I pressed down the shutter of my Nikon D5100 every 5 minutes.
As the hours rolled past, my initial revery quickly turned to boredom though. :/
I did make it longer than eight hours of taking each photo by hand, before I was going to call it a day and go to get a hot beverage. It never occurred to me that my camera could be doing all the work. Fortunately, the “birthday time-lapse photography gods” must have been with me because, in between shots, I was messing around in the menu, and, sure enough, I stumbled upon the feature known as “Interval Shooting Mode.”
“Lllllllaaaaaaaa…,” (which is my way of saying that the clouds parted in that moment, and my life was changed forever) 🙂 Or as Newman from the television show, Seinfield, once said,
“Something happened that changed us [me] in a deep and profound way from that day forward.” – Newman
Then, for the next 16 hours, I got to lay on my back, looking up at the sky, and enjoy the show. My camera was dutifully clicking away, taking a photograph every minute.
Of course, I’m betting you’re a bit smarter than “this guy,” and would have found this feature long ago. Which is probably why you’re reading this and getting prepared to take your first time lapse, not just hoping for the best. So I hope to save you some trouble and help you make a beautiful time-lapse video right from the beginning with these tips below.
I. Grab Your Gear:
1. DSLR: My only experience is with Nikon’s D5100, but I know a number of modern DSLRs have the ability to shoot a time lapse built-in to the features (many Canons don’t, though). You’ll have to check yours to see, but look for something similar to “Interval Shooting Mode.”
***Intervalometer: If your DSLR doesn’t have this feature, then buy an intervalometer. This little machine connects to your camera, and you set it up to take photos at specific intervals.
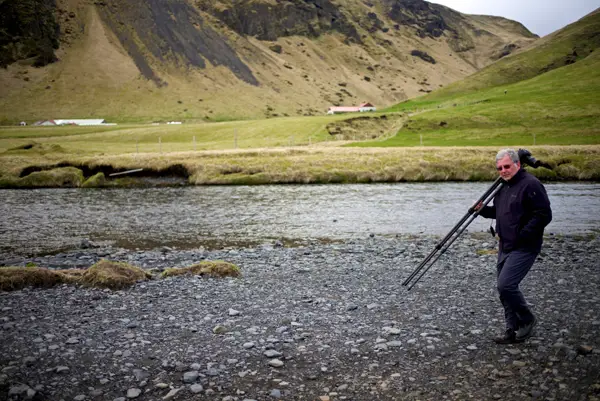
2. Tripod: The sturdier tripod you have, the better. My first tripod was an $80 tripod-hiking stick that was NOT a good option for a time-lapse video. If you don’t have hundreds of dollars to drop on a top-notch tripod, though, you can always hang weights, your camera bag or anything heavy on it to reduce movement.
3. Patience: Be prepared to kick it for hours in one location as your camera shoots away.
II. Choose Your Subject:
The best subjects for time-lapse video are objects that slowly change over time.
I’m sure you can find lots to shoot, but here are eight of my favorite time lapses with a diverse range of subjects to inspire your muse:
- An event: Burning Man 2013
- Nature’s beauty: Finding Oregon
- Your face: Noah’s Face Everyday for 12.5 Years
- Factories: Samsara’s Food Sequence
- Rotting food: Dr Yan’s Rotting Food
- Snow: A Record Snow Storm in Arkansas
- Haircut: A Homeless Veteran Transformation
- Art: Foster The People’s Mural Time Lapse
Or you could break the rules, like Mike did on his One Week In Japan.
III. Setup Your Gear:
1. Scout the location: The tricky thing about a time lapse is that you need to correctly expose the photographs now and 30 minutes or hours from now, when the video is finishing up. So the ideal way to handle this is to shoot a “test” video one day, and then come back the next day or on a day when the cloud cover is similar, and shoot your actual video. That is, unless you have a crystal ball or great guessing skills (which you’ll learn as you take more and more videos).
2. What will your time lapse interval be? Figuring out your time lapse interval can be complicated, and I’m a pretty simple guy, so read the linked article if you’re the detail type. But here’s how I figure out mine:
- Experiment: The more photographs you shoot, the smoother your video will be. But if you’re shooting a long time lapse, shooting every second could be just a waste of memory, depending on how fast your subject is moving. Five seconds is good for clouds that move at a “normal” pace.
- Understand FPS: The films you watch in a theater usually show you 24 frames or “pictures” every second, making the images appear to move in front of your eye. Video uses 30 frames per second, and some super high-def movies are shot in 60 frames per second. For my time lapses, I use 30 frames per second as my baseline and often shoot a 30-second video.
Here are some sample calculations, if you take…
- One photograph every second, then you’ll make a 30-second video in 15 minutes.
- One photograph every 5 seconds, then you’ll make a 30-second video in 45 minutes.
- One photograph every minute, then you’ll make a 30-second video in 900 minutes (15 hours).
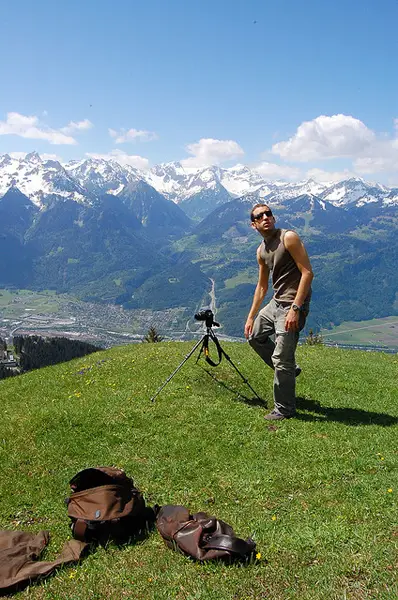
3. Set up Your Tripod: If your tripod moves, then your video will have a wiggle, which could ruin it. So ensure your tripod is as motionless as possible. You could also try adding weights, hang your camera bag on it, or use other stuff from your environment.
4. Set Your Aperture and Exposure: If you don’t shoot in Manual Mode, then your video will “flicker” as your camera slightly over- and under-exposes the images over time. To avoid flicker, here’s my simple process:
- Take test shot in Program Mode and note the Aperture and Shutter Speed.
- Set your camera to Manual Mode, using the same settings from the test shot.
- If the sun’s going down, then slightly overexpose the first shots, so the later shots will be correctly exposed, and vice versa for sunrises.
***Be sure to turn off the Auto White Balance as well.
IV. Shoot
Now for the fun part: Push down the shutter and…sit back and relax.
If you’ve done your job, then camera will do its. Plus, with your extra free time, you can catch up on sleep, pick up a meditation habit, or maybe tackle a horribly long book like Marcel Proust’s 1,000,000 word-plus masterpiece, The Remembrance of Things Past.
“The real voyage of discovery consists not in seeking new landscapes, but in having new eyes.” -Marcel Proust’s time lapse advice 🙂
V. Edit:
Now that you have hundreds, maybe thousands of photographs, you’ll need to edit them into a video. There are lots of time-lapse software options to choose from, too.
On my Mac (sorry, Windows folks), I use:
1. Time Lapse Assembler: It’s a free and simple tool to compile your photographs into a short video.
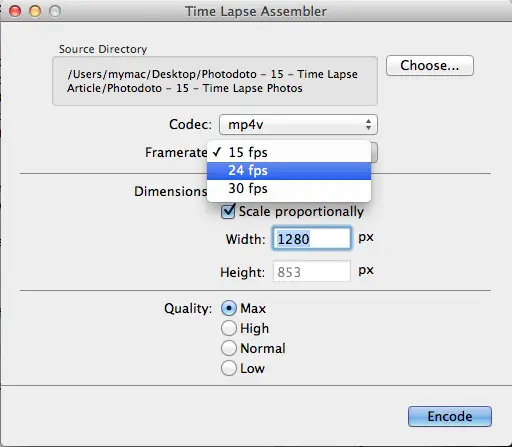
***Photoshop works well, too, if you’re more familiar with it or want more options, but it also takes a lot more time.
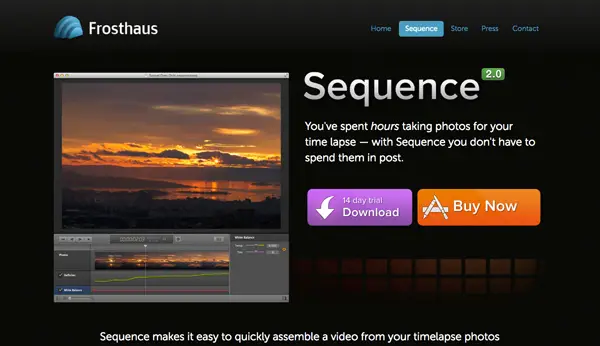
2. Sequence (Mac only): For newbies, this is a great solution with a free 14-day trial. It has powerful features for reducing flicker and also a simple video editor to customize your movie. If you want an easy solution that will save you time and are willing to sacrifice some flexibility, then this is perfect.
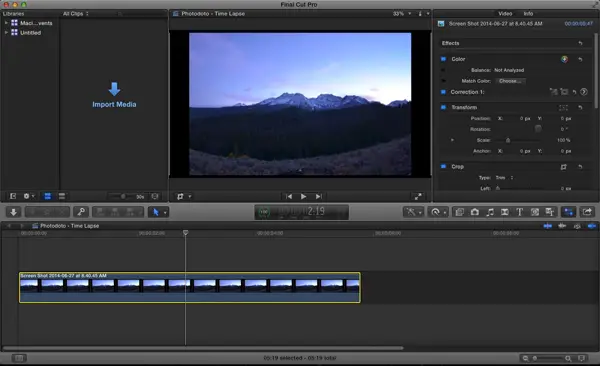
3. Final Cut Pro X: If you have FCPX, then you can have all sorts of extra options to play around with. Add a pan, zoom, filters, smooth it, and even stabilize the shot, if the wind ended up causing you problems.
Then, when you’re finished with that, you can publish it, and “voila!” Who knows? Maybe your video will be used as b-roll in a humorous video about Slovenian chickens and their bad habits. 😉
Did I miss something about time lapses that you have a question about? If so, please type it into the comments below, and we’ll try to answer you personally.. maybe in our spare time, as we’re laying around somewhere waiting for our time lapse to finish up, ha ha!


these are great pictures that you share it, thanks