Travel is the best excuse to pull out your camera and take photos until your memory is full. The sights, people, culture, food — everything about going to a new place calls for a photo opportunity, one that you wouldn’t want to miss.
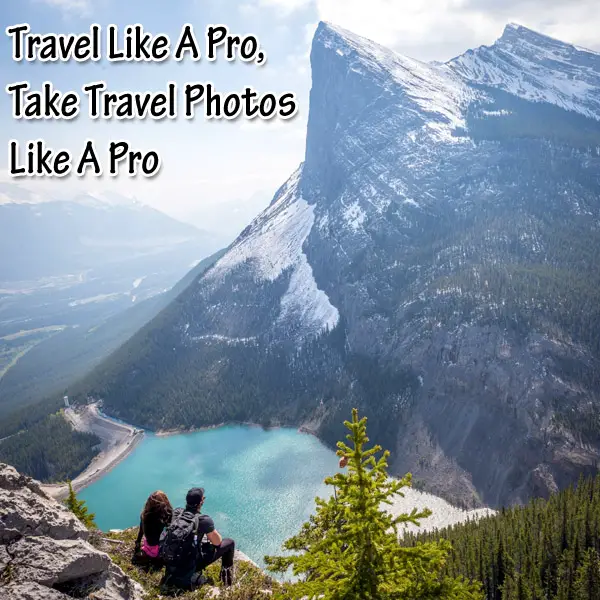
Taking the perfect travel photo, however, isn’t just a simple click. Sometimes, it can be challenging to capture the entire essence of a place. Think of the Grand Canyon: a majestic landmark that is vast and colorful, so much so that capturing its grandeur is difficult.
So how can you do justice to the places you capture and take travel photos like a pro?
Wake Up Early
Wonder how photographers take photos of popular landmarks with a few (or no) tourists in the shot? It’s usually because they arrive before people have gone out of bed.
The sunrise offers plenty of good photo opportunities. It drapes the scenery in soft lighting, which is perfect for nature shots. Also, the lack of people in the image enables viewers to appreciate the image more.
Be Mindful of the Weather
The weather sets the mood of your photo. If you want a warm sunshine photo but the weather turns sour all of a sudden, your IG-worthy photo dreams might end up with a washout image.
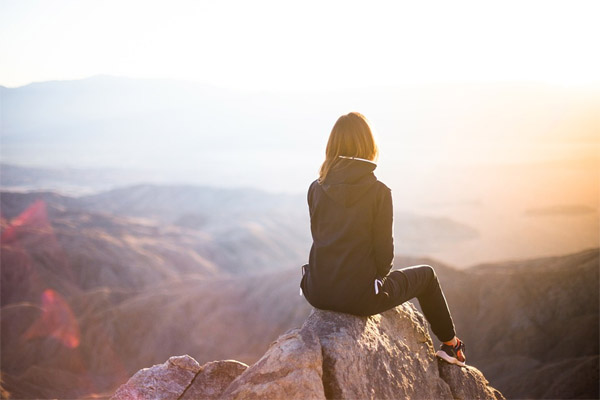
Knowing what tomorrow morning’s weather forecast is enables you to be at the right place at the right time. Use online weather apps to determine if the next day has the perfect ambiance for your images. Use accuweather.com to receive hourly forecasts with rain, speeds, cloud cover, and temperature.
Remember the Rule of Thirds

The Rule of Thirds is a basic photography principle both novices and experts (anyone with a mobile phone, too!) follow. The rule is simple: imagine breaking your image into three columns and three rows. Your photo’s subject — aka the image you wish to capture — should be along one of those lines rather than in the middle.
This imaginative grid emphasizes four parts of the image where you should place points of interest. If you place these points along the lines or intersections of the image, your photo will look more balanced.
By following the Rule of Thirds, you capture photos that look natural and invite viewers to appreciate the finer details.
Play with Your Photo’s Perspectives
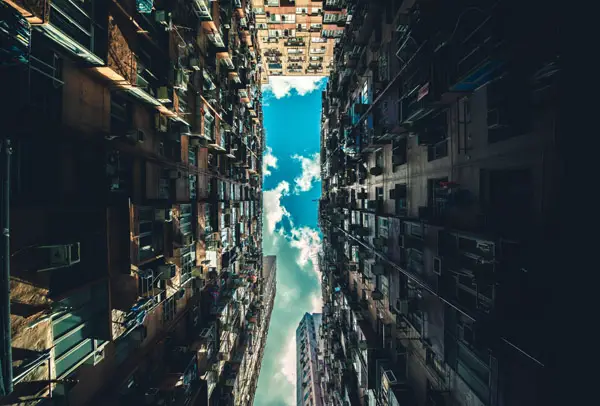
Remember: photography is how you see the world. Take better photos by changing the way you see your world! Change your perspective. Shoot up or down. Don’t just shoot at your eye level. Try every angle you can to get more interesting shots, whether up high from a wall to low to the ground. Don’t be afraid to zoom in or zoom out.
The way an object will show in a photograph depends on its size and how far it is from your camera. Don’t forget that with wide angle lenses, the perspective is exaggerated while this does not occur with telephoto lenses.
Shoot In Manual Mode
Shooting photos in Automatic mode guarantees “good” images, but if you want better ones and more creativity, manual mode is the way to go.
If you are a manual mode newbie, the following are the camera settings you need to adjust: shutter speed, ISO, and aperture. Study the relationship of the three settings so you’ll know how to properly adjust these settings.
Start by switching your camera’s dial into manual mode. This mode gives you more control over the final output of photos set in different locations. Manually adjusting the shutter speed enables you to capture motion creatively. When you manually control the aperture, you can manage your photo’s depth of field. And by manually fixing the ISO, tricky lighting situations and “noisy” images will not be a problem.
Experiment With Composition
A little experimentation with composition will always guarantee a better travel photo.

Apart from the angle, try to include eye-catching background, foreground, and midground elements. If you want to take a photo of a mountain range, include a river, flower, or animal in the foreground. These will give your photo a 3D feel, as well as draw the viewer’s eye to the rest of your photo.
Distance also makes a difference in your photo. Start with a wide shot then get up-close and personal. Don’t settle for just one distance shot. Go long or go near if you have to.
Get Creative With Foreground Features
Be more creative with your photos by making use of the items you have. Make an image more interesting by grabbing a plant, flower or any object with a jagged edge to include in your photo. Hold it up against your lens to give your shot a blurred and colored frame. Foreground features give your photo a different perspective.
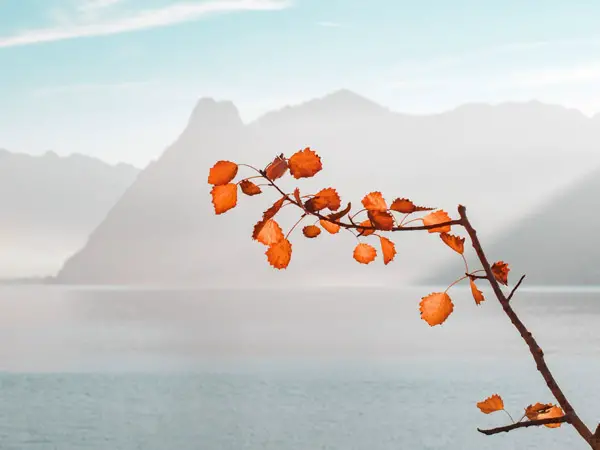
Move these features around to create different angles. If you take a leaf and put in your shot, your subject will appear as if they are standing in a garden.
Keep An Eye Out for the Lines
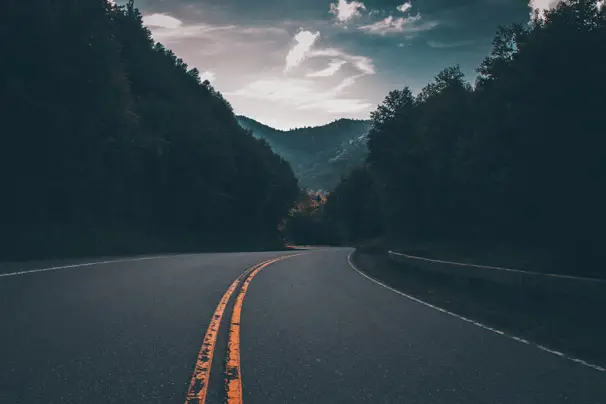
Direct your viewer’s attention to the subject with leading lines. Whether it’s a row of trees pointing to the sun, a winding road, or pretty patterns on the sun that lead to the sea, the image should make use of the lines. Before you take a photo, think about how you can compose it with lines. You won’t run out of options.
Add The Human Element for a Personal Touch
One of the reasons travel photos are popular on social media is because people like to live vicariously through the human subjects of the photos. The human element adds more emotion to the image, which makes you feel as if you’re traveling too.
Incorporate this element seamlessly by posing the subject in a way they become part of the main focus of the scenery. Consider travel photographer Murad Osmann’s “Follow Me To” project on Instagram. All of his photos focus on a woman leading the viewers around the world.
If you want your photo to tell a story, adding a human element helps. Photos are more powerful when you include people. Change the storyline of a busy street by capturing the vendors or your fellow tourists.
The human element also gives your image a better sense of scale. Emphasize the beauty of a mountain range by placing your subject in the distance. Remember: the “tiny people” in large landscape approach always works like a charm.
Pay Attention to Your Lighting
Lighting gives life to any photo. The best travel photos, however, don’t always call for a flash. A flash can illuminate the subject of the photo but it’s still artificial lighting. Your finished image might have shadows and its colors will be slightly off.
Use natural light as much as possible. Natural lighting will add texture and mood that artificial lighting can’t convey. With mobile phones, touch one of the darker areas of your photo to adjust the image’s brightness. If you are using a DSLR camera, increase your ISO to get more sensitivity to light.
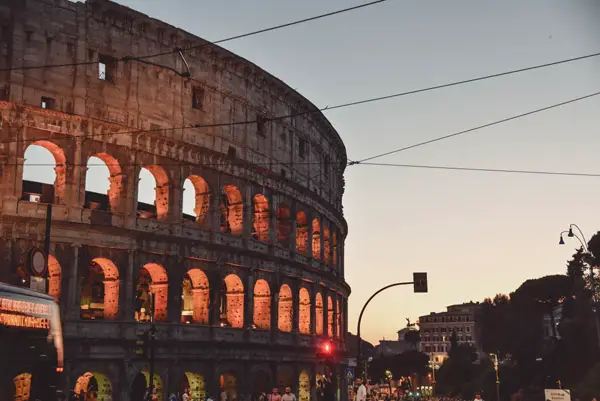
If the lighting is dark, don’t worry. You can still alter your photos by changing the angle. Use a low light behind your subject for a dramatic silhouette. Also, sunsets are your friend. Take advantage of the sun’s golden tone and capture how it casts on the object as the evening comes.
Don’t Be Afraid To Boost It
During the post-production stage, make your shots stand out by boosting the vibrance and saturation. Refrain from boosting too much. Boost the image enough to make it look warm without looking unrealistic. By boosting the saturation, your day photos will look perfect in travel magazines and newspapers.
Aperture Mode Is Your New Best Friend
Shoot on aperture priority when using a DSLR. While the manual mode is always advantageous and aperture mode isn’t suitable for all conditions, the latter is a great way to build your confidence with camera settings especially if you are starting out.
If you are shooting in aperture mode, adjust your Exposure and ISO settings and start playing around with the different lights. Once you do, you’ll notice how these two factors influence the final results. It might be tricky at first, but once you get the hang of it, you’ll be using it more often.
Ditch the Tripod!
Some travelers think a tripod can spare them from the problems that come with selfies (e.g., big faces, bad angles, and more). It can be annoying to travel with a tripod, though. It takes a lot of room in your luggage and carrying it around, along with your bags, is a burden.
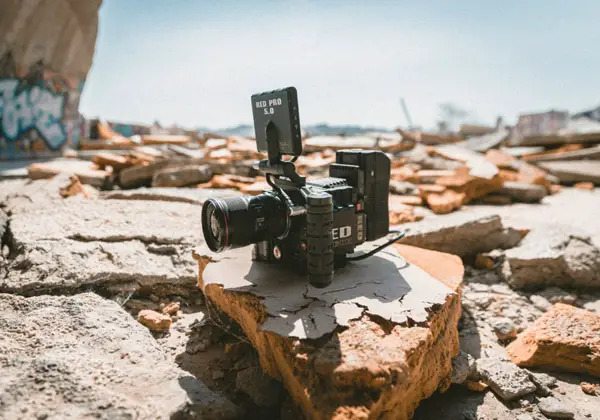
Instead of depending on a tripod, be more creative so you can travel light. Get around the lack of tripod by using rocks, tables, fence posts, or anything solid that keep your camera still. A perfect leaning post can also take the form of a garbage bin.
Create a DIY Rain Cover for Your Camera
Speaking of the weather, sudden rains need not ruin the atmosphere of your photos. In fact, it could add ambiance to your photo. For this travel photography hack, you’ll need a zip-lock bag, gaffer tape, scissors, and a colored marker.
Start by marking the perimeter of your lens and use a pair of scissors to cut a hole in the zip-lock bag. Invert the bag and place your lens hood inside it so that the connector side will come out of the hole. Secure the lens hood to the bag and flip the bag back to connect the hood inside the bag. Put your camera inside of the bag, connect it to the hood, and close the locker.
Get Creative with DIY Equipment for Cameras
Apart from the tripod, there are other photography gadgets that seem like must-haves, especially if you want to capture breathtaking travel photos. Fortunately, there’s no need to cram all of your lenses in your luggage. There are DIY alternatives that can help you snap the perfect image without bulking your bag.
Consider the following:
-
Blurry edges. Some photographers use Vaseline on their lens to create a blurred effect. Others prefer to wrap sandwich bags around their lens.
-
Macro lens. Magnify your subject by holding up an old binocular lens up to the camera.
-
Glare reduction. Reduce glare by placing a cardboard coffee sleeve around your lens
-
Soft focus filter. Stretch pantyhose over your lens and use a rubber band to keep them in place.
Don’t Forget to Back Up Your Travel Photos
Unforeseen circumstances happen when you travel: you can lose your camera or accidentally damage your memory card. Physical and online backups of your travel photos can still save your day.
Your travel photography backup plan should include two online storages (one for select photos and another for your final edited images) and a physical hard drive for your raw camera files. Remember, Google Drive and other Cloud platforms are your new best friends. For important projects, send copies of the photos over email.
Be Patient
The suggestions above will not work if patience is missing from the mix. Travel photography isn’t just about capturing good photos to post on social media; it’s all about really seeing what’s in front of you.
Pay attention even to the smallest of details. Is the sun’s light enough? Is the scenery better with the clouds or should you wait for night to fall? Should you take a photo of the busy street or would an empty one look better?
Don’t stop taking photos, too. The perfect shot is not often your first photo (but it could be!).
Photography is a good way to freeze memorable moments from your travel. Fortunately, you don’t have to be an expert to take amazing photos.
Good travel photography requires following your intuition to capture these magical memories. Combine your intuitive mind with these hacks to step up your travel photography game. Over time, you’ll develop your tricks in capturing amazing photos.
Click on the link to learn more about gear for travel photography.
Thanks for reading and let me know your experiences with photography while traveling!


4 comments