Wherever you travel, you are always free to take that perfect shot from the best angle. Not when it’s pouring down heavily, though. Winter is not always the best climate for comfortable outdoor photography.
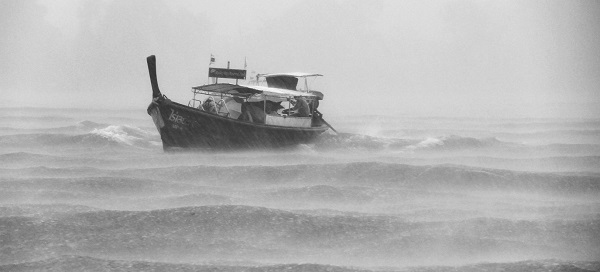
But guess what, if you are a clever photographer, you can take even better photos in the rain than on sunny days. Cold and stormy weather is the best time to capture dramatic, moody photos that will impress the viewer like no regular “good weather” picture ever will.
Curious to learn how to become an expert storm photographer? This exhaustive tutorial will help you get started with rain photography, choose the right camera settings, and get prepped for your first rainstorm photo shoot.
Things that you will need to create unbelievably artistic photos in the rain
Rain Gear
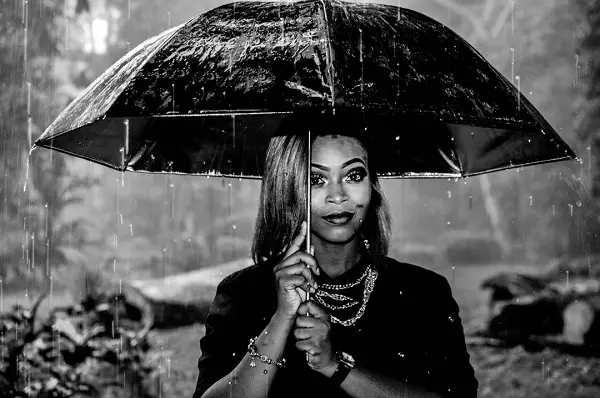
First things first, to avoid getting wet make sure to carry the necessary rain gears such as umbrella, raincoat, and boots. And yeah, wear only waterproof items.
Our first priority is to avoid falling sick and the next is to enjoy taking photos in the rain. Carrying the necessary rain equipment will help keep you protected from head to toe from getting wet and shivering. Ultimately, that helps you stay focused on your photo shoots.
Waterproof Camera Case
Using a waterproof is always a better option than using the regular camera and trying to protect it from getting wet. If you are travelling to a place where there is more dust and sand, which is common in the desert areas, then it makes sense to protect your camera with an external waterproof camera case. It’s easy to find a range of protective cases online.
Lens Hood
Lens hood come in handy when shooting in the rain for two main reasons: (1) they keep the rain drops from kissing your camera lens and (2) they protect your lens from scratches during accidental falls or when scratching a foreign object.
Microfiber Cloths
Don’t forget to carry microfiber cloths when heading out for a photo shoot. In case your camera gets wet, even if it’s waterproof, it makes sense to get rid of the water and dirt using the cloth so that you get better focus when shooting an object or place.
Tripod
A tripod isn’t mandatory to take the perfect shot but sometimes you will find yourself taking better focus with your camera placed on a tripod. This is optional, but it’s up to you to decide if you wish to carry one or not. Professional photographers use tripods when shooting in challenging conditions to avoid the problem of blurred images from camera shakes.
Placing your camera on the tripod will result in better focus and quicker shutter speeds that are important to take the perfect shot in any condition, even when it’s raining. Without the tripod or any other support, you might have to settle for slower shutter speeds and blurred images because of dim lighting conditions. Keep these factors in mind when deciding whether to invest in a tripod or not.
Basic Rain Photography Settings
Shutter Speed
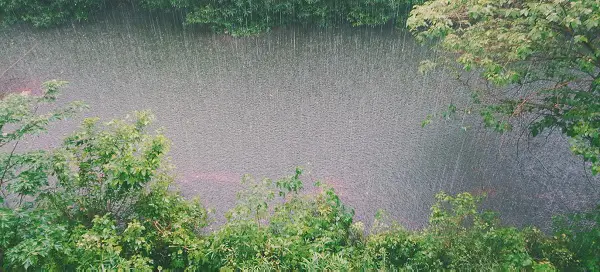
Your camera’s shutter speed determines the quality of your photos to a great extent. If you love to catch every drop of rain water in a freeze, then you will need a quicker shutter speed. If not, then again, you will have to settle for something far lesser. You might not even like it. You won’t get help with editing tools here. What you capture will be your best photo. As far as the shutter speed is concerned, the starting point would be 1/250 sec from where you can go quicker or slower depending on your preferences. Anything at or below 1/125 isn’t recommended for rain photography.
Aperture
When shooting in the rain, you aren’t just capturing a particular object. Everything from the background to the droplets of water will be in focus as well. For the sake of finer details to objects and the background, it is advisable to avoid going for a shallower depth for the element or object in focus. As far as the aperture goes, it makes sense to begin with f/8 and higher.
In case you choose to go with a quicker shutter speed, then your aperture needs to increase as well. This will help you get perfect rain photos even in dim-lighting conditions and vice-versa.
ISO
Most of the modern digital cameras come with the ISO Sensitivity Auto Control feature. If yours is a newly bought piece, then you don’t have to worry much about it – your camera will have it by default. For example, Nikon’s latest models have this auto ISO feature and it even makes it possible to set a maximum and minimum limit to how high that can get. Also, it allows you to use a preset shutter speed when taking photos. So yeah, all these features are adjustable.
Whether there is slight drizzling or heavy rainfall, if you are too particular about freezing the tiny droplets then the ideal value will be ISO 1600 and higher. But make sure not to go too high because the more you raise the ISO, the more will be the image noise too. Set your ISO and shutter speed according to the composition and mood that you expect out of your photos. If you are not a pro photographer, don’t be afraid to experiment with a variety of settings.
Focal Length
Again, this one needs experimentation too. Any focal length of over 50mm is good for enhanced magnification. Keep this in mind and take photos so that you can compare the blur and determine what you want.
Flash
When shooting in dim natural settings, you will definitely want to use flash very often. This is natural. But, don’t forget that if what you want is a blurry effect, you don’t need to use the flash at all.
Additional Tips for Creating Amazing Rain Photos
Prefer a Darker Background
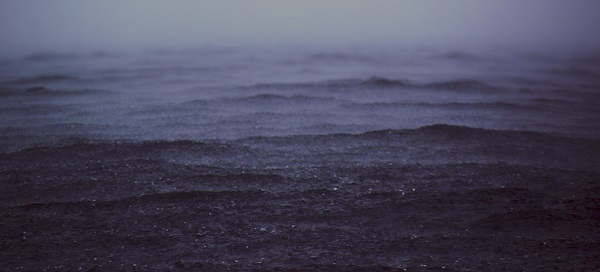
When it comes to rain photography, it is always good to shoot in darker backgrounds than bright environmental settings. It adds to the mood of your image, which is the biggest advantage of capturing images in the rain.
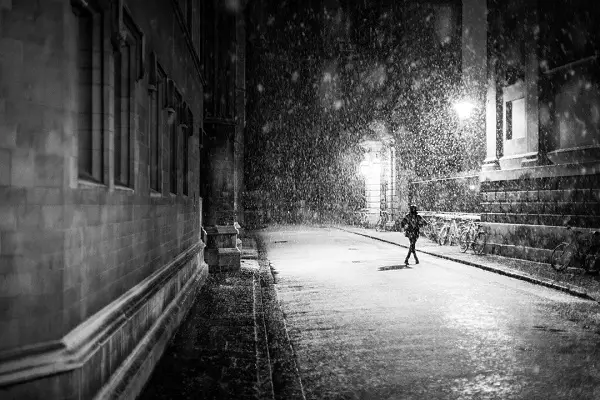
Experiment with Lighting
By lighting, we mean the one that comes from the back or side, not the lighting that is in front of you. If you wish, try experimenting a bit with artificial lighting.
Take Shots from Multiple Angles
Which is the best angle for your photo? The best way to find out the answer is to walk around the element that you want to capture. Test with multiple angles, and see which one is more impressive. By doing these, you will find your interest and even your skills grow as a photographer.
Get Creative with Your Flash
As mentioned earlier, it’s good to have fun by using and not using flash when taking photos. Sometimes, flash can show the dimmer elements in better color and you can add custom effects to further enhance the look of the image. In certain conditions, you might not feel the need for flash at all. It’s all about experimenting and showcasing your creativity for capturing memorable photos in the rain.
Watch the weather forecast!
With these tips in mind, from now on, you will never have to sit back in your hotel room when it’s raining. Grab your kit and head out to get the best rain photography experience!
Click the following link to learn how to take great pictures of flowers.
For more outdoor photography gear and tips visit globosurfer.com


