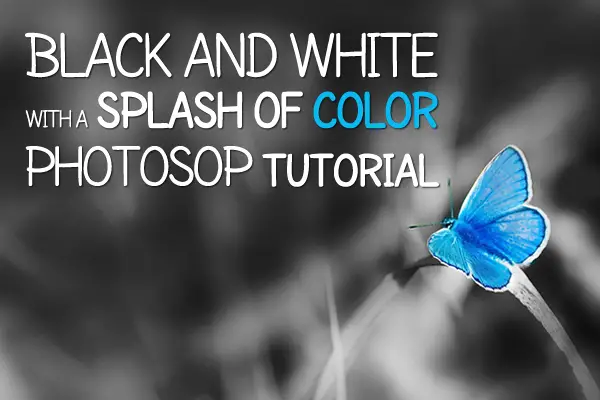
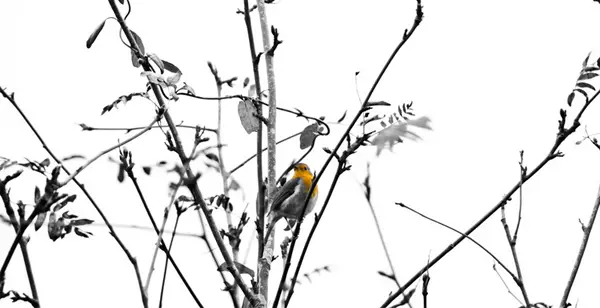
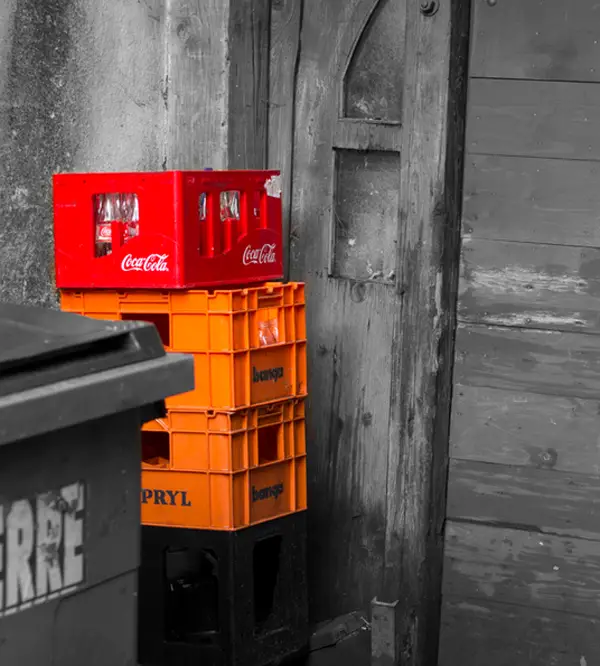
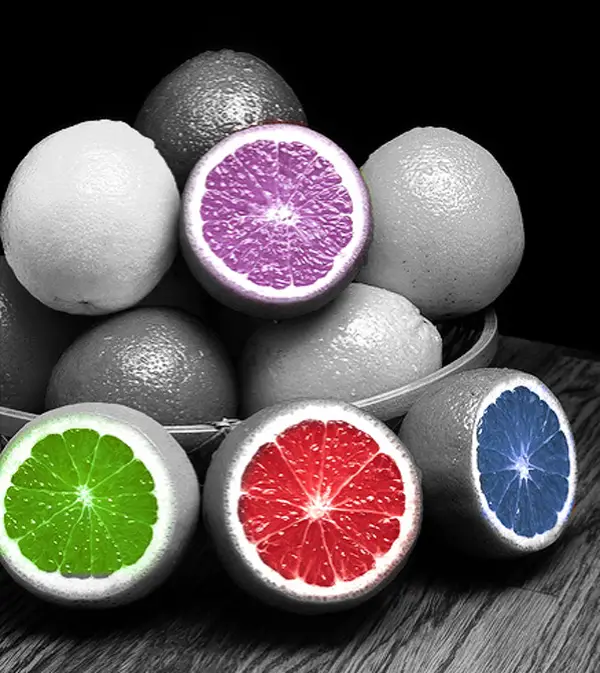
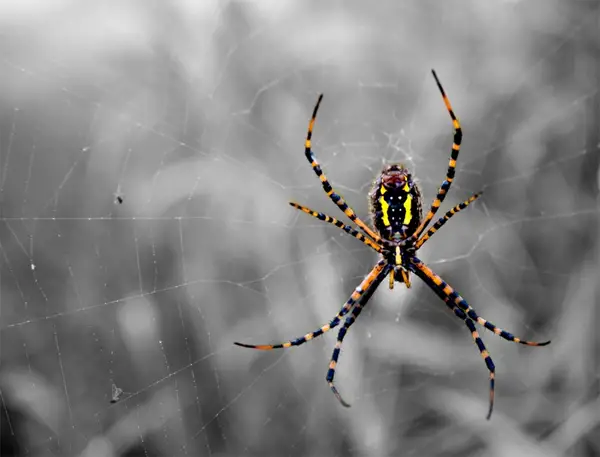
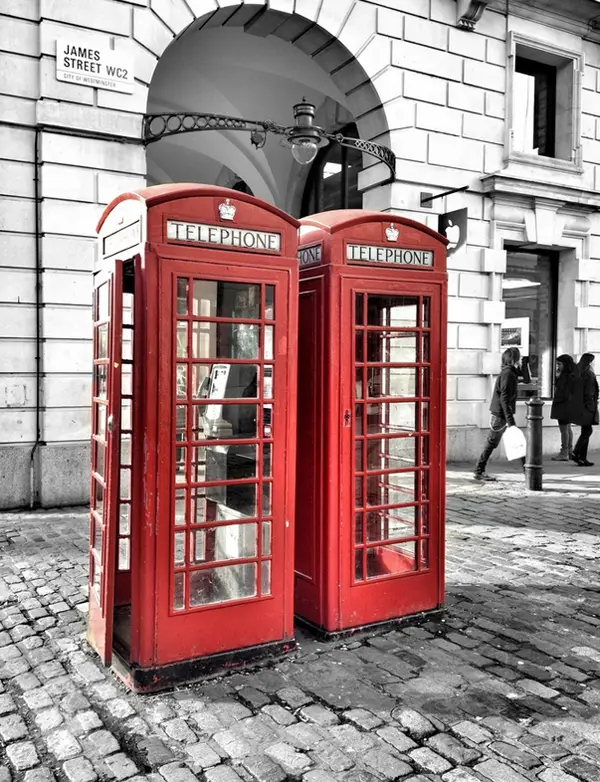
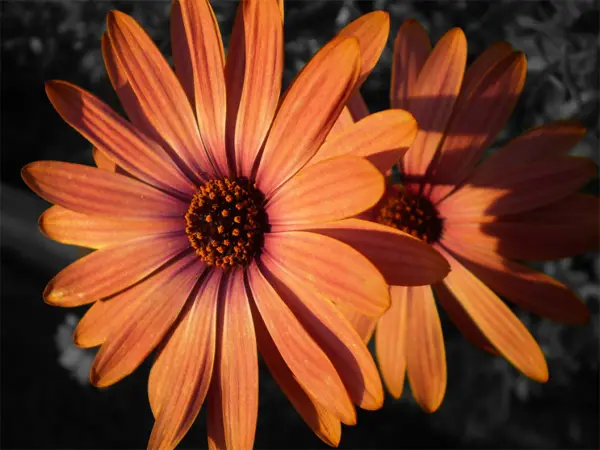
One of the techniques people most often ask me to teach them is making a photograph like the one on the right that is black and white with one other colour.
There are a few ways to achieve this effect but here are two ones I find easiest for Photoshop users.
The First Way
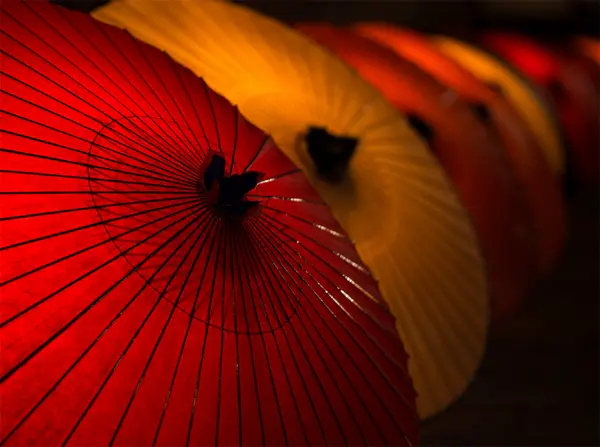
1) Open a suitable photograph, this can be any subject but ideally it needs an area of bright colour that will have an impact when it’s finished while the rest of the photo looks good in black and white. For example:
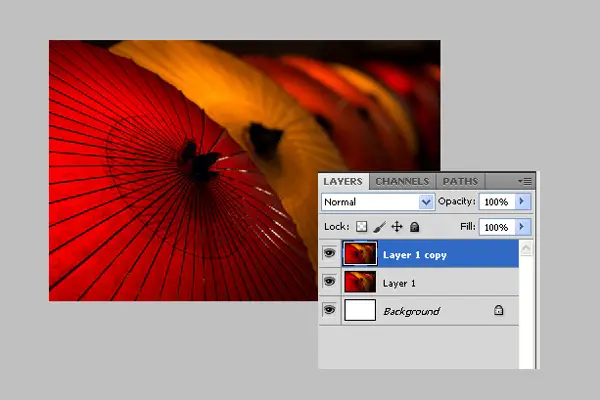
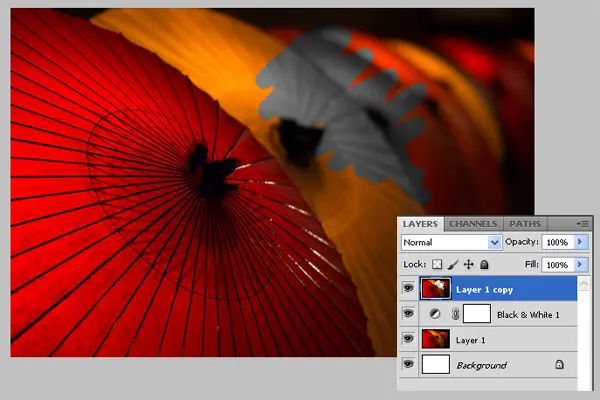
2) Then make a copy of a layer with the image. Right click on a layer with the image and choose “Duplicate the layer” from the context menu. You’ll get a new copied layer as you see on the picture below.
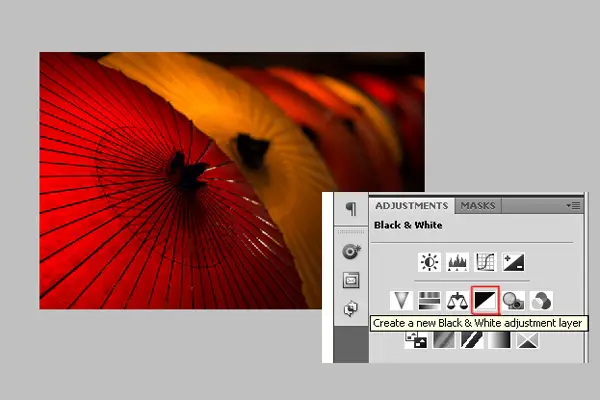
3) Now go back to first layer with the image and turn it black and white using the “Black & White” button on the right side.
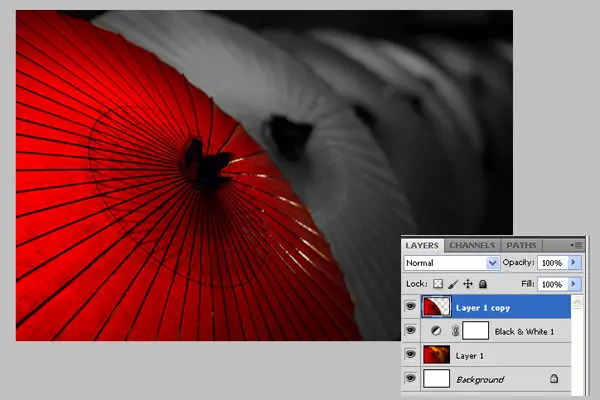
4) Select the Eraser Tool from the tool menu on the left of the screen (usually the fifth icon down in the right hand column), set hardness to 100% and choose a suitable eraser size to work with on the section of the photo you want to put in colour.
5) Now use the eraser and go over the area you want without colour, it will erase the color and bring it to the black and white, demonstrating black and white background layer. You may need to zoom and work close up on some sections. Take your time and change eraser sizes if you need to. Here is my result image:
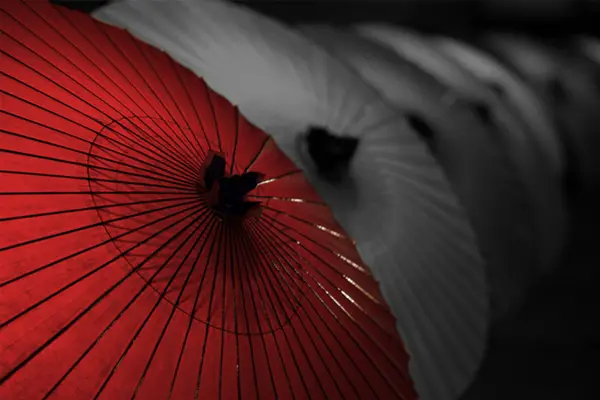
6) And one more tip, in order to make a picture more realistic you can reduce the Opacity and Fill of the colored layer to 80 %. I hope you’re satisfied with the final image:
The Second Way
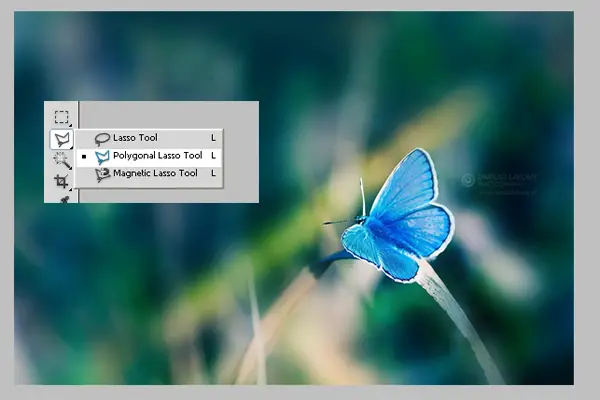
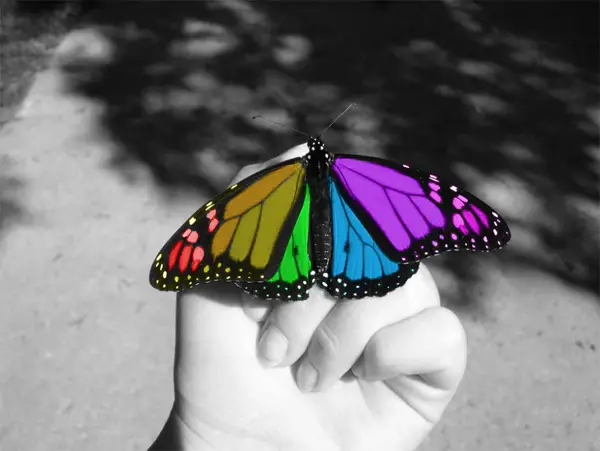
1) Open the image you like in Photoshop. It should be similar to the previous one, I mean it has to have an area for bright colors. This time I took a photo with a blue butterfly on the blurred background.

2) Take a Polygonal Lasso Tool from the left sidebar menu. This tool helps you to select the area you need and cut or copy it, or do with it whatever you need.
3) Using Polygonal Lasso Tool select the area of the butterfly you want to be colored and right click on it with the mouse. There should be a drop down menu, choose “Layer via Copy”.
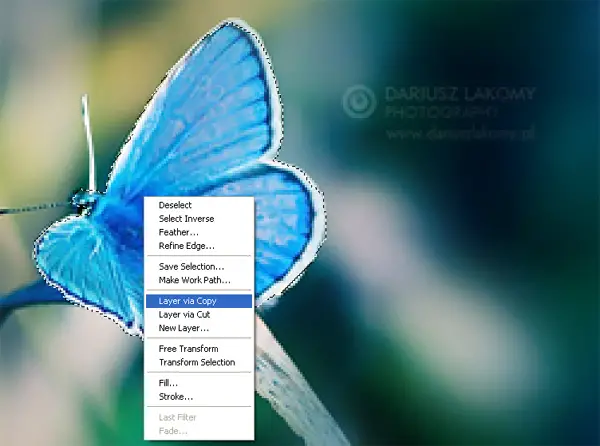
It means that the selected and cropped area is copied to a new layer.
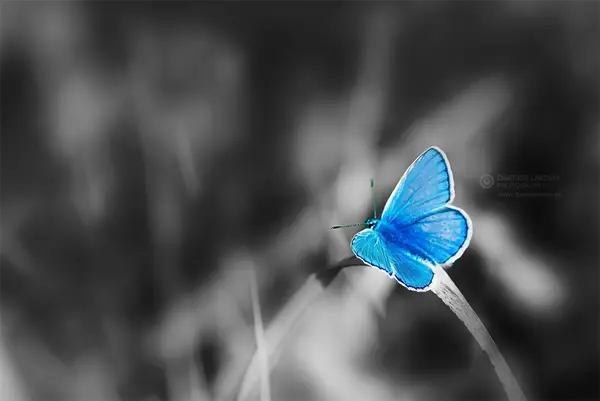
4) Then get back to the previous layer with the image and turn it black and white in the way you know. You can use the piece of advice I gave you in a previous part of tutorial.
And this is it! Here is the result image I’ve got:
Showcase of Black and White Photos with a Splash of Color
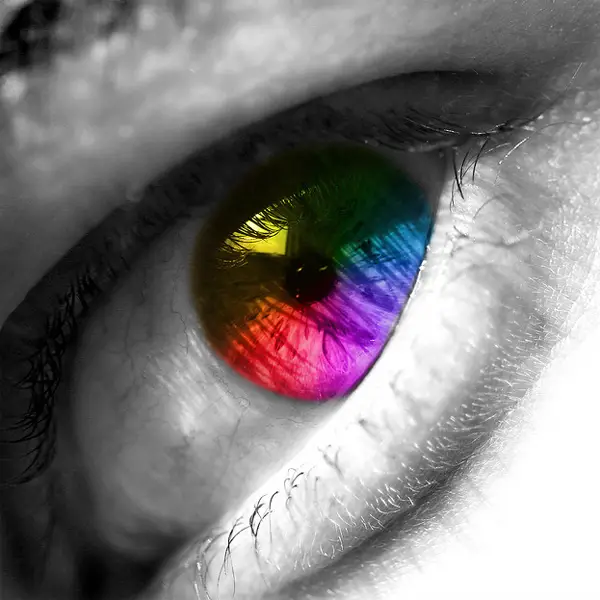
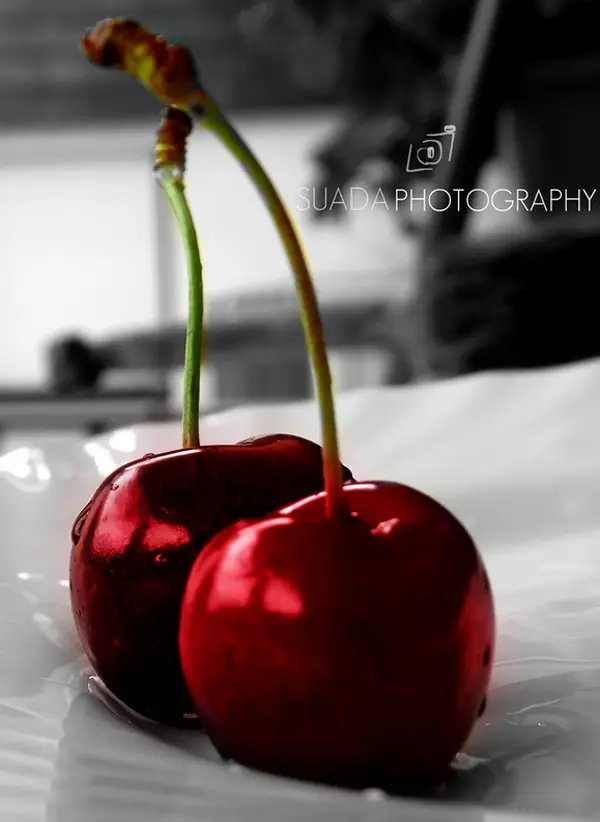
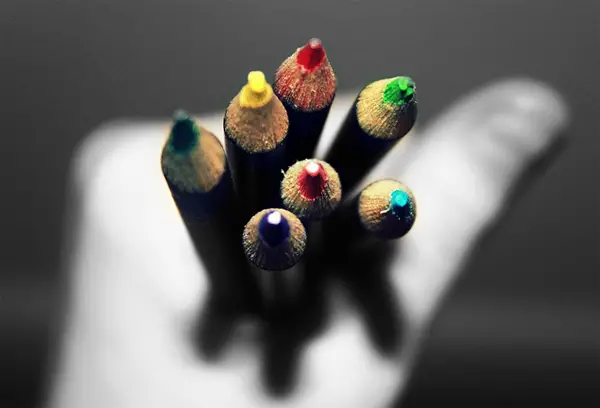
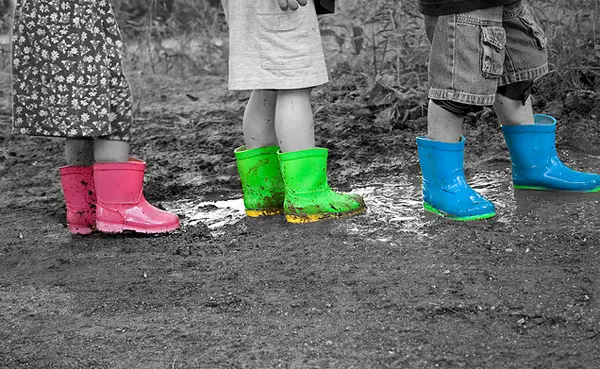
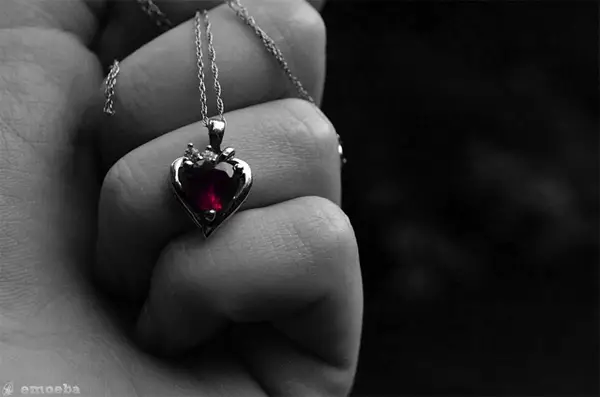
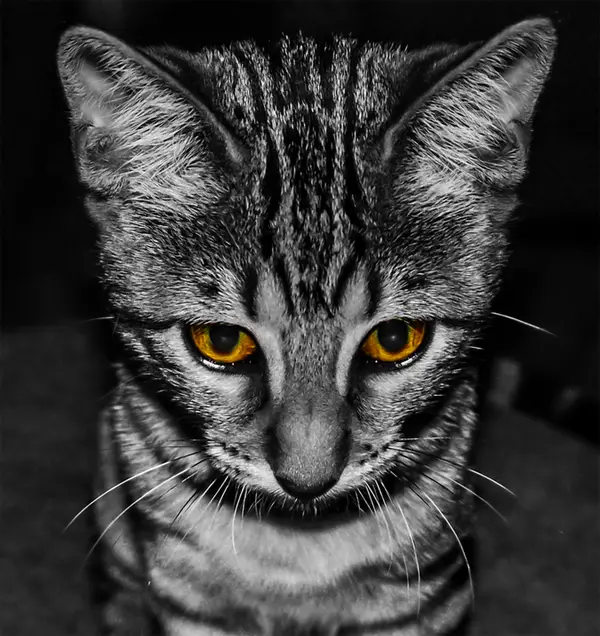
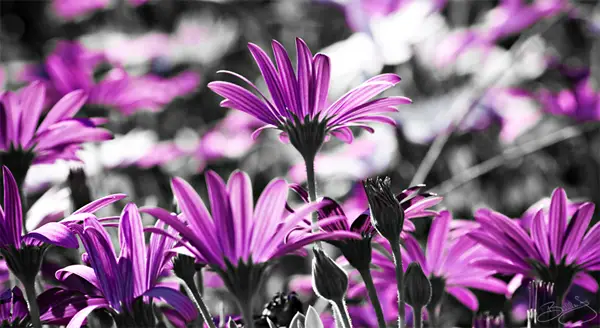
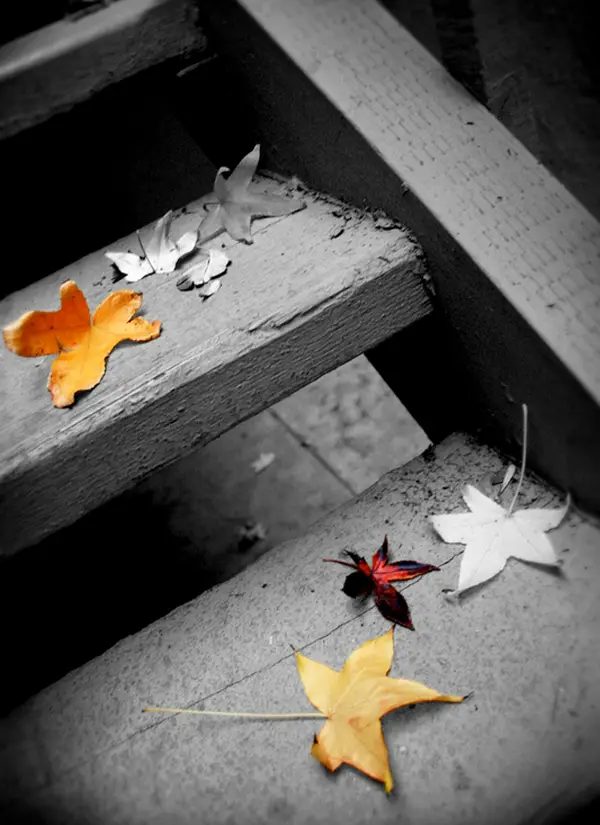
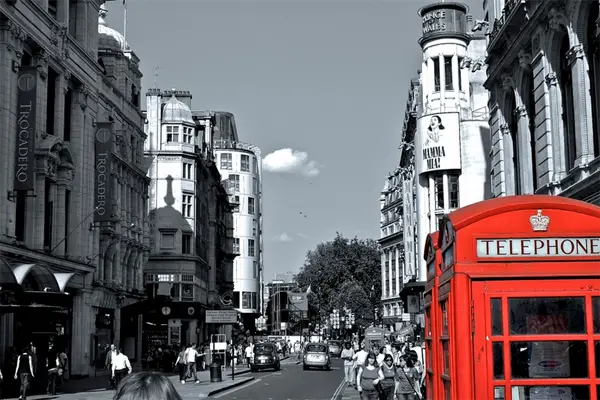
It’s that simple! Here are a few more examples to give you inspiration:
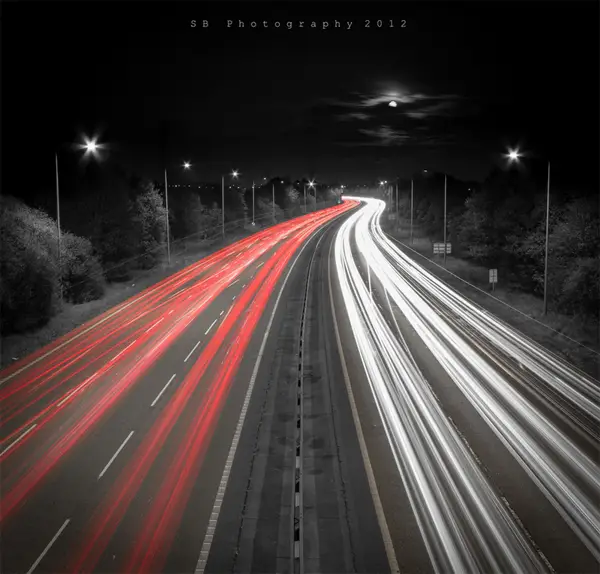
Rush Hour Colour Splash by Sean B
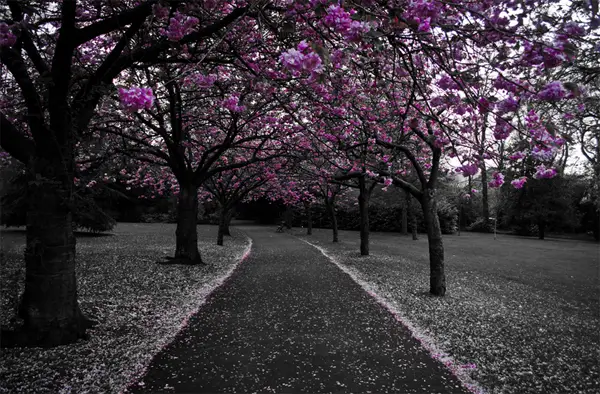
Blossom Lane by David Middleton
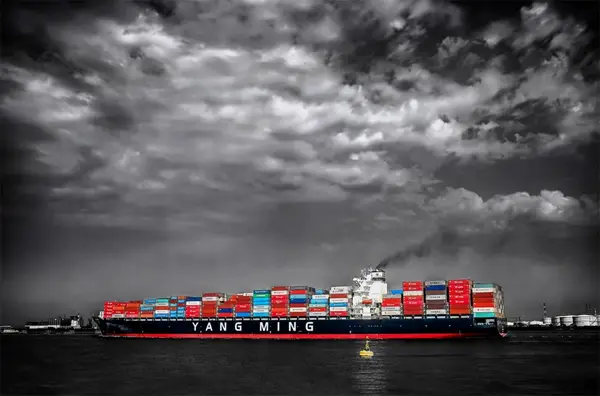
Yang Ming Ship by Joram Huyben
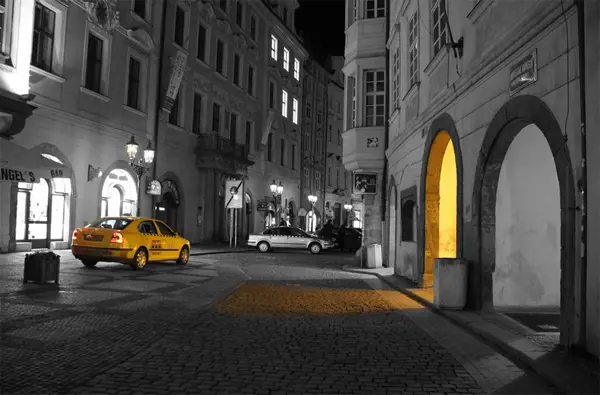
Call Me a Cab by 4Eyes Photography
Color Splash by Azra Ferhatovic
Color Vision by Daniel Smith Photography
Splashes of Color by Believer9
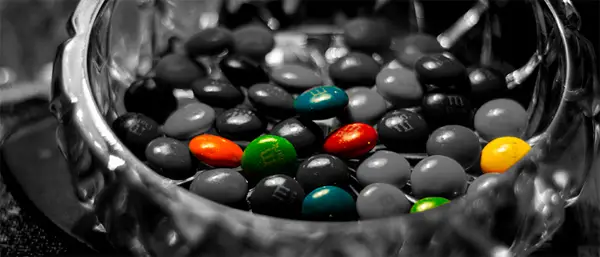
Colorsplash M&M’s by Steve Jurell

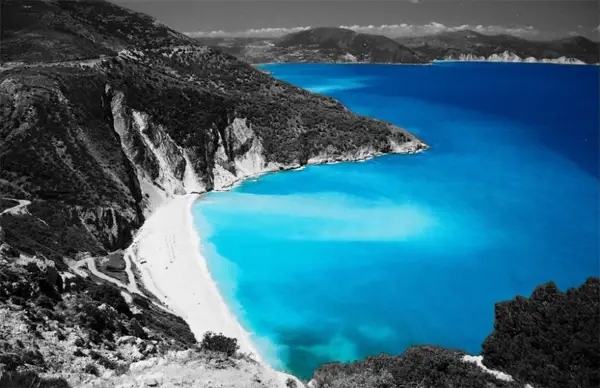
Greek Beach Color Splash NYLonboy89
A Splash of Color by Broken Beloved

Color Splash Butterfly by Malice Umbra
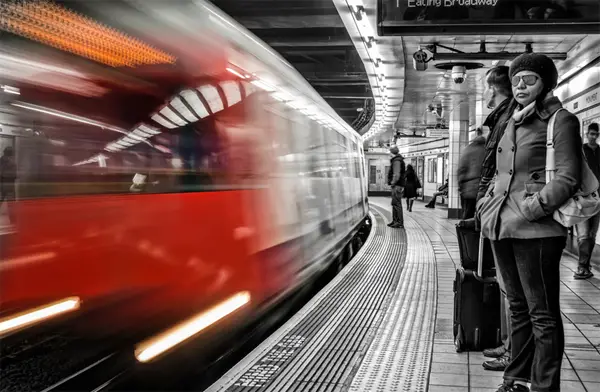
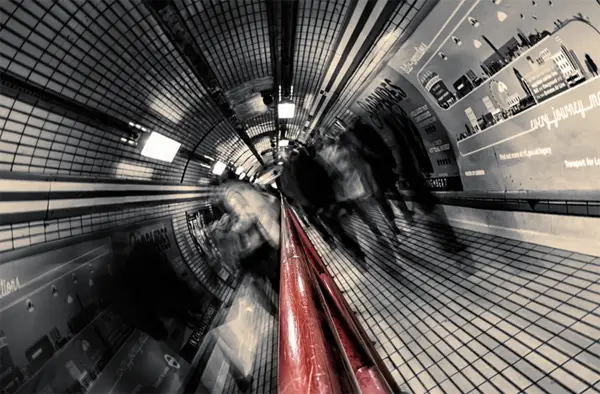
London Underground by Milad Alizadeh
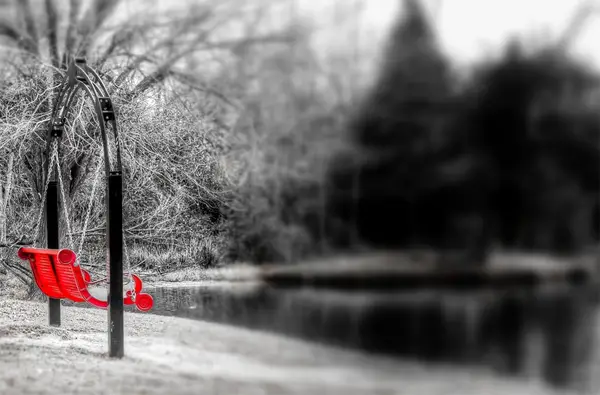
Splash of Color by Hollie Kalinski
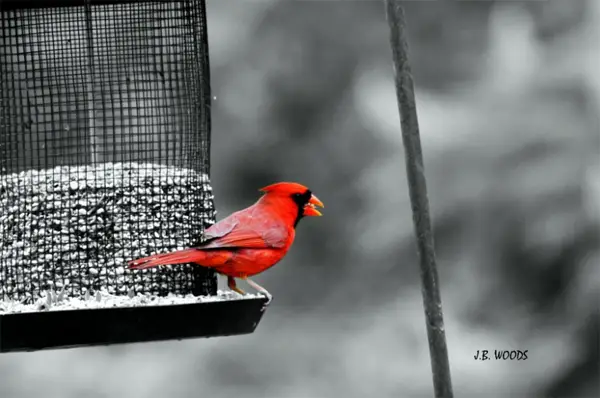
Sammy Color Splash by J. B. Woods
Autumn is Coming by Victor Photography
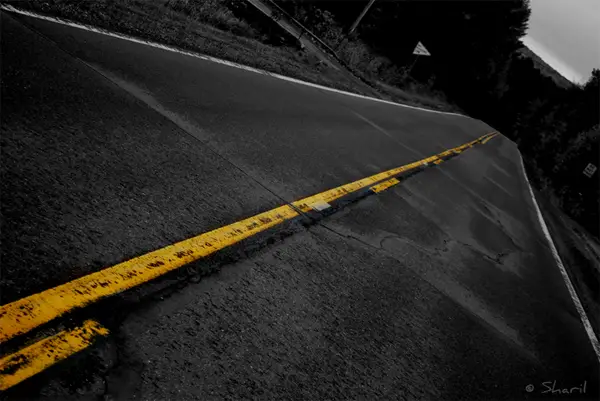
Yellow Equals Caution by Lindsy Carranza
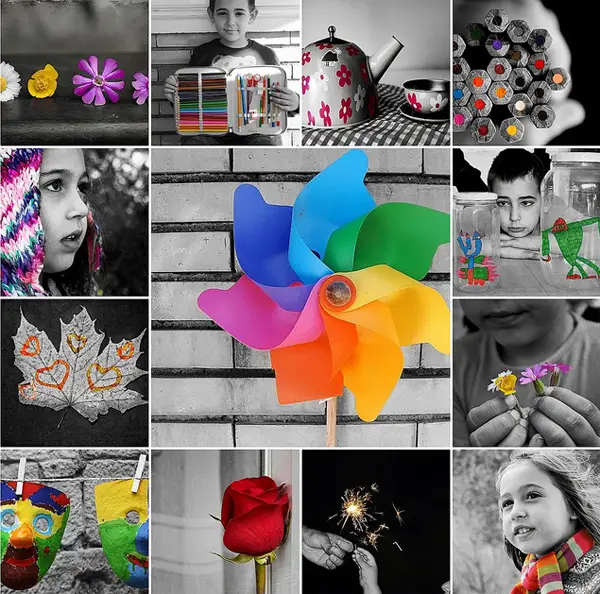
Splash of Color Collage by Pamipipa
Tottenham Courtroad Station by Milad Alizadeh
Tourist Trap by Andy Nicolaides
Where the Eye Falls by Joel Marine

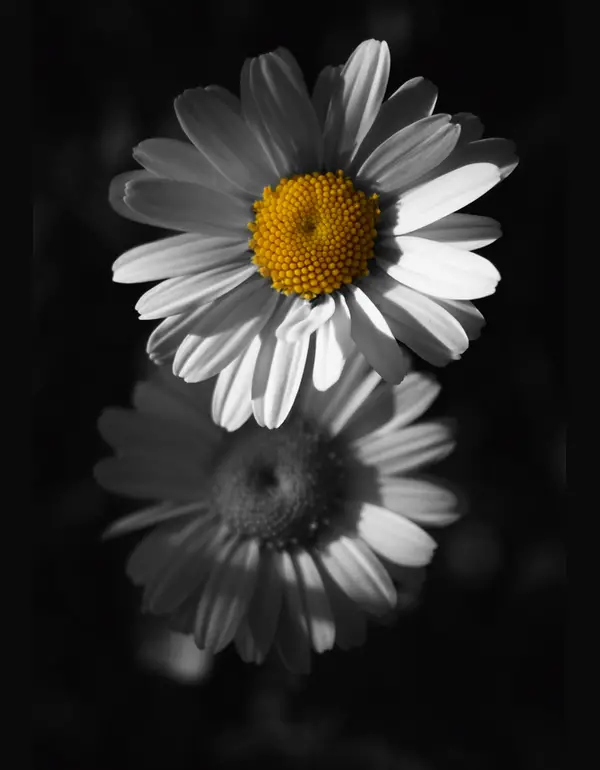
Color Splash Sunset Flower by solonaxdawn
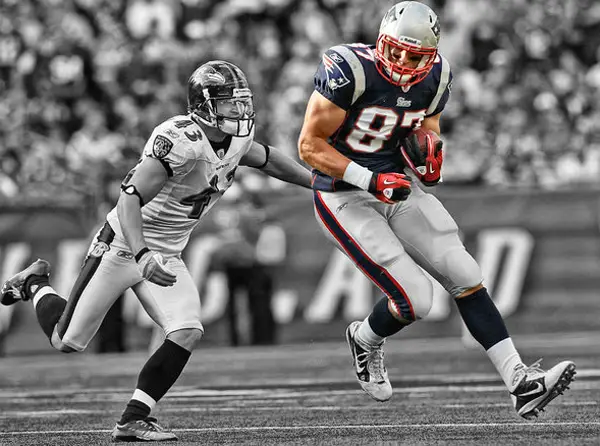
Gronkowski Color Splash by iColorSplash

Luke with Light Saber by Jeff Graham

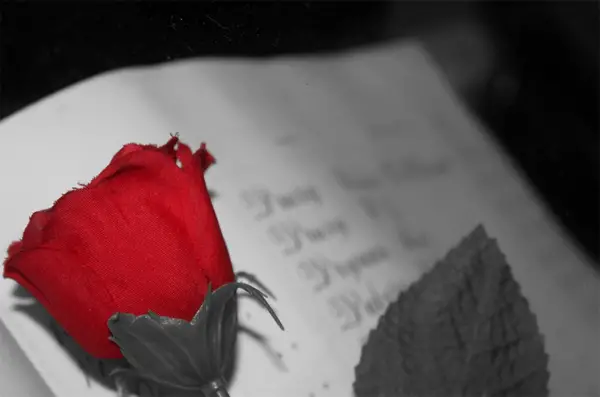
Black and White with a splash of Color by Steven Munden
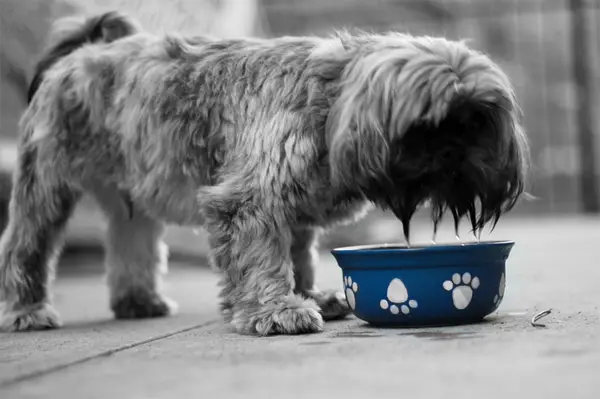
Marley Thirsts by Brandon Tigrett

Conclusion
Don’t hesitate to share your thoughts and feelings which methoв you like the best and why. This technique can be used for almost any photo you like. And I bet you, please dare to share your final results with us!


Another easy method for this is to create a duplicate layer. Change the duplicate layer to black and white (what ever process you prefer) and place it on top of the colored layer. Now just delete out what you want to show in color. The process is quick and simple. Especially for us hacks that are using GIMP.
My favorite method (in PS CS3) is to create a B/W adjustment layer, which gives tremendous control over the B/W conversion, and then use the layer mask on it to reveal the color portion. Layer masks are far more flexible than simply erasing parts of a layer. Quick, relatively simple, and very flexible.
how do you get this effect if you have i photo 🙁
I’m not aware of a way to do this in iPhoto unfortunately. Both the methods mentioned by the previous commentors are also great ways to achieve this effect but won’t work in iPhoto because the program doesn’t give you enough editing options for this kind of thing.
Anyone know how to do this in Paintshop Pro
How is this done with photoshop elements 6???
Wow that was simple & quick 🙂 thanks for this tutorial
This can be done easily in Photoshop Elements 6. Open your original photo. Duplicate the layer…name it B&W. Then, convert the duplicate layer (B&W) to black and white. Select that layer. Then, choose Quick Selection tool and out line the area you want colorized. Once this is done simply goto the Menu bar, choose Edit and then cut. Or, use the Eraser Tool and just remove the color from the area of the photo you want.
when i try this, and use the history brush, it doesnt pick up the colour, it only makes white lines. And yes, I did make sure it was on RGB color. =P
I have Paintshop pro (and 8 at that!) – any advice or tips websites that might help me??
Wendy-Bob try this <a href=”http://www.dumlao.cc/psptutorials/9/colorize/p1.shtml”tutorial for Paintshop Pro .
Sorry that didn’t quite work! Here’s the link to Paintshop Pro tutorial:
http://www.dumlao.cc/psptutorials/9/colorize/p1.shtml
I found this article, and started playing, but I think I found an even better way with photoshop. Instead of using a brush to restore the color, start first by using the “magic wand” tool to select areas where you want to keep the color. This is easier than using a brush, as you simply click and it selects all contiguous areas with that color. Keep clicking until everything is chosen – read up on the “magic wand” to get better at it.
Then, with everything selected, go to “Layers” and choose “New –> Layer via Cut”. Then, make sure the main layer is selected (right side) and select “Image –> Adjustments –> Desaturate” as the original article said. You should now see your picture in B&W with the color highlights you had selected. To finish, put the layers back together with “Layer –> Flatten Image” and you’re done!
is it possible to create this effect without photoshop?
i dont have it and i was wondering if there was an alternative? thankyou:]
I’m fairly certain GIMP has the same tools; you can download it for free here: http://www.gimp.org/downloads/
Is there a specific name for this kind of art cause I absolutely love it!
I guess people call it “black & white with a splash of color” lol
I must say that your selections are not that tidy, you might want to put more effort in “staying within the lines” 😉
Now I know he didn’t hand select each and every leaf on the scene of the “Blossom Lane” photo. They make software (hard to find) that will let you pick a color with an eyedropper tool and everything except for that color will be turned to black and white, while everything that is that color will remain.
So artsy
]
OMG i know right i love super qute artsy pics of our inner souls