The moon has been a source of fascination for a very long time. As long as the world exists, human beings have been wondering about the moon and staring up into it in the pitch black of night.
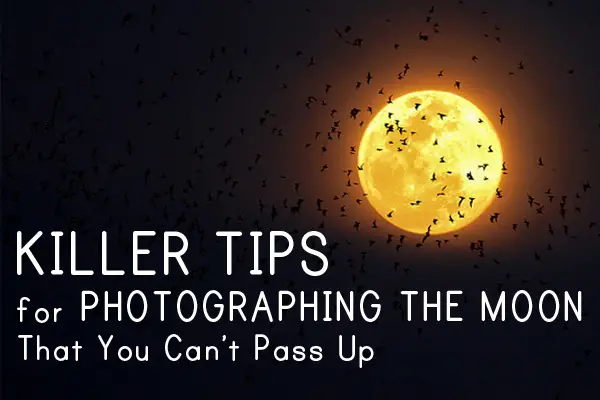
The moon has been a subject of art for many years, and photographers are also fascinated by its mesmerizing properties.
Taking amazing moon photographs can be quite challenging and way trickier than you may expect. There are some factors which may spoil great shots, such as the fact that the moon is an effective reflector of light, its relative magnitude, and its position against black sky.
So, what can you do about this? How can you get around these tricky challenges and take killer photos of the moon?
If you’re looking for highly effective tips on moon photography, then keep reading the article. Here we’re going to share killer tips on getting successful photographs of the moon in all its glory.
Heed the Moon’s Golden or Magical Hour
Have you even known the fact that there is so-called Magical or Golden Hour for moon photography? During this period of time you’ll get the best optical effect for taking pictures of the moon.
You don’t need to make some mental calculations or go to the soothsayer to figure out when exactly these magical hours take place. The moon rising and setting can be different by almost an hour from one night to another, unlike the sun’s rising and setting every day.
Of course, you can always look up at the moon each night and see its position, however, there is no way to make sure that the time is the most opportune for that. Instead, you can turn to science and go to the official U.S. Naval Observatory website, where you can make calculations and see when the moon is going to rise and set down specifically in your region. The site works for both USA and internationally.
You’ll also need to know specifically under what conditions Golden Hour takes place. The most dramatic images you’ll get when the full moon is rising. The sun is setting as the moon is rising with difference in about 20 minutes of each other.
So, how to find detailed information of when the full moon takes place each month? Of course, by heading to the Full Moon Calendar website. You can define the specifics of the lunar cycles each month there. It will help you to plan shooting for the Magical or Golden Hour.
It’s All About WHERE You Choose to Shoot
The position from where you shoot a picture also matters. You may forget about that while catching the moon as it appears during its optimal phase. If you’re aimed to take impressive and high-quality picture of the moon, you need to be extremely meticulous about your shooting location.
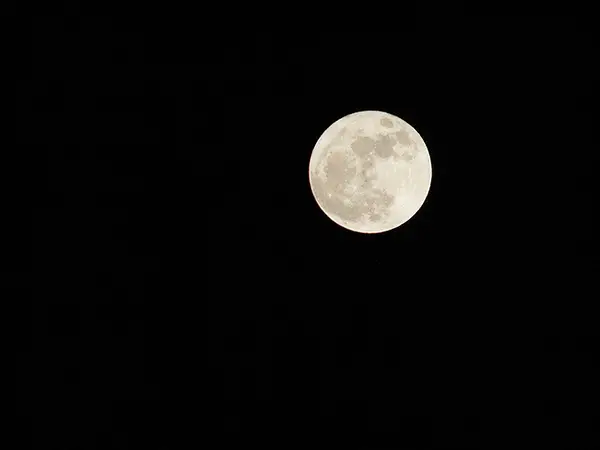
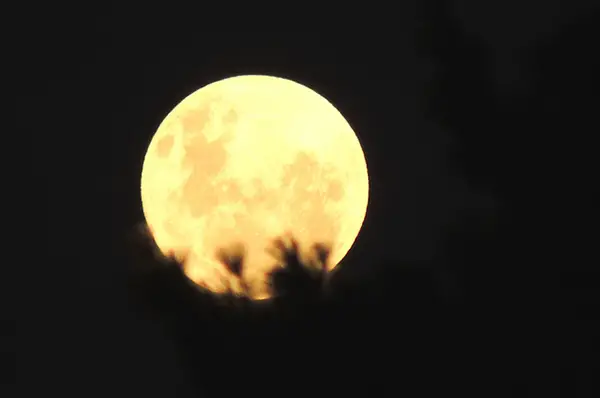
Generally, there are two types of moon photography: one where you show the moon itself by its lonesome and another where you have some reference point in the shot.
If you’re aimed to shoot the moon by its own, then I highly recommend to avoid all ambient light. This includes things such as street or even traffic light.
Eventually, to avoid these industrial lights, you need to head to a place which is really dark and secluded, for instance, a remote street or public park after hours.
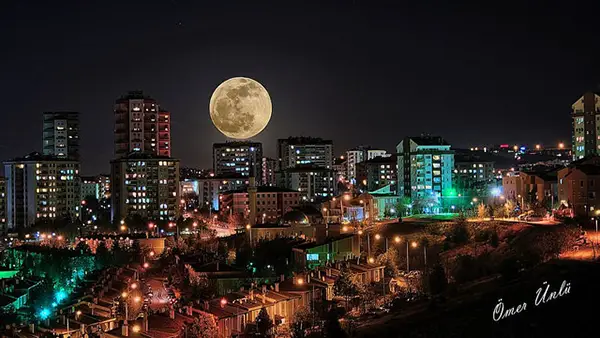
Let’s say you want to attempt to fit a city skyline into your picture of the moon. You need to find a lookout point which makes some room for the twinkling lights beneath and try a few shoot tests to make sure you have proper exposure.
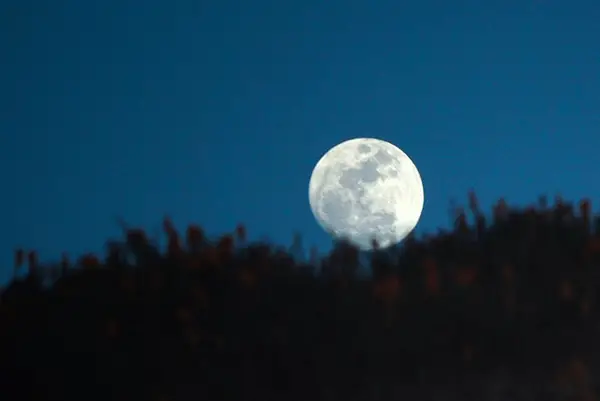
Consider Adding a Point of Reference
It may be boring to shoot moon just by itself. Honestly, most of the breathtaking examples of moon photography have points of reference to provide more personality and flavour to each photo of the moon. However, if you want to add some reference point, would it be a good selection for you?

You can always play safe and include some standard suspects, such as the ocean, mountains, or desert in your shots. Shooting any of these three locations makes a routine moon image.
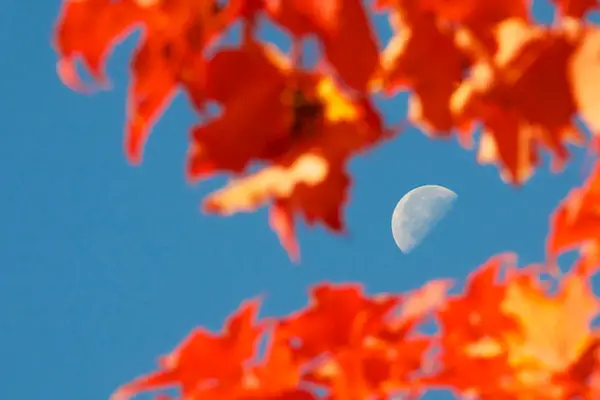
If you would like to go a bit more unique and creative, you may set up your shot the way to place the moon right between some buildings or tree branches, for example. You may even include some action in the foreground of your photograph.
Whatever which point of reference you select, just make sure it’s distant enough to highlight the moon. See, if your camera fails to zoom in properly, the moon will turn out too bright as a little speck in the sky.
This is not impressive at all! Instead, equip yourself with at least 200mm zoom lens, and remember the longer zoom you have – the better. Even 400mm zoom will fit.
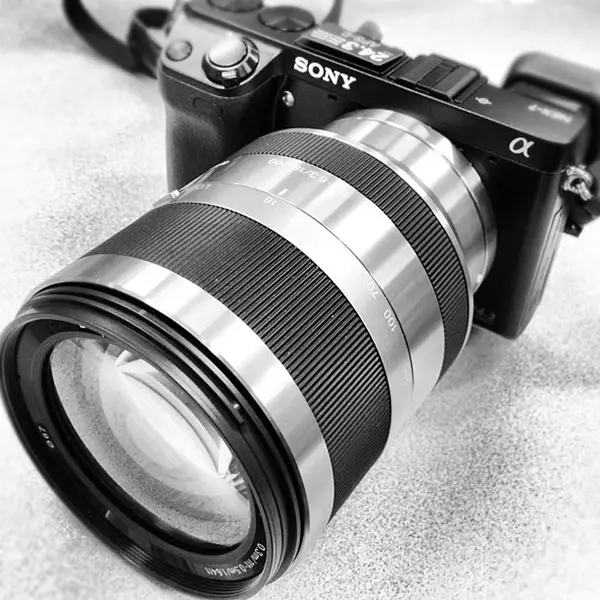
Without the Right Equipment, You’ll Have a Hard Time
Here is the fundamental list of equipment you will need: a camera, a mirror lock-up, a tripod and a remote shutter release which is either coded or infrared.
Different camera types may be used, as long as they feature lens with a focal length big enough to provide proper magnification.
As I mentioned above, a lens 200mm and above will work fine. Then again, an excessively long telephoto lens may compress things within your shot.
The mirror lock-up will help you to get rid of vibrations by locking up the mirror. Wait a little bit and then open and close your shutter.
Zoom lenses and high magnifications tend to cause vibrations, so the mirror lock-up is a godsend. With these vibrations your image may also lose sharpness.
Aperture…Aperture…Aperture…
For moon photography tiny aperture works the best, as the moon, obviously, is huge distance away. You would want to employ a big f-stop number.
Some photographers like to use nothing smaller than F22, as this f-stop number produces sharp photos. For moon photography it’s better to obtain as much sharpness as it’s possible.
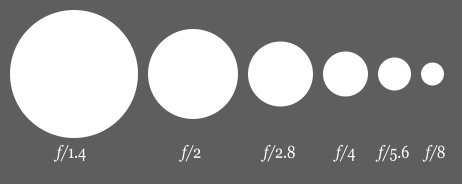
Sure, you should not limit yourself to only F22, since it’s just a baseline number. Feel free to experiment with even higher f-stop numbers while shooting the moon. If going bigger than F22 works for you, then go ahead. Just keep in mind, that the smaller your aperture, the longer shutter speed you’ll need.
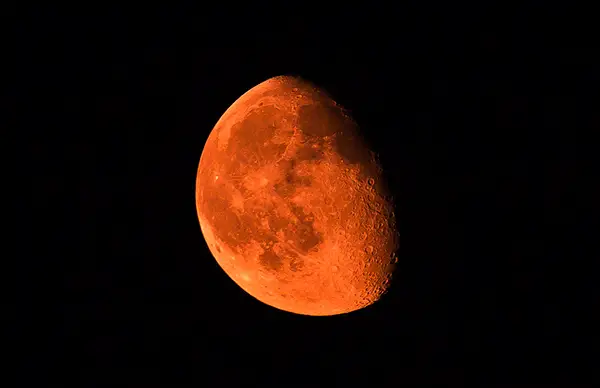
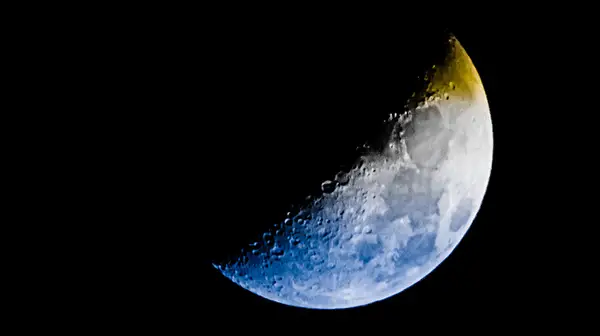
Don’t Forget to Sharpen and Tweak
Even when your moon shots are ready, your job is not quite done. It will not hurt to tweak and sharpen them a bit more. This is a necessary step as your photo subject is really far away. By improving the sharpening you’ll notice more definition in the moon craters, which increases an overall impression of the image.
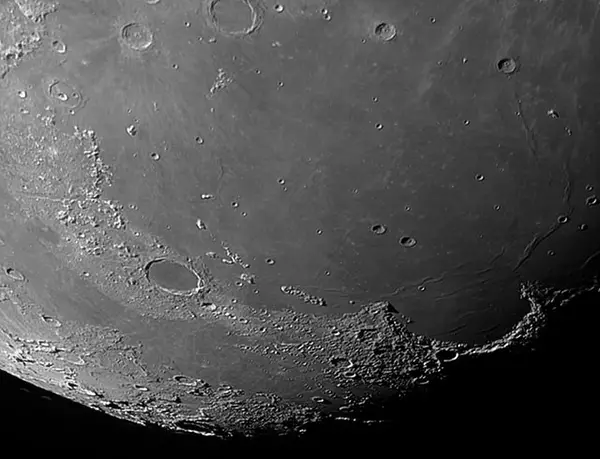
Rely on your contrast tool in Photoshop or any other photo editing program you like. Photoshop works the best when you need to tweak the light and dark points.
The moon surface will only benefit from some more 3-dimensional appearance instead of flat and white surface. After you improved contrast, sharpness, and clarity, the moon on your image will look more realistic.
You can check out two different versions of the latest Photoshop on Amazon.com. There’s Adobe Photoshop Elements and Adobe Photoshop and Premiere Elements.
Moon Photography 101: Master It!
Now you have all the tips and tricks of the trade which you may need to master photographing of the moon. You can’t rush to get great images of the moon. It takes planning, gathering proper equipment and then executing when the time is right.
Even after the images are taken, you’re not done – you still can improve them dramatically with Photoshop (or any other editing tool).
Taking photos of the moon is not that easy as it may seem from the first glance. It requires calculating optimal hours, and after that you’ve got to pay attention to the cycles of the full moon. You should find a perfect location, based on how you want the moon appear on your pictures.
You may even consider including some point of reference. Of course, it goes without saying, you also need right equipment, but without proper techniques, like right aperture and post-processing, it’s all in vain!
Have you ever tried taking shots of the moon before? If so, how did your images turned out? Don’t hesitate to share with us your experience in the comment field below.
And, as always, if you enjoyed these killer tips for shooting the moon, let your friends know about that by sharing the article via social media.


