The blending modes feature is one of Photoshop’s most undervalued tools for Photographers. Blending modes can be used to alter the ways in which each layer interacts with the layers below it, allowing for endless possibilities when it comes to setting the right tone or adding artificial lighting.
Graphic designers and digital illustrators use blending modes all the time to create interesting lighting effects or textures; however, most digital photographers don’t realize that blending modes can be useful when working with photographs, too. The right combination of blending modes can set a dramatic tone that is otherwise difficult to achieve.
This guide explain the properties of each blending mode as well as deliver a few creative tips that will help you use this feature to its full potential.
How to Easily Adjust Blending Modes
1. Open up a document with two layers. Alternatively, you can duplicate the background layer, and work with the copy layer. Head over to the Layers window. Click the drop-down menu that currently says “Normal.” Here you will find the blending modes menu. Click the mode of your choice to apply it to the layer.
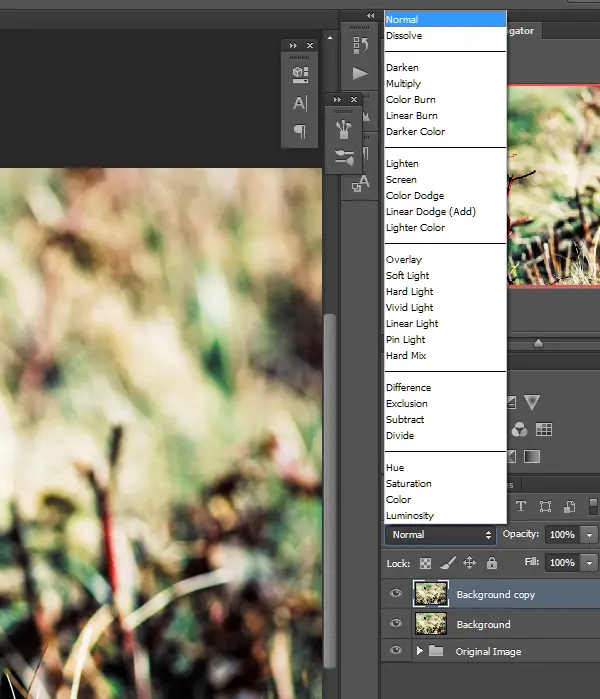
The trick to finding the blending mode that works best for the effect you want to achieve is to experiment with all the blending modes before deciding. Manually clicking through each mode might seem time-consuming; however, there are a few shortcuts that make scrolling through the options incredibly quick and easy.
2. To quickly and easily experiment with each blending mode, hold Shift and press + to go up one step in the list and – to go down. You can also double-click inside the blending mode box, and then use the up and down arrows or scroll wheel on your mouse to move through the list.
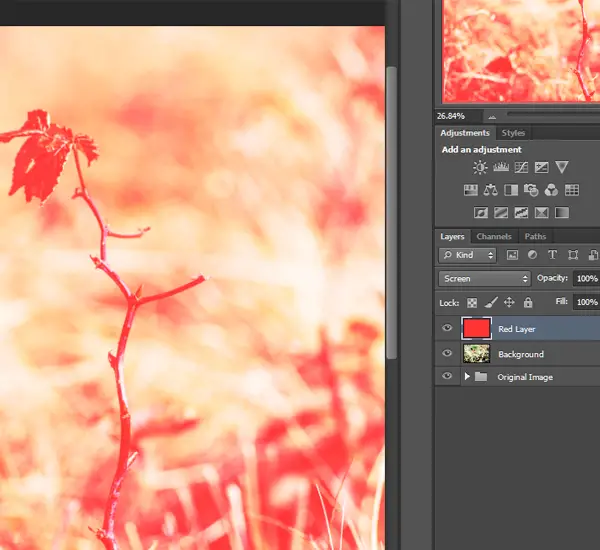
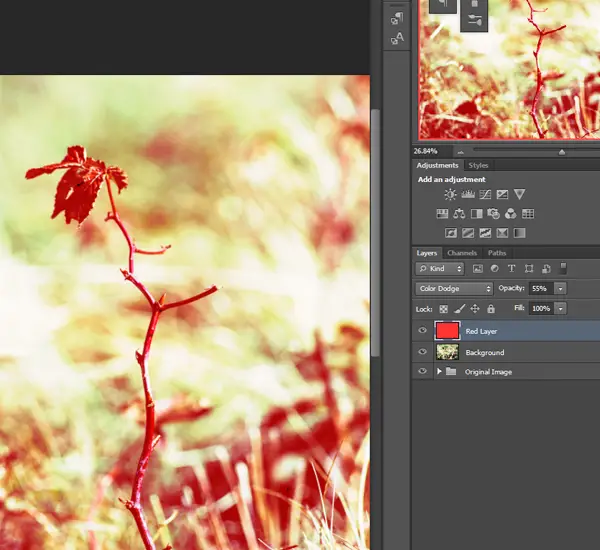
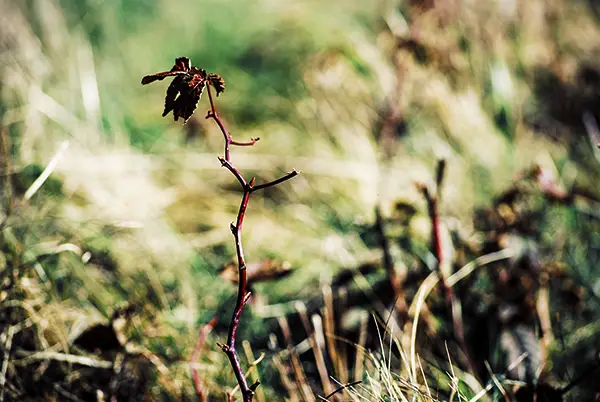
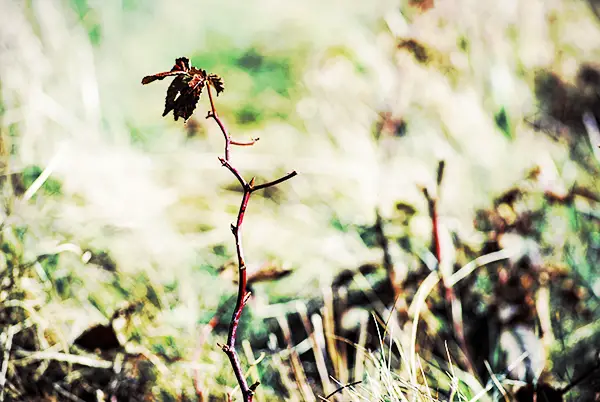
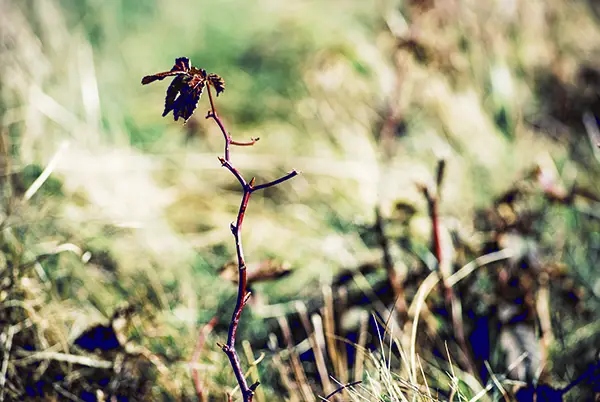
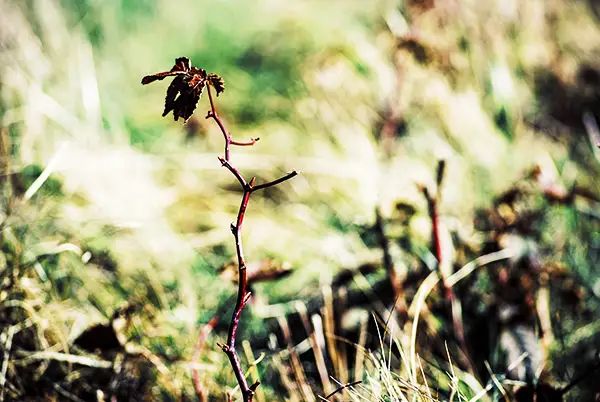
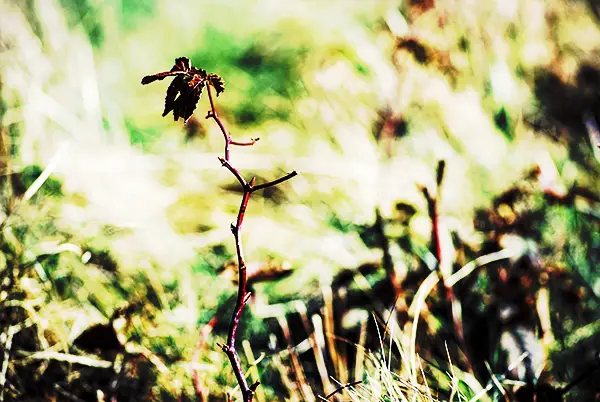
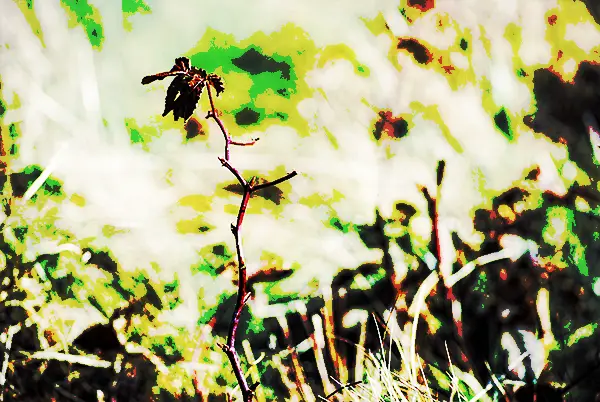
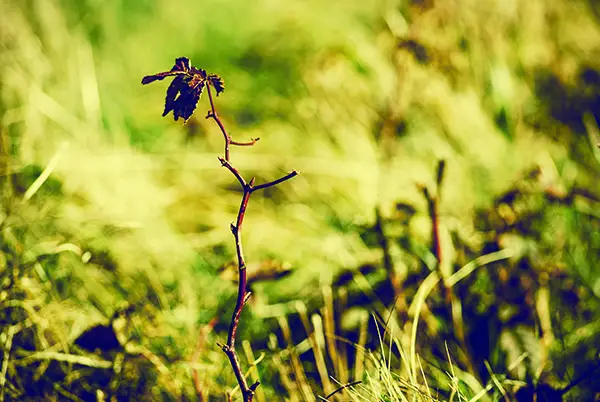
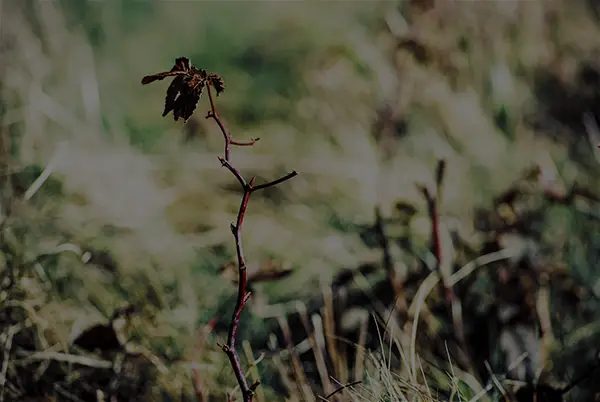
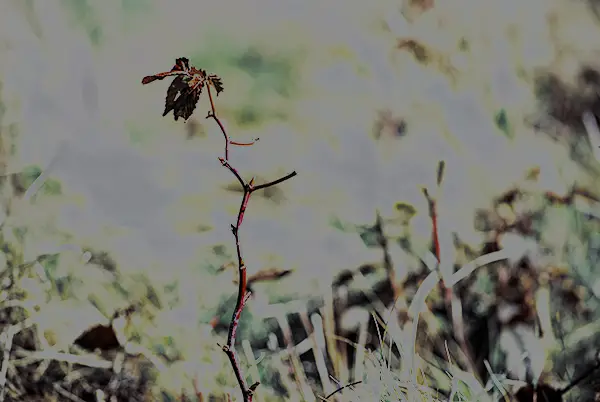
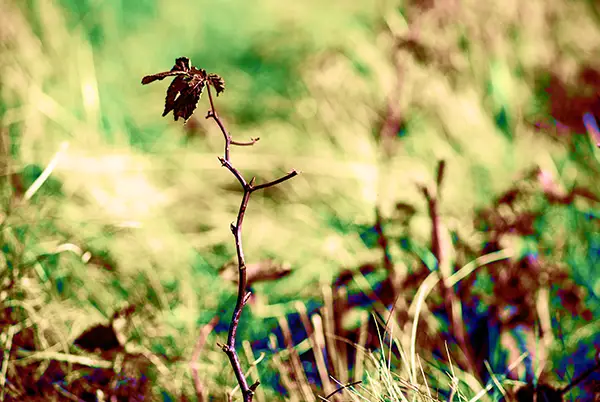
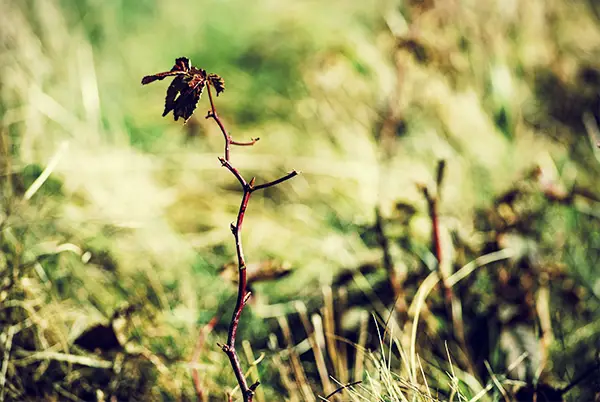
I chose to create a new layer and fill it with red. I then scrolled through the blending modes to find one with an appealing effect.

3. As you sort through each mode, keep in mind that you can always lower the opacity of the layer if an appealing effect is too harsh or dramatic.
Blending Mode Cheat Sheet
In this section, you will find a simplified description of each blending mode derived from help.adobe.com. You can use this section as a reference while you work, or you can read through it to get a better understanding of what actually happens when you select each blending mode.
Normal Blending Modes
This category contains only two blending modes‒the default mode, Normal, and Dissolve.
Normal
This is the default blending mode. Only the top layer is used.

Dissolve
Resulting Appearance: Grainy, harsh, and pixelated.
Behind the Scenes: Random pixels are taken from both layers, and no anti-aliasing is used. Dissolve layers with a higher opacity will contain more pixels from the top layer, and dissolve layers with a lower opacity will contain more pixels from the layer below.
Subtractive Blending Modes
This category uses various techniques to darken the colors in an image.
Darken
Resulting Appearance: The colors appear uniformly darker.
Behind the Scenes: The values in the color channels are decreased.
Multiply
Resulting Appearance: The image appears darker and more vivid.
Behind the Scenes: The color channel values in the top and bottom layer are multiplied together. A few extra rules apply as well: the resulting colors won’t be brighter than the original colors; if either color being multiplied is black, the resulting color will be black; and if either color being multiplied is white, the other color will be the resulting color.
Color Burn
Resulting Appearance: Darker colors and increased contrast. The color White does not change.
Behind the Scenes: The source color is darkened and the contrast is increased. Pure white is not affected.
Linear Burn
Resulting Appearance: Darker colors. The image does not change if blended with white.
Behind the Scenes: The color values are inverted, added together, and then inverted again.
Darker Color
Resulting Appearance: The colors appear darker.
Behind the Scenes: Each color value is lowered, but not within each individual color channel.

Additive Blending Modes
In this category, light is added in various ways to brighten the colors in the image.
Lighten
Resulting Appearance: The colors are uniformly lightened.
Behind the Scenes: The values of the color channels are increased.
Screen
Resulting Appearance: The image appears brighter and a bit “washed out.”
Behind the Scenes: The color channel values are inverted, multiplied, and inverted again. The new colors are never darker then the original colors.
Color Dodge
Resulting Appearance: Lighter colors and decreased contrast. Any areas of black do not change.
Behind the Scenes: The color values are increased and the contrasted is decreased. Any pixels that are black are not affected.
Linear Dodge (Add)
Resulting Appearance: Lighter colors. The image does not change if blended with black.
Behind the Scenes: The color values are increased. The pixels do not change if blended with black.
Lighter Color
Resulting Appearance: The colors appear lighter.
Behind the Scenes: The color values are increased, but the individual color channels are not affected.
Complex Blending Modes
The complex blending modes factor in whether or not the colors are lighter than 50% gray when performing the effect. As the title of this category suggests, these blending modes are a bit confusing; however, they are extremely useful, so be sure to experiment with them even if you do not totally understand them. They work very well for sharpening, toning, and adding texture or vignetting.
Overlay
Resulting Appearance: The two layers are blended together. Some areas are darker, and others are lighter. The shadows and highlights of the lower layer preserved.
Behind the Scenes: The color channel values are multiplied or screened, depending on whether the underlying color is lighter than 50% grey.
Soft Light
Resulting Appearance: The image appears as if a diffused light is shined on the layers. Applying a black layer or white layer will darken or brighten the image.
Behind the Scenes: The color channel values are darkened if the colors on the top layer are darker than 50% grey and lightened if they are lighter than 50% grey.


Hard Light
Resulting Appearance: The image appears as if a harsh light is shining through the layers.
Behind the Scenes: The color channel values are multiplied if the bottom layer colors are darker than 50% grey, and screened if the bottom layer colors are lighter than 50% grey.


Linear Light
Resulting Appearance: The colors in the image appear dodged or burned, and the brightness is increased or decreased.
Behind the Scenes: The brightness is increased if the bottom layer colors are lighter than 50% grey, and decreased if they are darker than 50% grey.
Vivid Light
Resulting Appearance: The colors in the image appear dodged or burned, and the contrast is increased or decreased.
Behind the Scenes: If the colors in the bottom layer are lighter than 50% grey, the contrast is decreased, and if they are darker than 50% grey, the contrast is increased.

Pin Light
Resulting Appearance: The colors are blended together and some are replaced.
Behind the Scenes: If the colors in the top layer are lighter than 50% grey, the colors in the bottom layer that are darker than the colors in the top layer are replaced with the colors in the top layer. If the colors in the top layer are darker than 50% grey, the colors in the bottom layer that are lighter than the colors in the top layer are replaced with the colors in the top layer.

Hard Mix
Resulting Appearance: The bright colors are brighter and the darker colors are darker. This effect can be very harsh.
Behind the Scenes: The contrast of the bottom layer is increased and blended with the top layer.
Difference Blending Modes
These blending modes create new colors based on the differences between the top layer color values and the bottom layer color values.
Difference
Resulting Appearance: The color channels are altered and blended.
Behind the Scenes: The darker color values are subtracted from the lighter color values. White areas of the top layer become the inverted value of the colors on bottom layer. Areas of the top layer that are black are not changed.
Exclusion
Resulting Appearance: The color channels are altered, but the contrast is lower compared to the Difference blending mode.
Behind the Scenes: Applies the same effect as the Difference blending mode, but with a lower contrast.

Subtract
Resulting Appearance: The colors are altered and blended.
Behind the Scenes: The colors of the top layer are subtracted from the colors of the bottom layer. In areas where the top layer is black, the new color is the color of the bottom layer.

Divide
Resulting Appearance: The colors are dramatically altered.
Behind the Scenes: The colors in the bottom layer are divided by the colors in the top layer.
HSL Blending Modes
These blending modes are useful for changing a specific color feature, such as hue, saturation, or lightness.
Hue
Resulting Appearance: The hue of the top layer is applied to the bottom layer.
Behind the Scenes: The luminosity and saturation of the colors in the bottom layer are combined with the hue of the top layer.

Saturation
Resulting Appearance: The saturation of the top layer is applied to the bottom layer.
Behind the Scenes: The luminosity and hue of the colors in the bottom layer are combined with the saturation of the colors in the top layer.
Color
Resulting Appearance: The color of the top layer is applied to the bottom layer. This affects grey areas as well, so it can be used to colorize a monochrome image.
Behind the Scenes: The luminosity of the colors in the the bottom layer is combined with the hue and saturation of the colors in the top layer.
Luminosity
Resulting Appearance: The luminosity of the top layer is applied to the bottom layer.
Behind the Scenes: The hue and saturation of the colors in the bottom layer are combined with the luminosity of the colors in the top layer.
Tips and Tricks
Check out these quick tips and tricks to learn some cool blending mode photo-editing techniques.
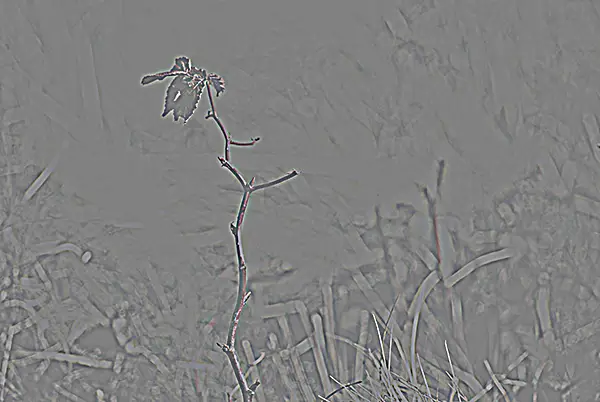
1. Sharpen an Image with a High Pass Overlay Layer
Sharpen an image by applying a High Pass filter, and then change the blending mode of the layer to Overlay.
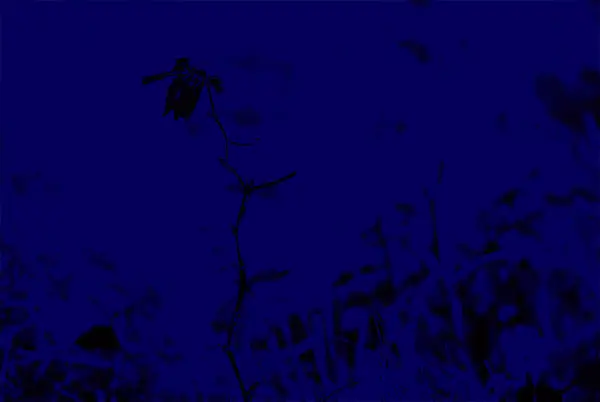
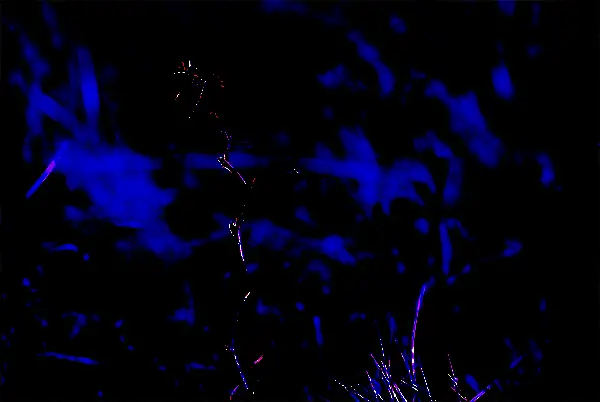
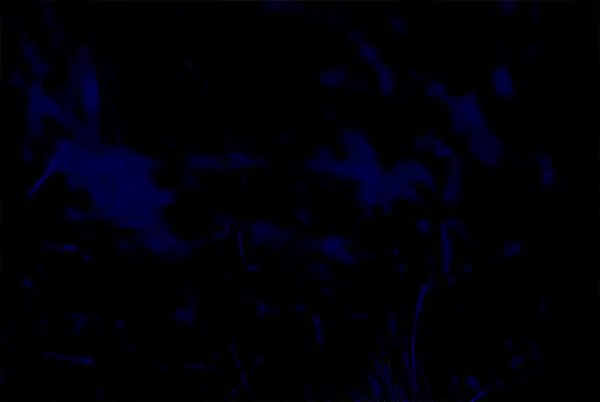
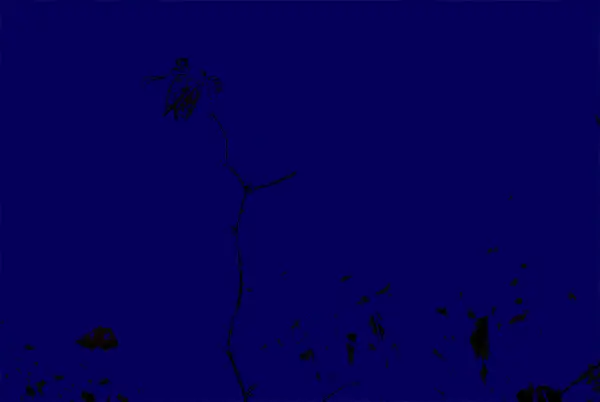
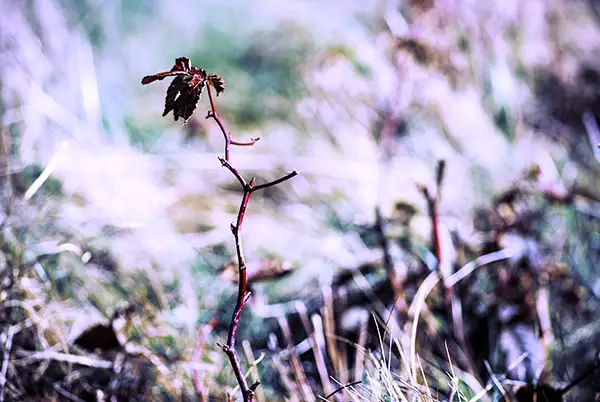
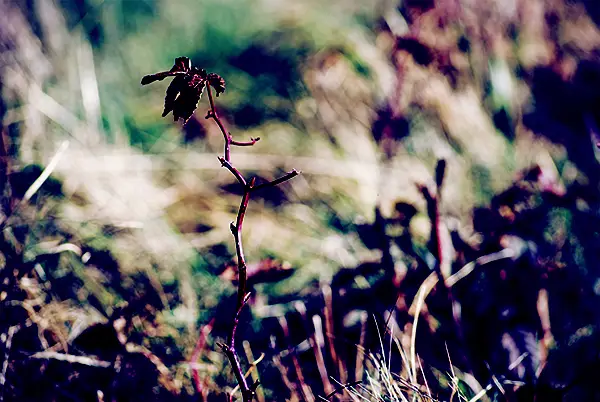
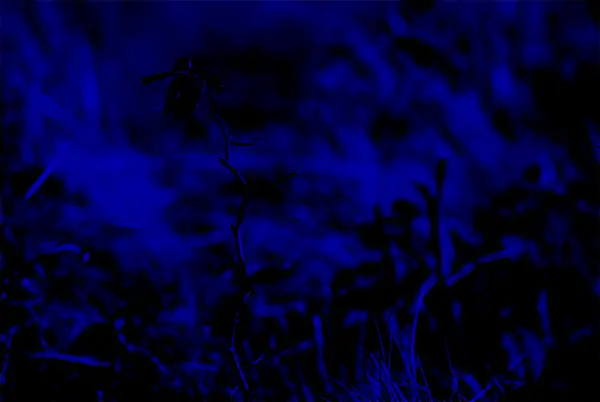
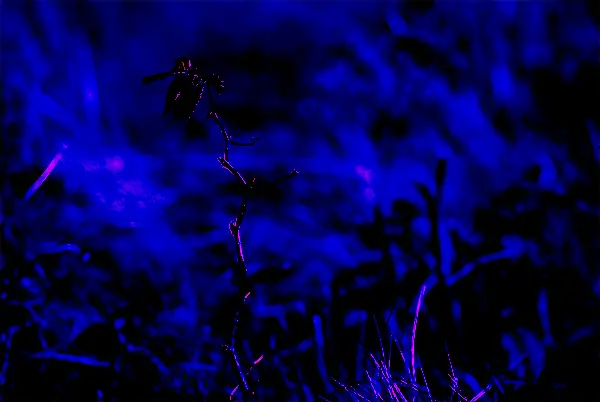
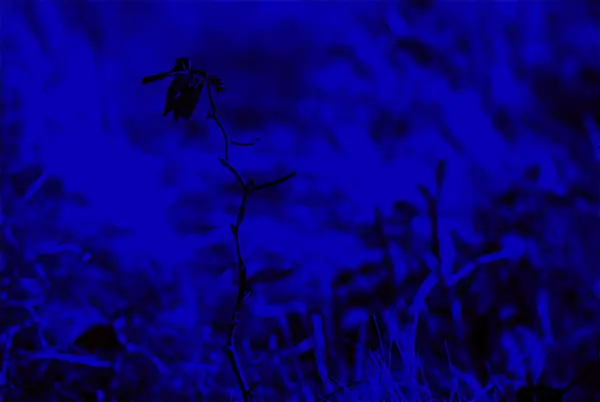
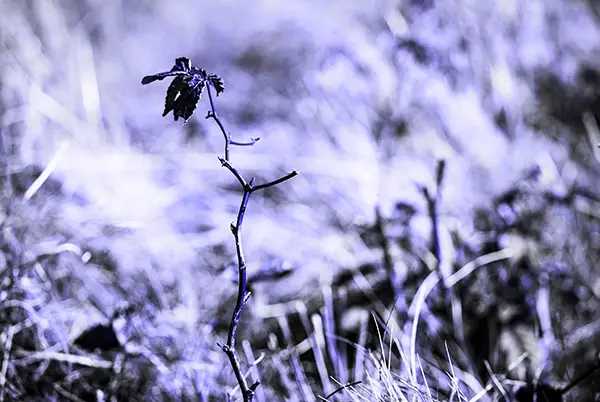
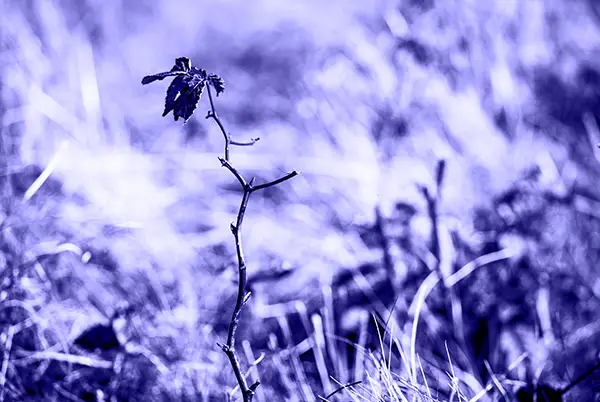
2. Create a Navy-Blue Difference Layer
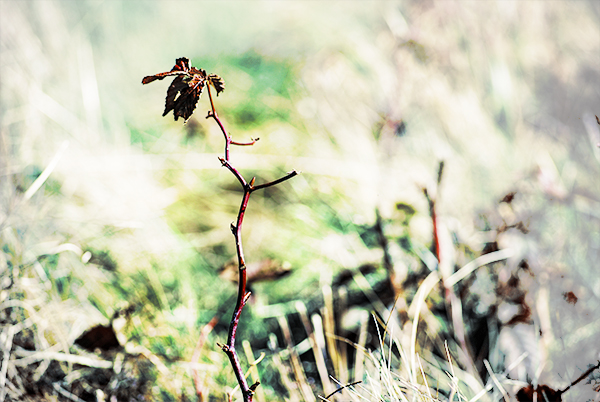
Change the mood and tone of an image by creating a Difference layer. Change the Opacity to 35% and fill it with Navy Blue.
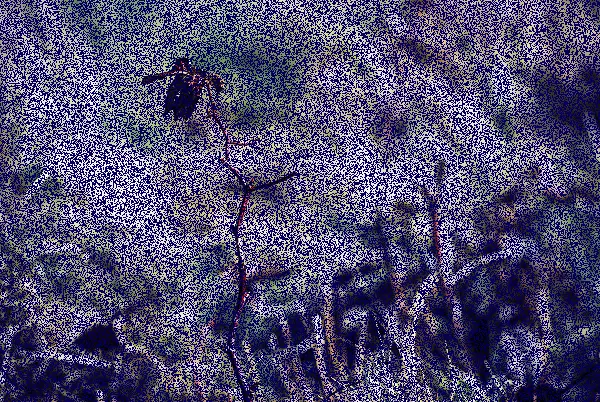
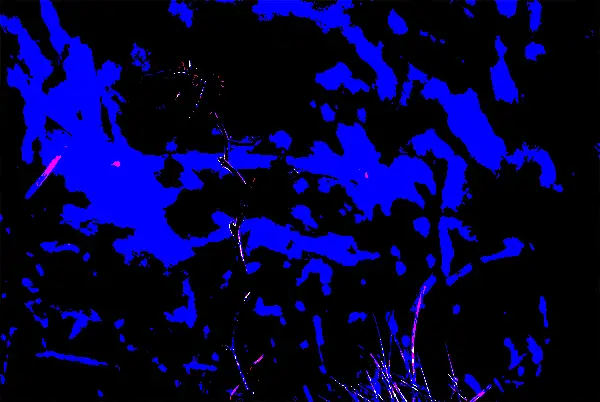
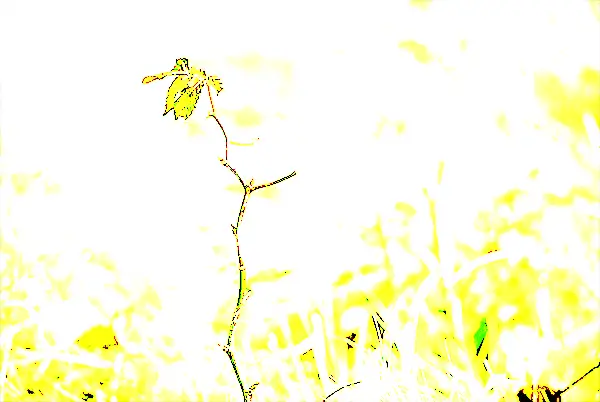
3. Add a Lens Flair Divide Layer
Put more focus on the subject of the photograph by rending a lens flare right over the top of it on a Divide layer with 50% Opacity.
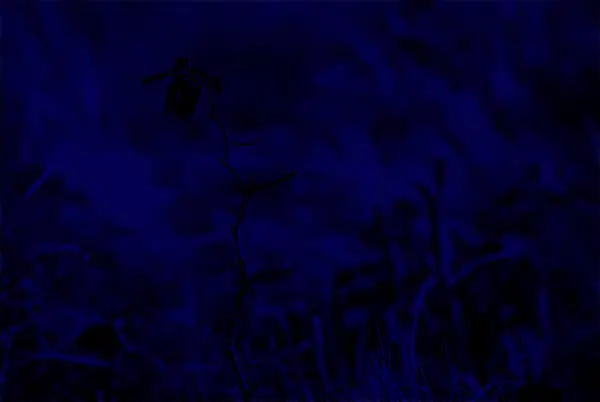
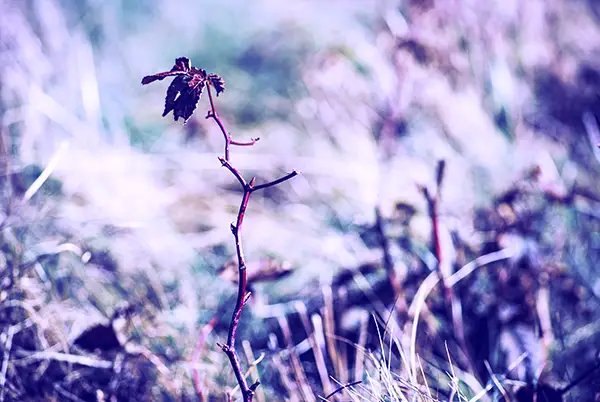
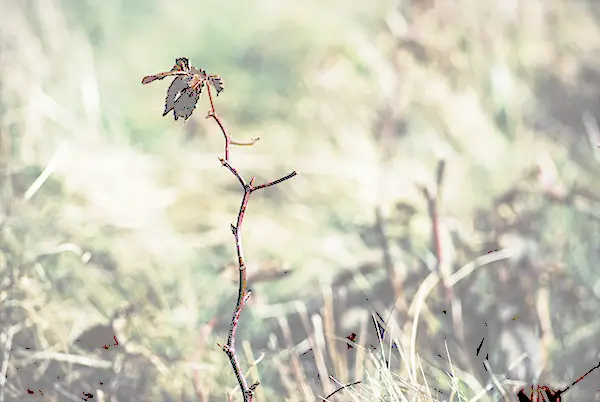
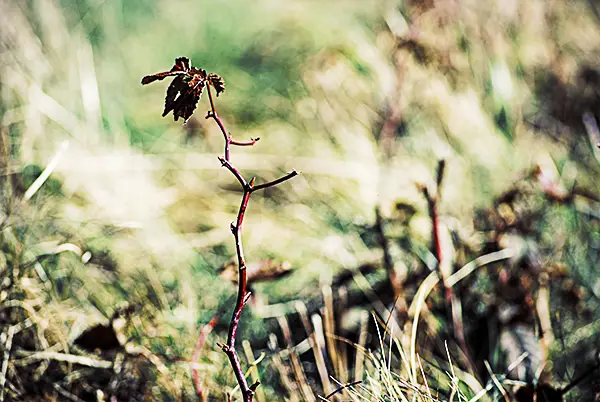
4. Create Vignetting with the Soft Light Blending Mode
Add artificial vignetting to your image by filling in a feathered, inverted elliptical selection with Black on a Soft Light layer.
I hope this information will help you understand blending modes a little better so that you can use Photoshop to its full creative potential. If you would like to offer critique or have any questions or suggestions, feel free to leave a comment in the section below. Thanks for reading, and good luck with your future photography endeavors!


0 comments