What is your photographic specialty? Do you even consider yourself to have one? The answer to these questions might depend on whether or not you’re a professional photographer or do it for the enjoyment of the hobby.
It’s a commonly known rule amongst professionals that you can usually maximize your success by concentrating in one or two specific disciplines or styles, whether it be wedding and engagements, kid and family or even food and product photography. The thought process behind this is that spreading yourself too thin among many types can cause you not to excel at any in particular.
While there is a financial motivation for professionals to do this, for amateurs, hobbyists and those attempting to work their way up within their skill sets, this reason is also applicable. By concentrating on one area of photography, you’ll increase your skills and understanding faster and retain the information better. One of the easiest areas to do this with is landscape photography.
1. Decide on Specific Equipment for Landscape Shooting
Landscape photography deals with capturing the physical world around you, primarily scenes consisting of land and water. To do this, there are a couple of standard items you’ll want to secure. First and foremost, we’d normally like to capture the shot with a very deep depth of field (using a small aperture, such as f/18 or f/22). This means possibly longer exposure times, which necessitates a tripod.
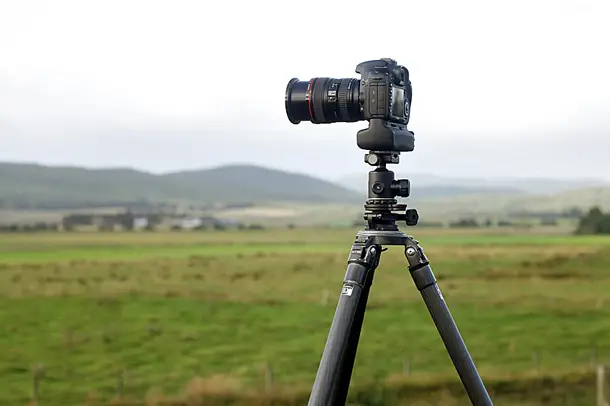
Tripods are like anything else, for the most part: The more you spend up front, the better quality product you’re going to get. However, you don’t have to spend a small fortune, as reasonable-quality tripods can be had for $100 or less and will work just fine.
Secondly, because of other factors (the time of day when we shoot, the aforementioned small aperture), this could be a situation that would benefit from adding a filter. Filters can help us get the appropriate contrast and lightness in the proper areas during the shot, instead of forcing us to deal with this in postproduction.
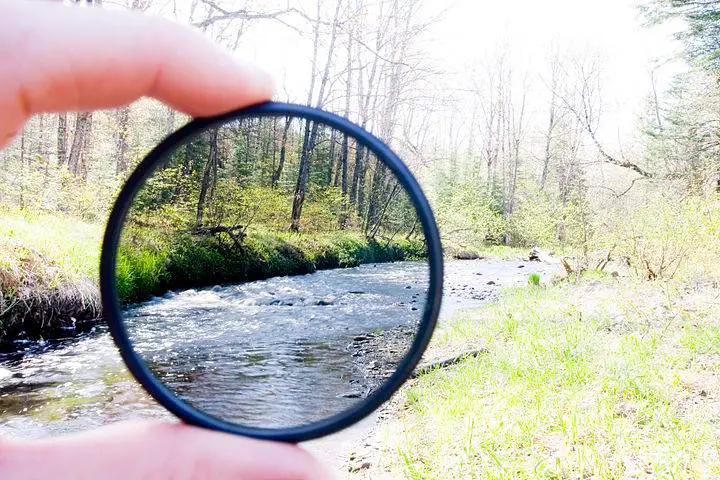
Some appropriate filters here would include:
- A polarizing filter, which eliminates glare and unnecessary light, giving us a well-contrasted image that pops.
- A neutral-density filter, which reduces the amount of light passing through the lens, allowing us to use a wider aperture, but still maintaining the shutter speed you’d expect from a smaller lens opening.
- A graduated or graduated neutral-density filter, which also reduces the amount of light coming through the lens, but does this on, generally, one-half of the lens. This lets us darken a bright sky in the background while keeping our foreground at the proper exposure.
2. Use the Correct Settings
As a general rule, we want our entire photography to be sharp and clear when shooting landscapes, so a few guidelines are in order:
- Mode -Since you’ll need to make adjustments to the exposure settings, it’s recommended to use Aperture Priority (Av) or Manual (M).
- Aperture – We want a wide depth of field to keep the entire photo sharp, so we’ll need to use a small aperture (which translates to a high F-stop number), such as f/18 or f/22.
- ISO – This number will depend on how much available light you have. Since we have a small aperture, less light is getting into the sensor, and you might have to compensate by increasing the ISO. Typically, we’d want this as low as possible to avoid noise; an ISO of 100 is preferred.
- Shutter Speed – This will depend on the time of day, but since we usually would like to shoot early or late (for optimum lighting), the speed might be a little slower than we’d like. Since we’re using a tripod, however, this shouldn’t be an issue.
3. Location, Location, Location
What type of subject are you looking for? What mood, message or story are you trying to get across? Answering these questions will allow you to properly choose a location for shooting.
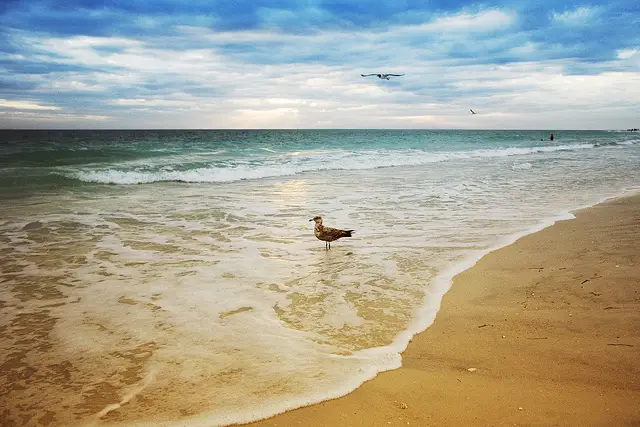
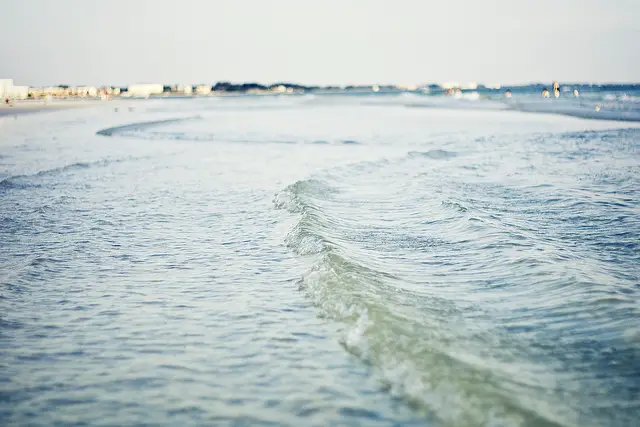
Are you looking for a dramatic, blood-red sunset over the ocean with a white sand beach in the foreground? Perhaps a spring field set on rolling hills in the early evening, with the subject being the vast layer of flowers covering the ground?
Define a theme, whether it be beach and ocean, country, cityscape and skyline or even woods and forests, and pick a location and subject from there.
4. Use Proper Composition
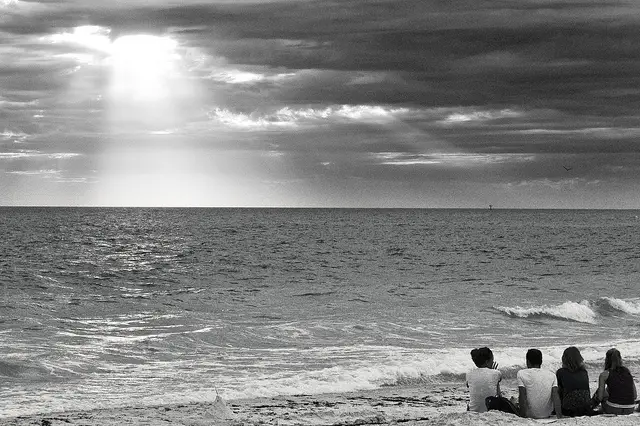
When we talk about “landscape” format, we’re talking about a scene or photo that is wider than it is tall. And most landscape photography is done in this format. Since we know the scene is going to be arranged across horizontal sections of the image, we can decide which parts of the scene are most important and compose for that.

For example, an incredible sunset on the beach would mean that we’d want to see more of the dramatic sky than of the beach itself. In this case, we would use the grid pattern from the Rule of Thirds and let the sky occupy the upper two-thirds of the frame. This would leave the bottom third for the less-important beach in the foreground.
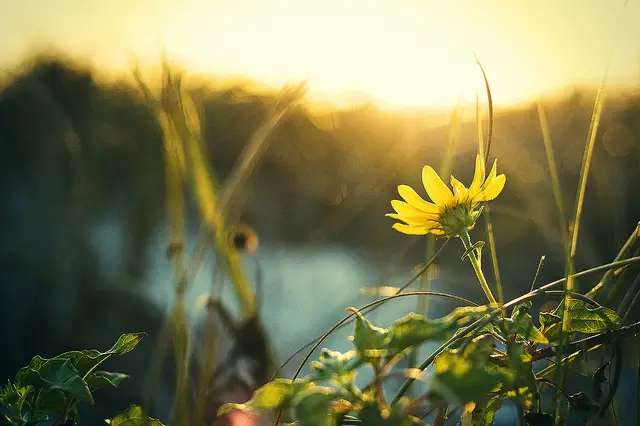
For a vast field of flowers, we would probably want to focus on those in the foreground and let them occupy the bottom two-thirds of the image. The sky could then be contained in the upper third of the shot and give the photo balance based on the visual interest of the scene elements.
5. Shoot at the Right Time – You Know the Rules!
If you have been around photography even as hobby for any length of time, you’ve probably heard the adage about shooting during the golden hours. The hour after sunrise and the hour before sunset allow for some of the most dramatic and beautiful lighting you’re going to find.
Of course, not all shoots let us pick these two small windows of time through the day, but as a general rule, if you have the opportunity to shoot during the golden hours, do it. A scene washed in harsh, midday light can transform into something pretty magical when the sun dips down low in the sky. It’s a good idea to scout locations during these times, so you can get a good idea of what type of light you’ll be working with.
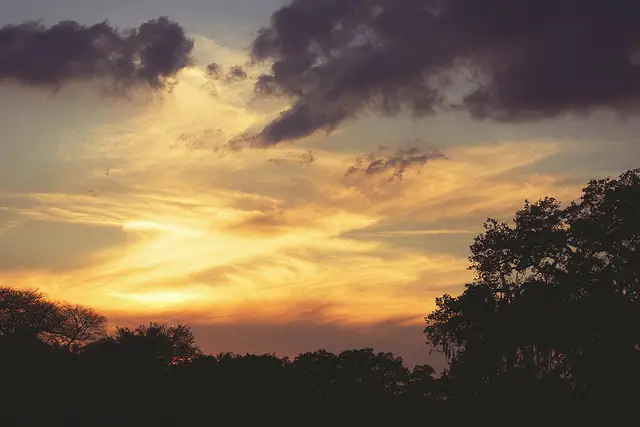
6. Look for the Dramatic
With the thousands upon thousands of photographers out there, not to mention the millions of photographs taken around the world, saying that it’s tough to set your work apart is a bit of an understatement.
What can set your photos apart is dramatic material. We’re not talking about over-processed HDR or crazy, 50-layer Photoshop transformations; we’re talking about dramatic elements in your photo.
Dramatic skies, silver linings in cloud formations, lens flares and leaf tips highlighted by the setting sun are all small examples of interesting tidbits you can add to your shot to cause the viewer a moment of pause. This pause can be the difference between them looking your photo over a bit more or scanning over the scene without finding anything of interest and moving on.
7. Include a Focal Point
Continuing on the previous point, in order to make a photograph interesting enough for a viewer to pause and look it over properly, a clear subject and focal point need to be established. There are several ways of doing this:
- Size – Having an individual or repeating element in the scene larger than other objects.
- Position – Using the aforementioned Rule of Thirds, we can position interesting or important points near the intersections of a grid dividing the scene into thirds.
- Color – Highlighting an object of a contrasting color in reference to the rest of the scene.
Failing to include some type of point to draw in the eyes of the viewer puts you in danger of losing his interest and having him move on to another photo.
8. Change it up
Finally, after all of the commonly discussed methods have been employed, the easiest way to make an interesting landscape photograph is to change it up and do something a little different. Shooting from different angles or under unusual light can give your photo an edge over the vast sea of similar shots out there.
Don’t always shoot the same distant shot of a mountain peak; zoom in and get it from a different view. Get on the ground and shoot low for a few shots to obtain a different perspective (this is a technique I use quite often). Don’t stop at a wide-angle shot. Do a massive panorama!
At the end of the day, you’ll recognize a unique shot the moment it lines up in your viewfinder. All you have to do is squeeze the shutter release!
Have any pointers for shooting landscape photos yourself? Any tried and true methods that the rest of us haven’t thought of? Give us some insight in the comment section below, and keep on shooting!


0 comments