Photoshop has done for photography what the road did for the wheel! That’s quite a bit in case you’re wondering…
This union has made photography the worlds 2nd most popular past time… Because let’s face it; creating exciting images is indeed thrilling, and most of all, highly addictive!

One such addiction is a single technique:
Simple to grasp,hard to master!
Nevertheless, once the fundamentals are understood, you’re going to be battling with yourself to stop applying it to every single one of your shots! I am of course talking about Textured layers!
So, What Are They?
A texture is exactly that, an additional layer that you place over your image in order to give it a certain look or feel. In fact, there are a whole number of corrections and alterations that they can be used for:
- To make a photograph look old
- To add a heightened level of atmosphere
- To give a wall or object more interesting details
Textures, when applied correctly can really help to hone your style, giving your photographs that much needed signature look, that every photography agent hunts for!
Great, So Where Can I Find Textures?
When in a hurry or simply for experimental purposes.. The best way to get textures is of course, to download some off the Internet using Google images.
However,
This comes with the added risk of copyright infringement, as although at first you might not be using the images for commercial purposes, in the future you might, and if they become popular.. you could face a rather large lawsuit.
Texture Hunting!
So, without delay pick up your DSLR and go for a walk around your local town!
The beauty of textures is that they can be found everywhere and anywhere, and it makes for a rather fun shoot, I also think that texture hunting is good practice for your photography eye, as it trains you to notice things that would otherwise go undetected on your photography radar.
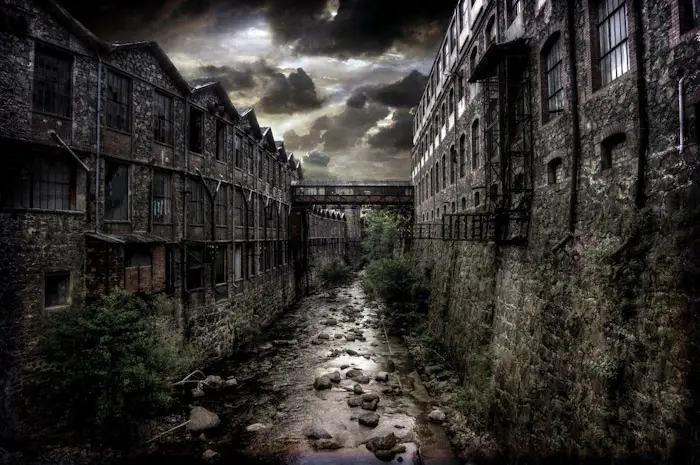
So, to give you a complete head start.. Here are the best places to look.. But shusshhh these are all super secret!
- Abandoned buildings
- Dust bins
- Woodlands
- Car parks
- The side of buildings
- The floor
- The Wall
- Public transport
Basically anywhere that has a surface.. The older and worn out the object is, the better, as that way you’ll find some really interesting textures!
Now You Got Them, What Next?
Okay so pick out a photograph that you feel is good.. but could be better!
Look for improvements such as the ground could look a bit more exciting, a door could, the walls or even the entire photograph itself!
Basic Texture Technique:
To keep things easy we’re going to start with how to age a photograph, as this is really rather simple.
Step 1.
First up get a photograph that you want to age.
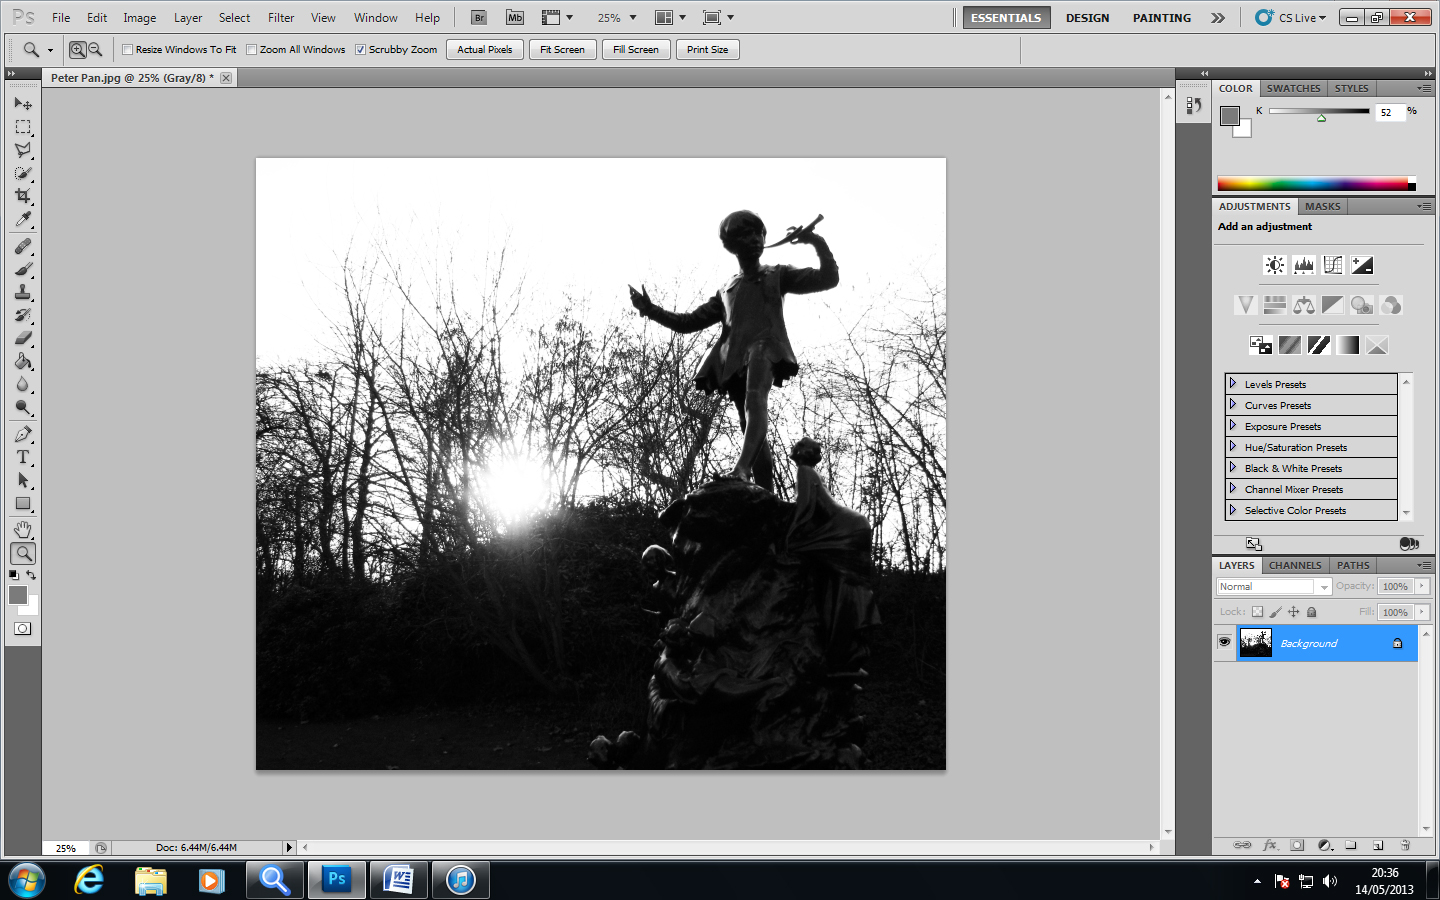
Step 2.
Load the photograph up in Photoshop, here I am using Photoshop CS5, however the principles are exactly the same in CS3, 4 and 6.
Step 3.
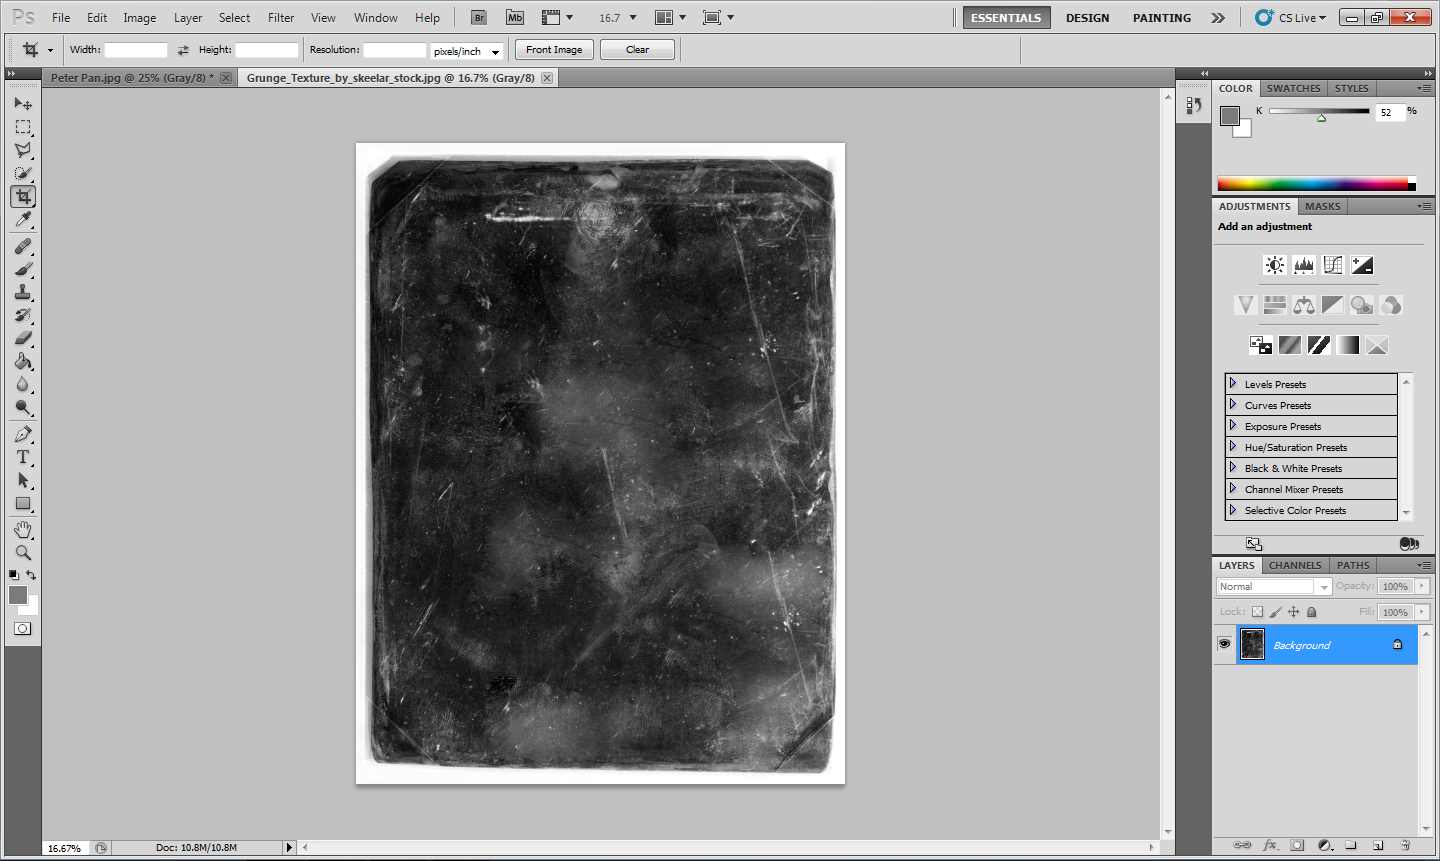
Now in a separate window, open up your chosen texture image that you wish to apply to your original image.

Step 4.
Right click at the top of the textured image and select “move to new window”
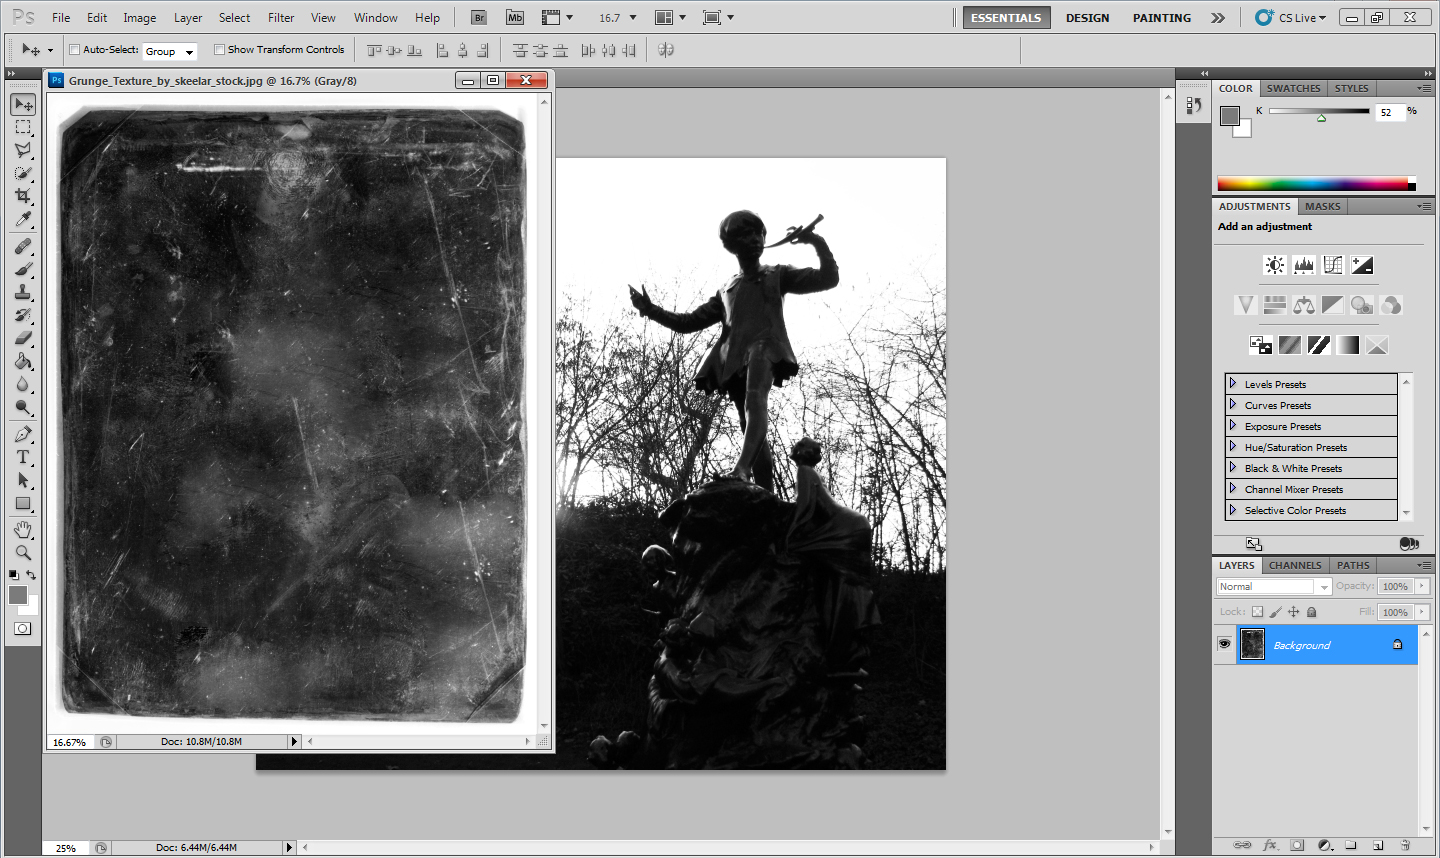
Step 5.
With The Move Tool, which you can select by pressing “V” on your keyboard or clicking the arrow at the top of the vertical tool bar on the left, hold the left trigger down on the textured image and drag it across to the original image that you want to place the texture on top.
Step 6.
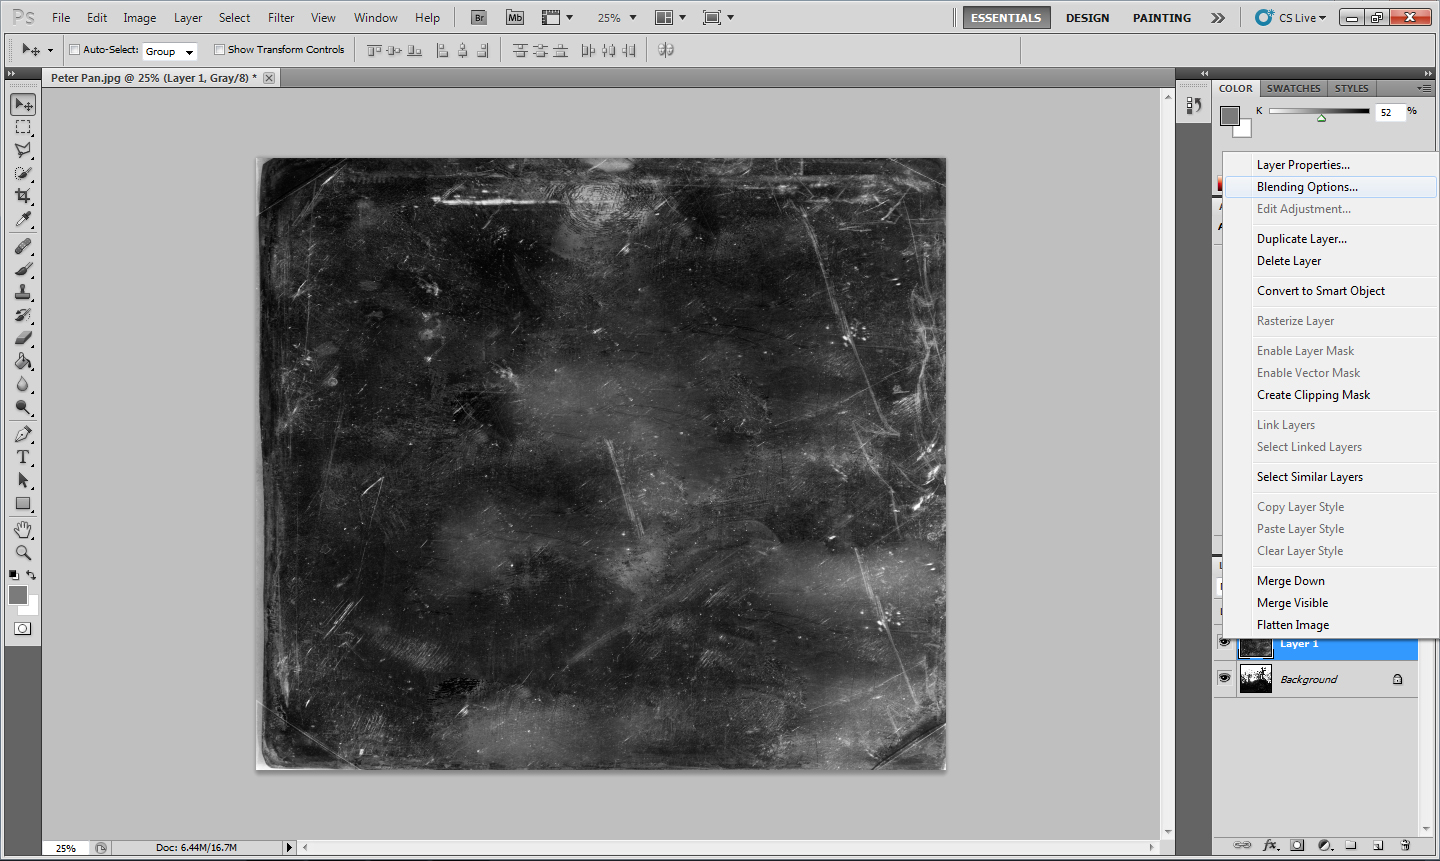
Close the textured image that’s in the window, you should now have one image with two layers, the first layer is called the background layer and this is your original photograph, the layer should be called layer1,as we are only working with these two layers you don’t really need to rename them.
Step 7
Select the Rectangular Marquee Tool by pressing “M” on your keyboard, making sure that layer one is selected on the far right within the layers section. Right click the texture and select Free Transform, with the small boxes that appear adjust the texture so that it completely covers the background image, like this:

Step 8
Now apply the transformation by clicking “V” and selecting Apply Transformation.
Finally The Fun Starts!

Step 9.
Right click the layer 1 in the layer section in the bottom right of the screen and highlight Blending Options.
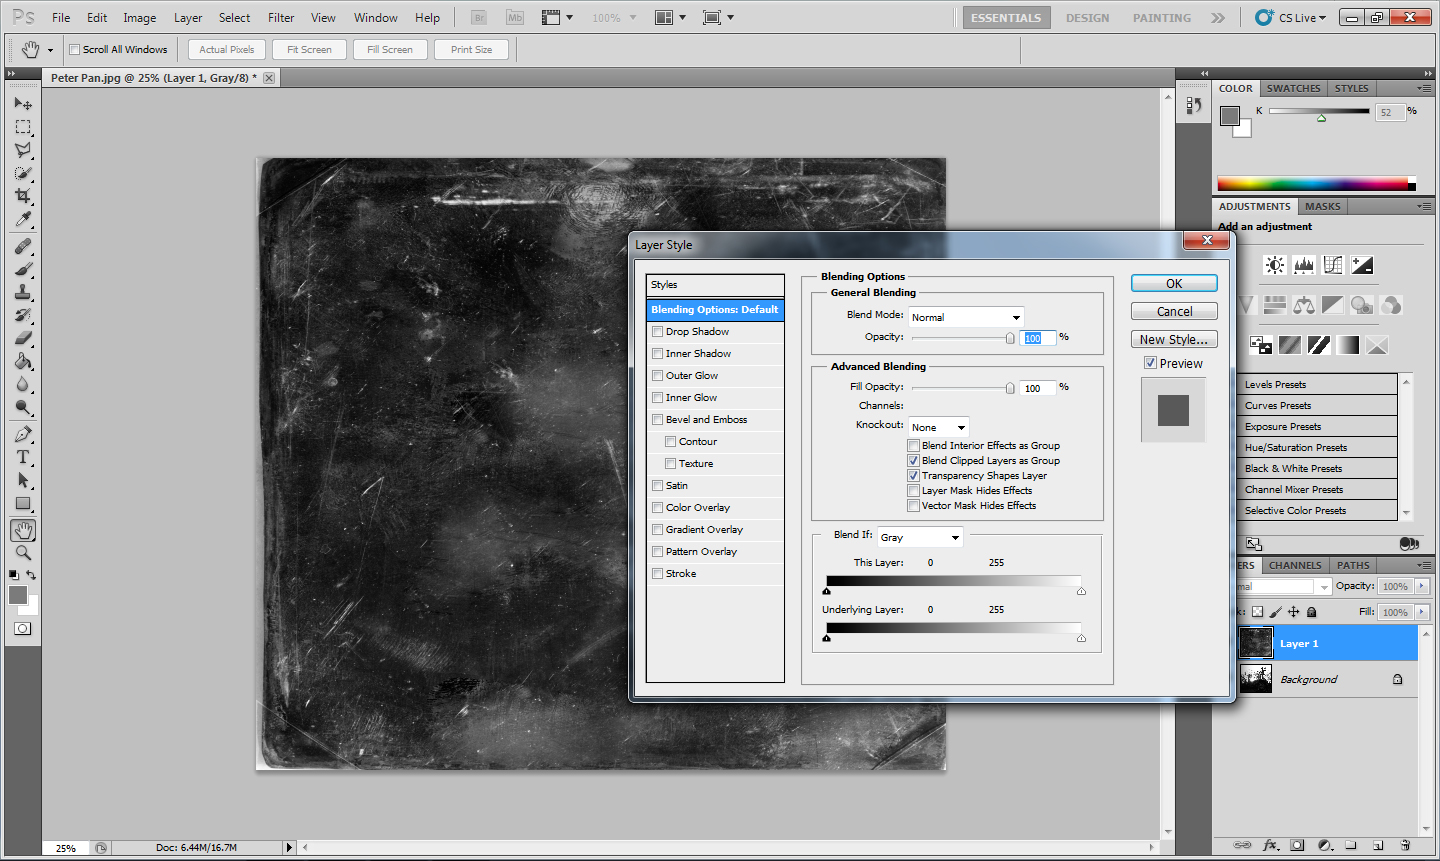
Step 10.
The Layer Style Window will then open. Here you can control the layer to do pretty much whatever you like, I’m not even exaggerating for the sake of poetic justice. This window is one of the best features in Photoshop, providing of course you know your way around it!
Final Step
The only area though that you really need to stick within is this window, is the General Blending Section at the top.
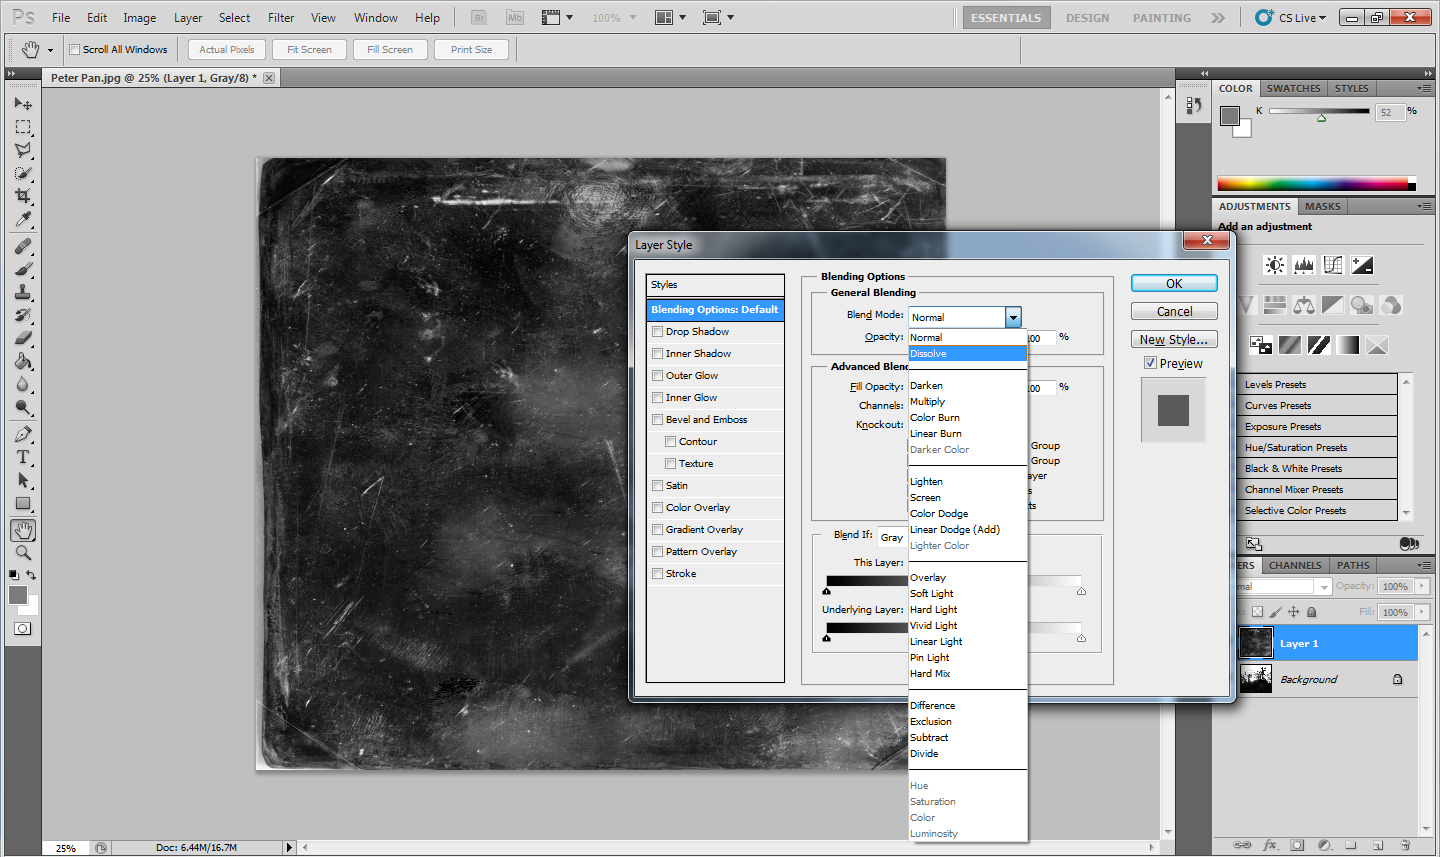
Now, depending on the images you have picked, will determine what type of blend mode will be best for your image. The best thing to do is to simply select the blend opacity (directly below the blend mode drop down) and set it to around 60%, then go back to the blend mode drop down and try out each of the options and see which one works best!
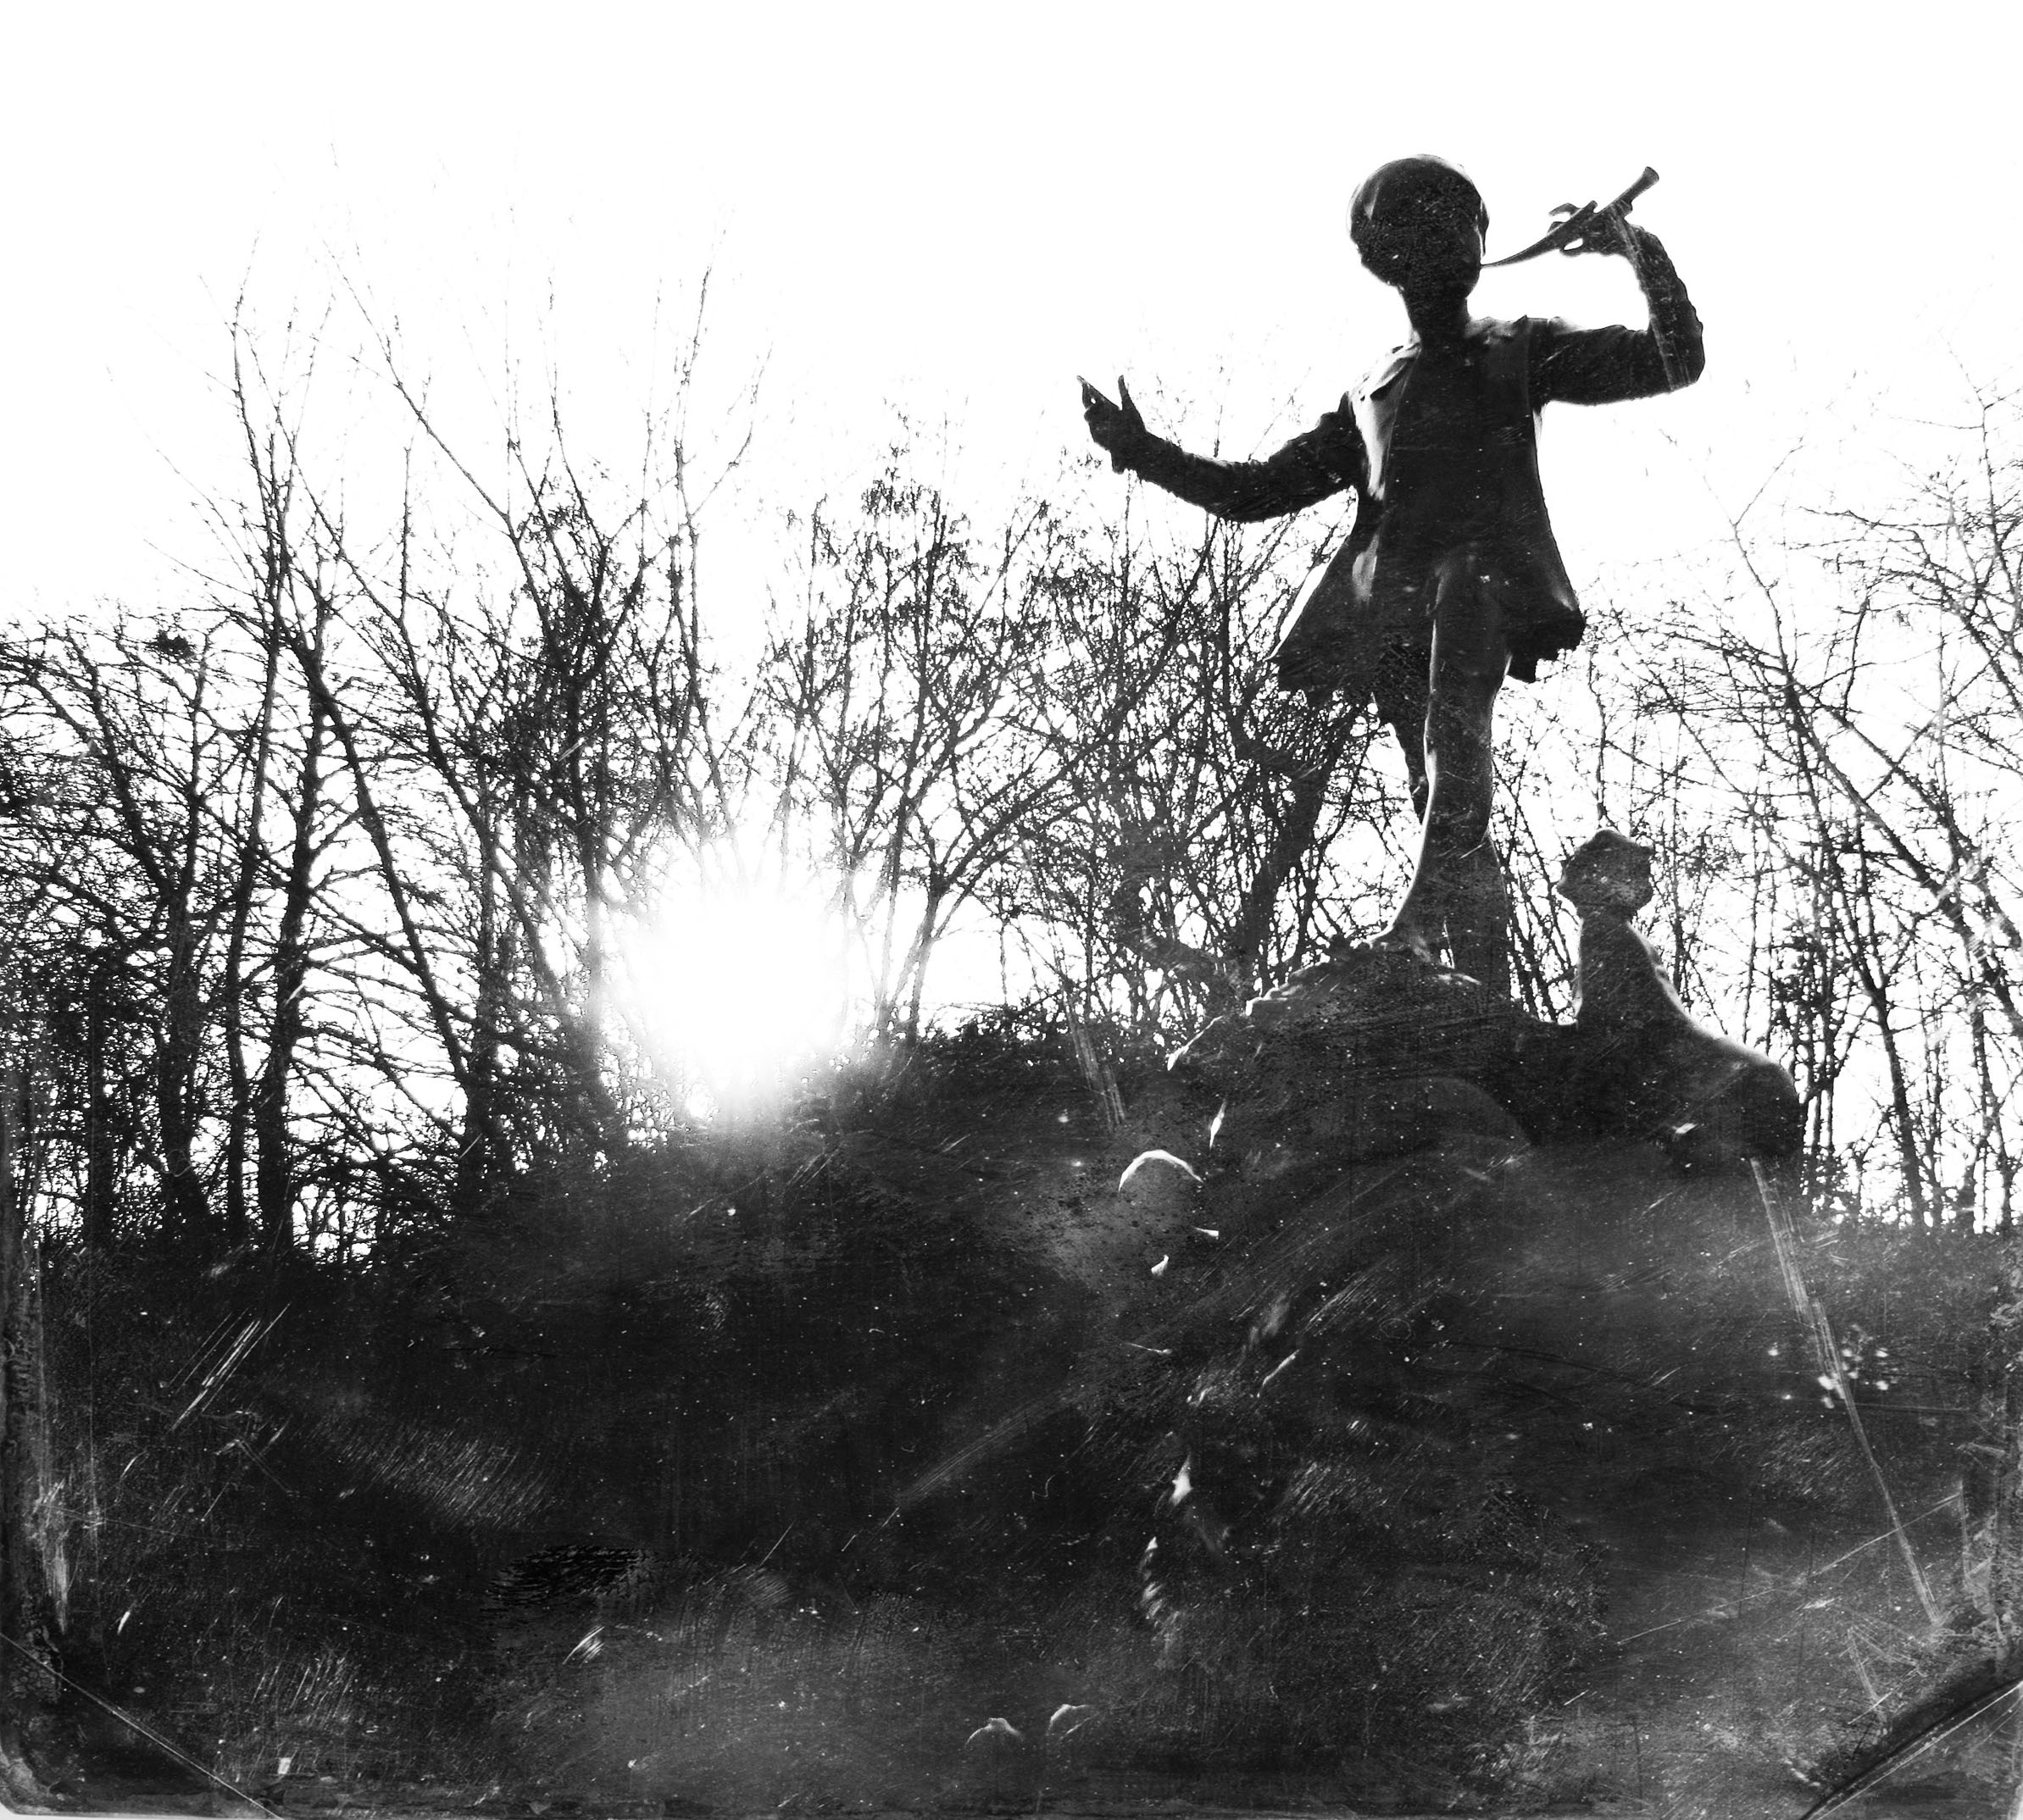
End Result
With mine, the best result was “Screen” set at 60%. As you can see I got a very grudge look. If often helps to play around with the contrast, this can help to bring out the details of the texture further.
The Eraser Is Your Friend
Now let’s take a look at applying the same technique but this time pushing the texture into the background so that it replaces a wall!
Phase 1
So get up to the level of the texture covering your image aka Step 8, you’ve blended it and decided that the wall and the texture go well together, of course for this you need to pick a photograph that has a wall in the background!
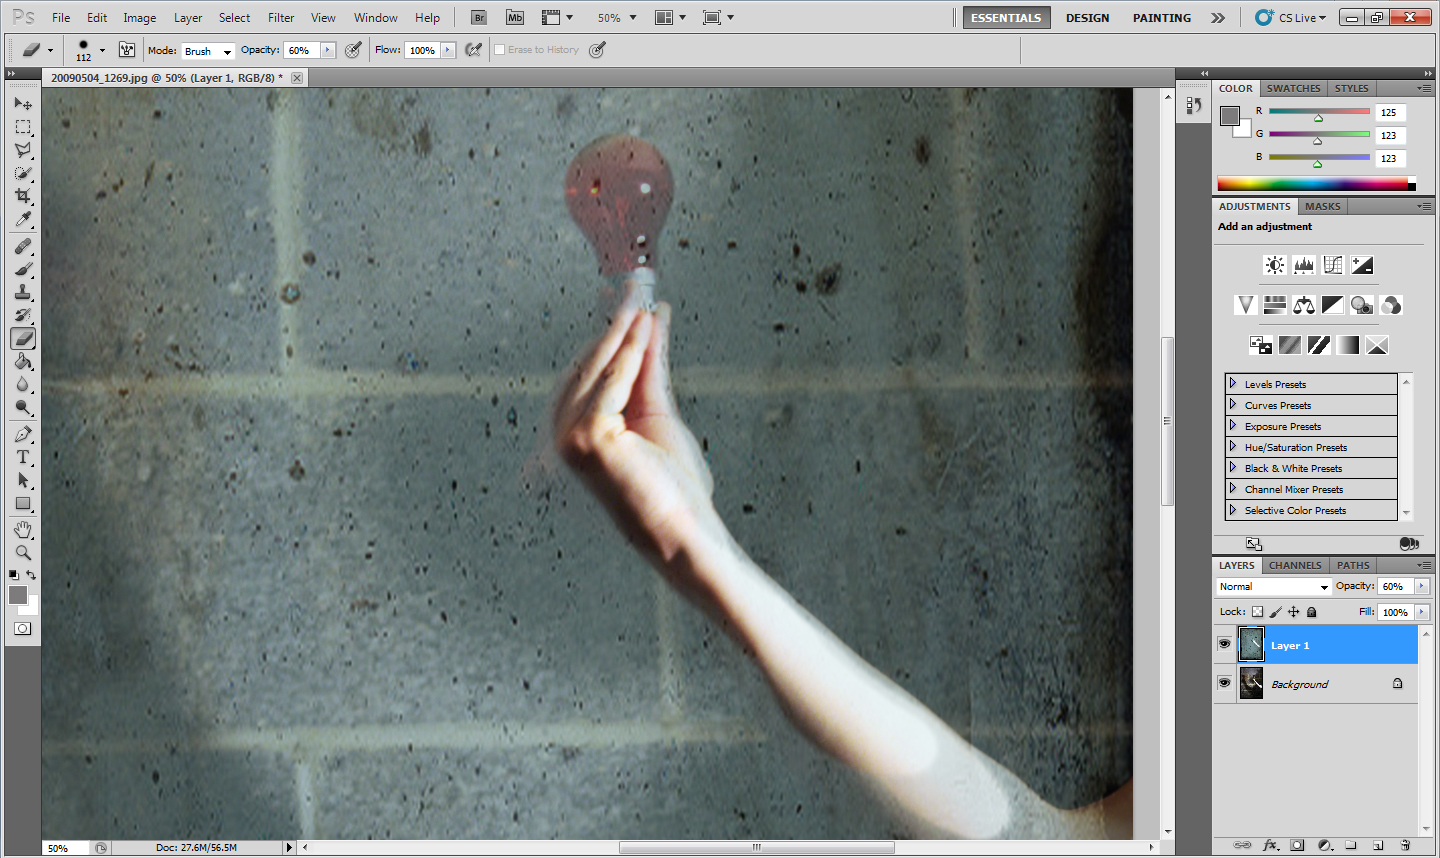
Phase 2
Once the texture is married up well select the Eraser Tool by pressing “E” and set the opacity to around 60% and the hardness of the brush to about the same, of course the size depends on the subject that you’re going to be bringing to the foreground, with my image my subject is the arm.
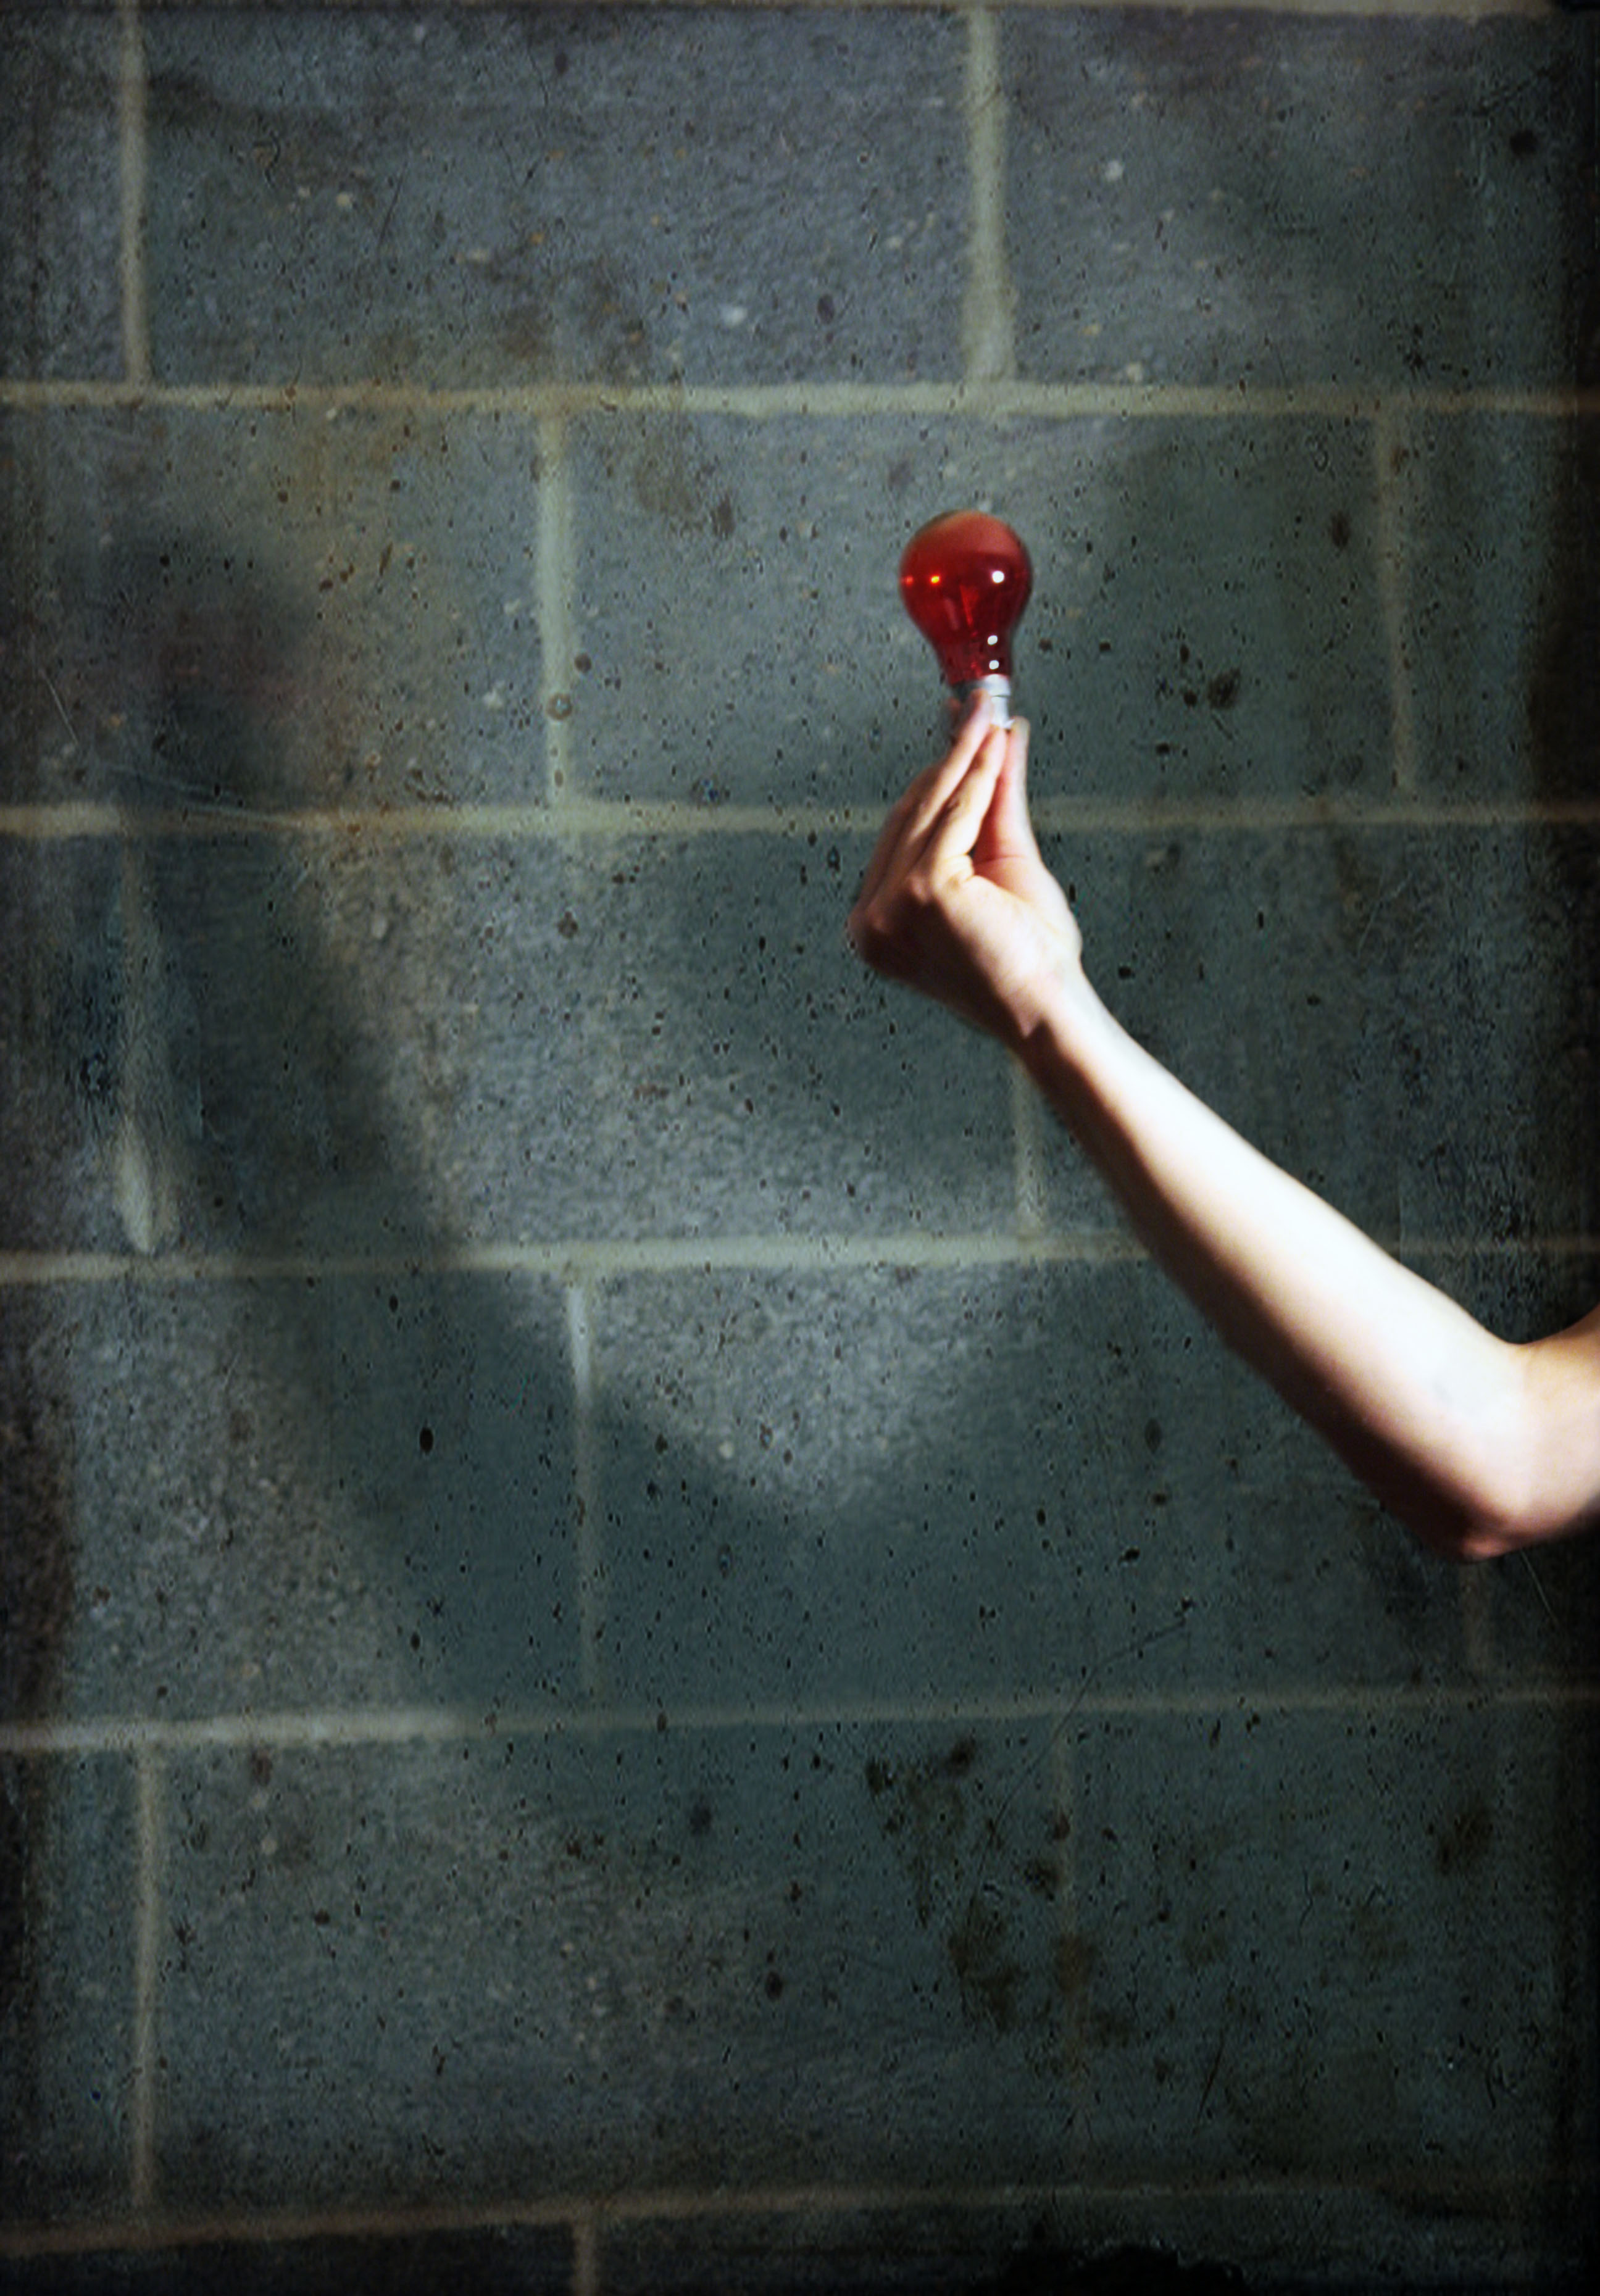
Done
Here we have the finished wall, the hand and light bulb removed from the blending process, and its all thanks to the ever so handy.. Eraser Tool!
Top Tip:If you’re using a mouse to do your editing,don’t. It is well worth the money investing in a pen tablet, as these are around 100,000 times better than using a mouse.
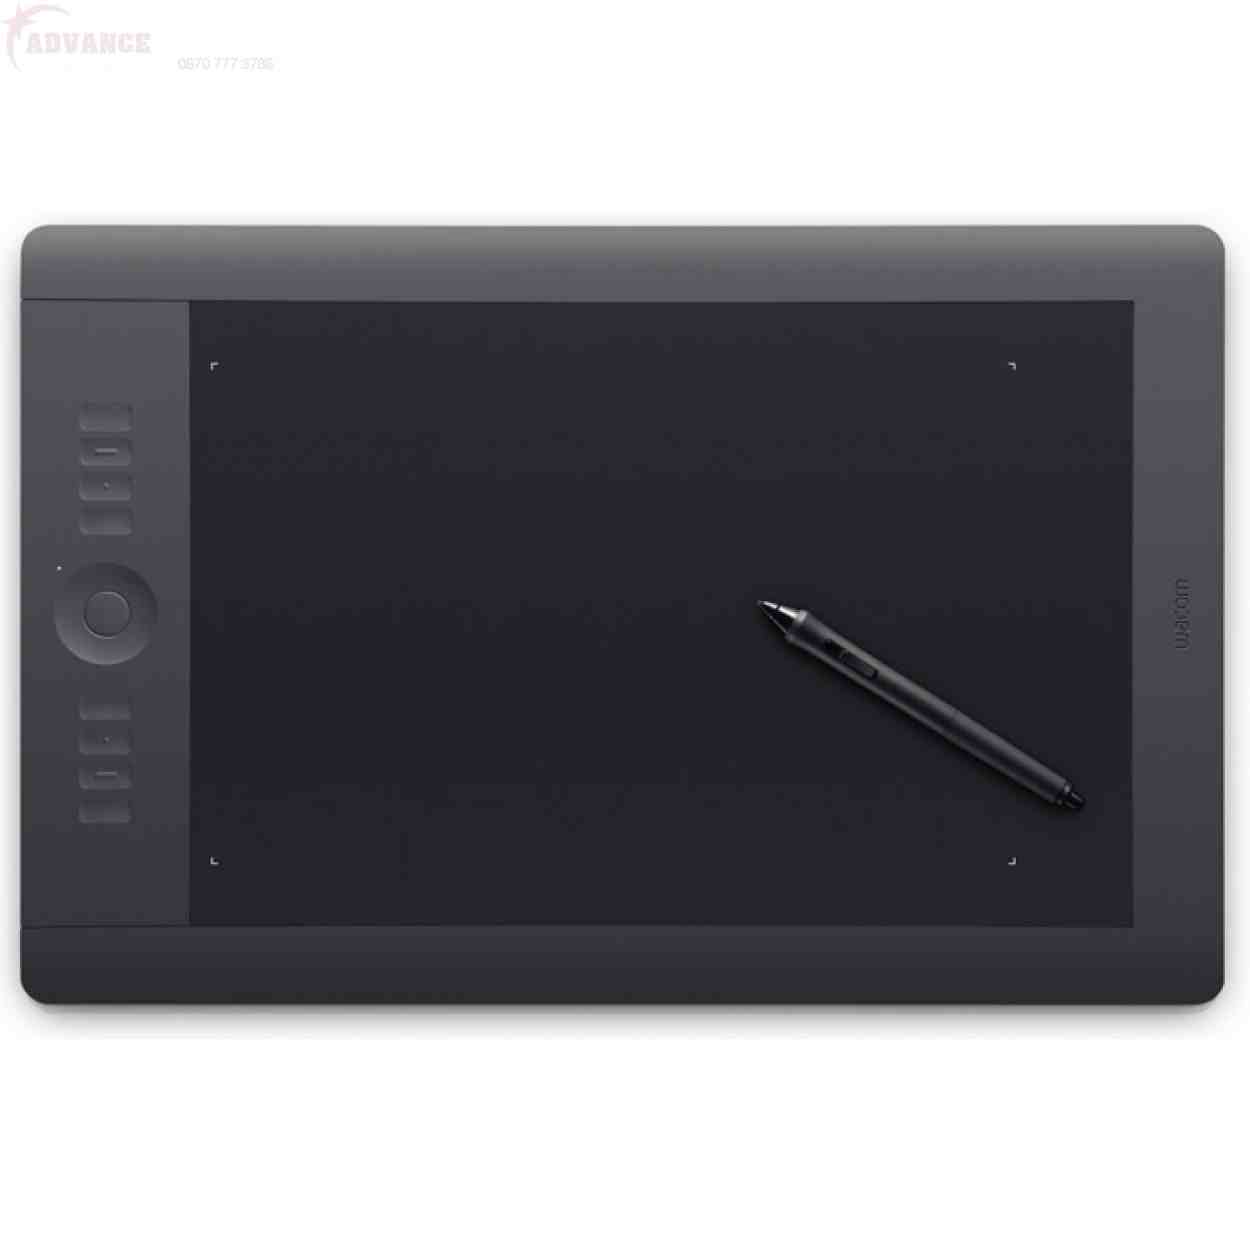
This one is mine. Follow this link, it’s awesome and fairly cheap considering the prices of the computation!
However, if this one is a little out of your budget, try some of these which are also really good for beginners:
Wacom Bamboo Create
Wacom Bamboo Capture
Wacom Bamboo Splash
All four have great reviews, so definitely worth the investment!
Now Let us see your creations!
In the comments post links to your Flickr images so that we can all take a look at the masses of talent out there and of course if you have any questions please do fire them over at me, wither in the comments below or twitter:focusontheday
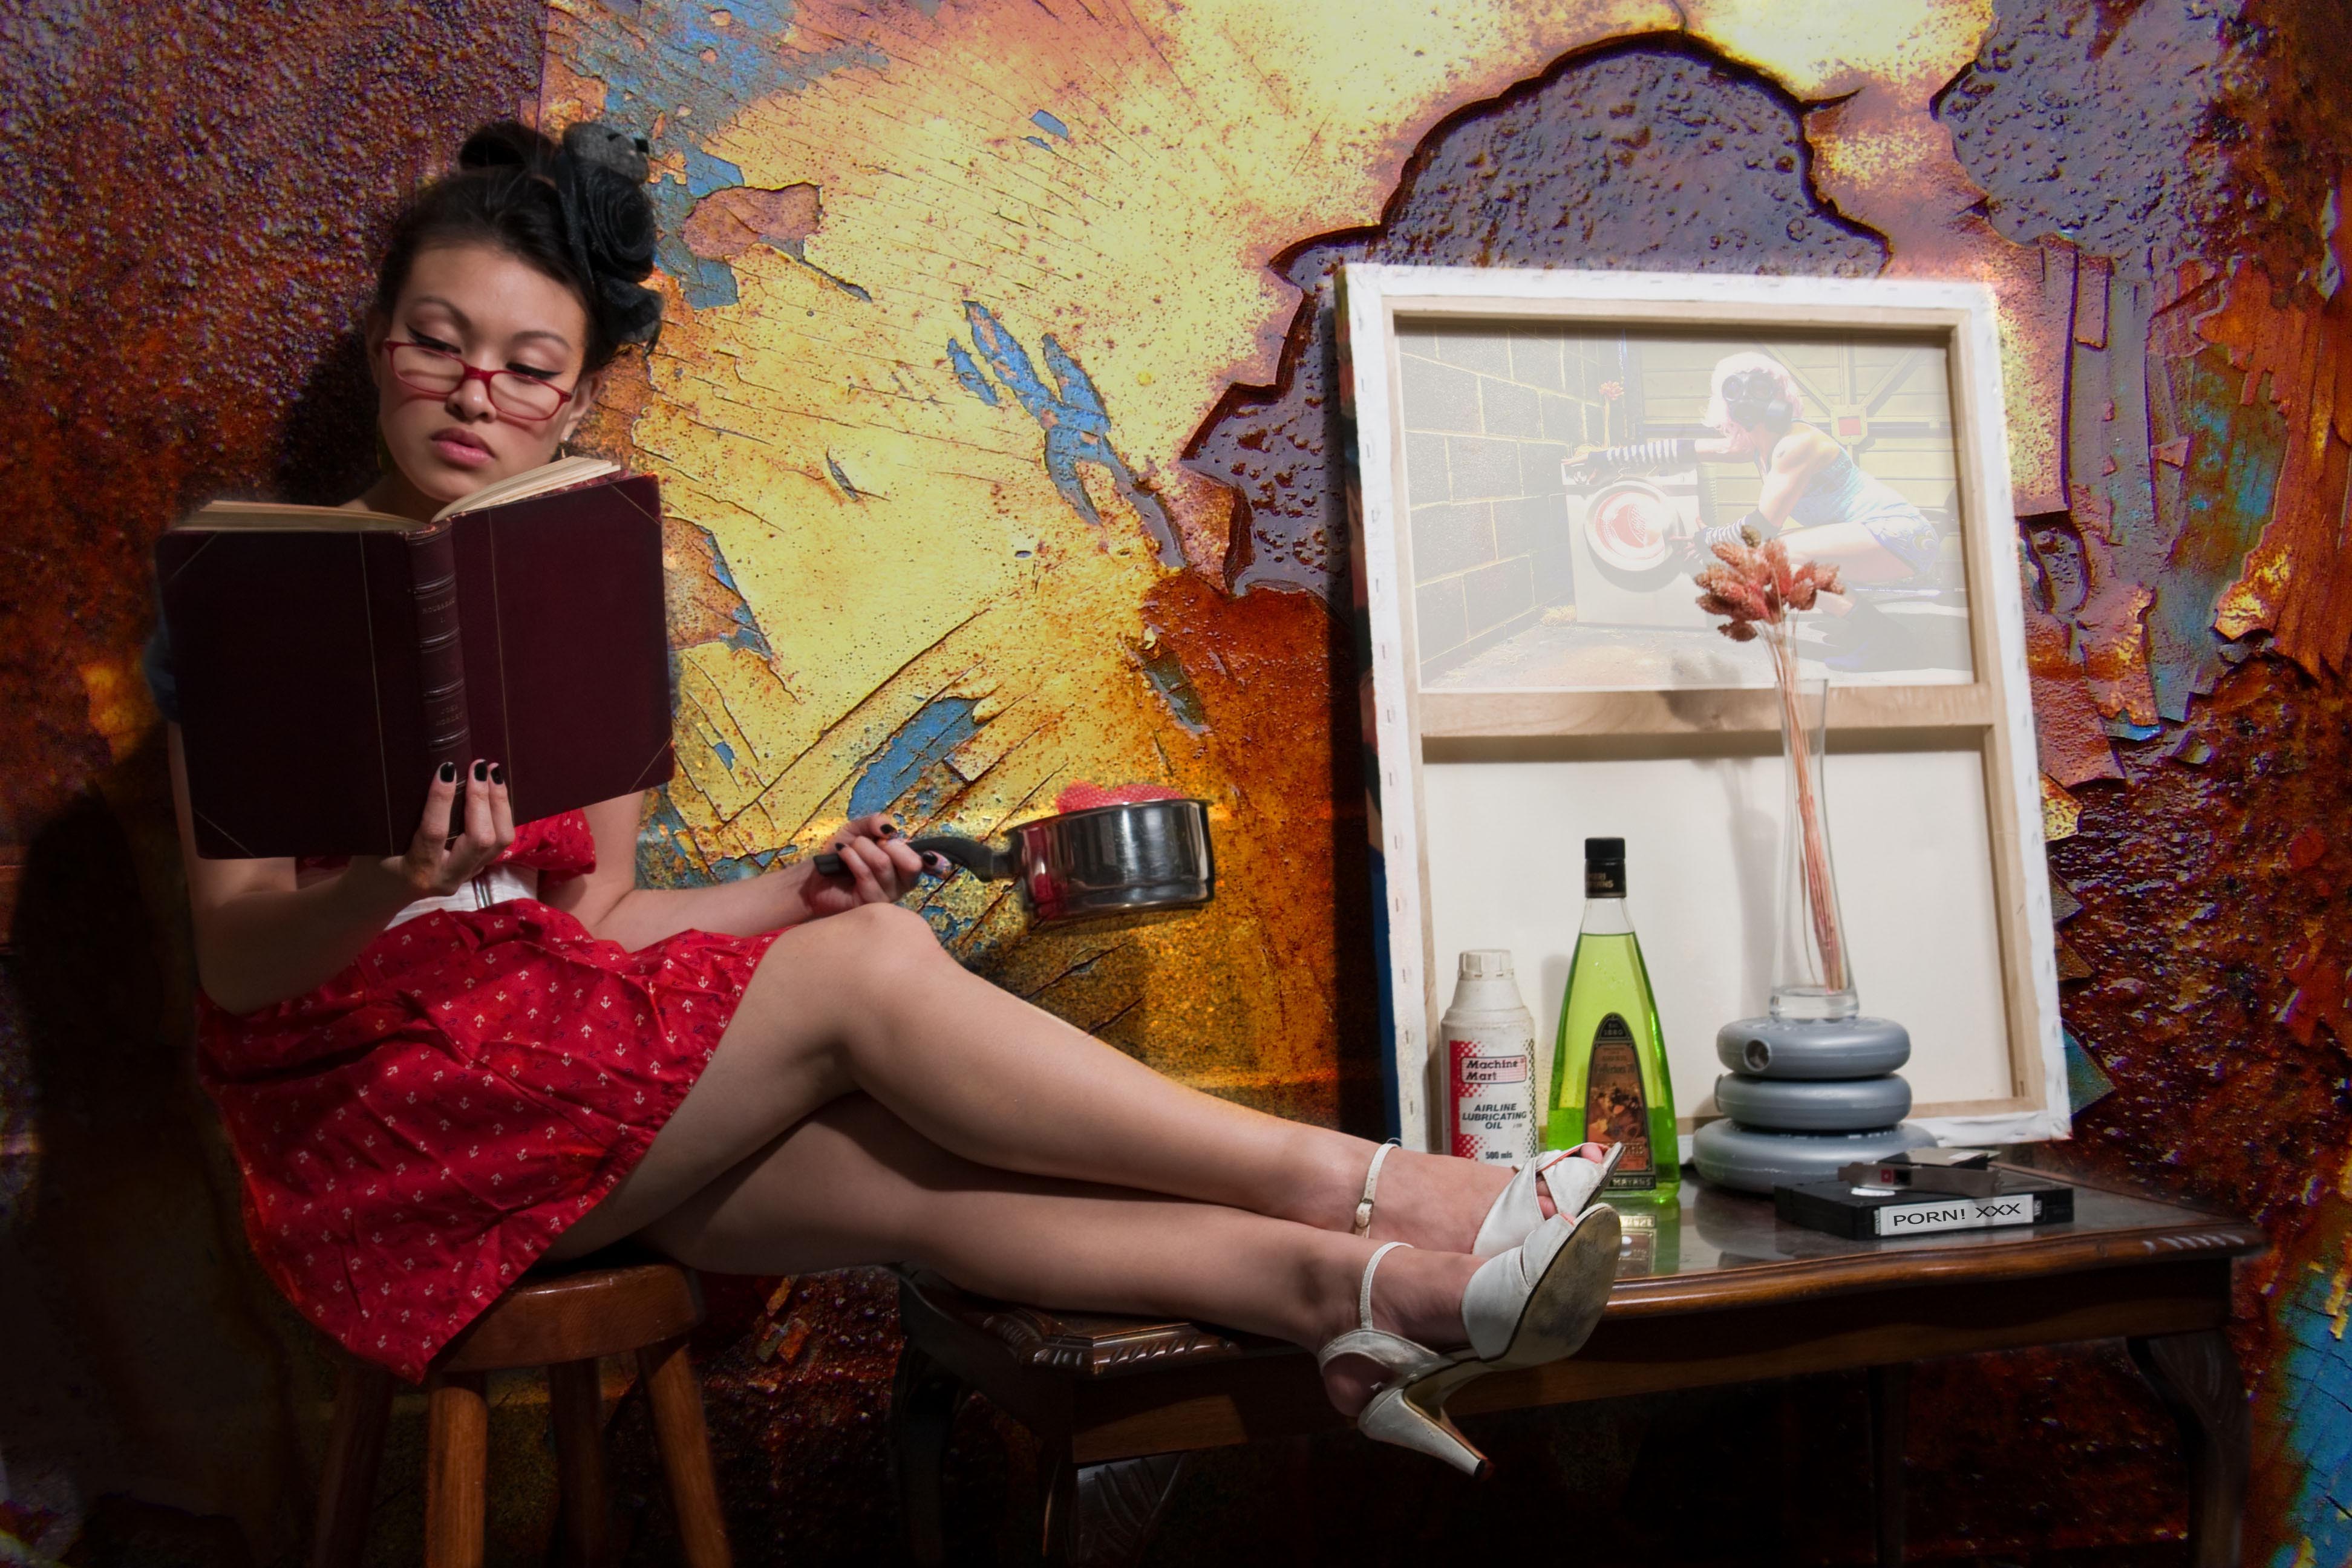
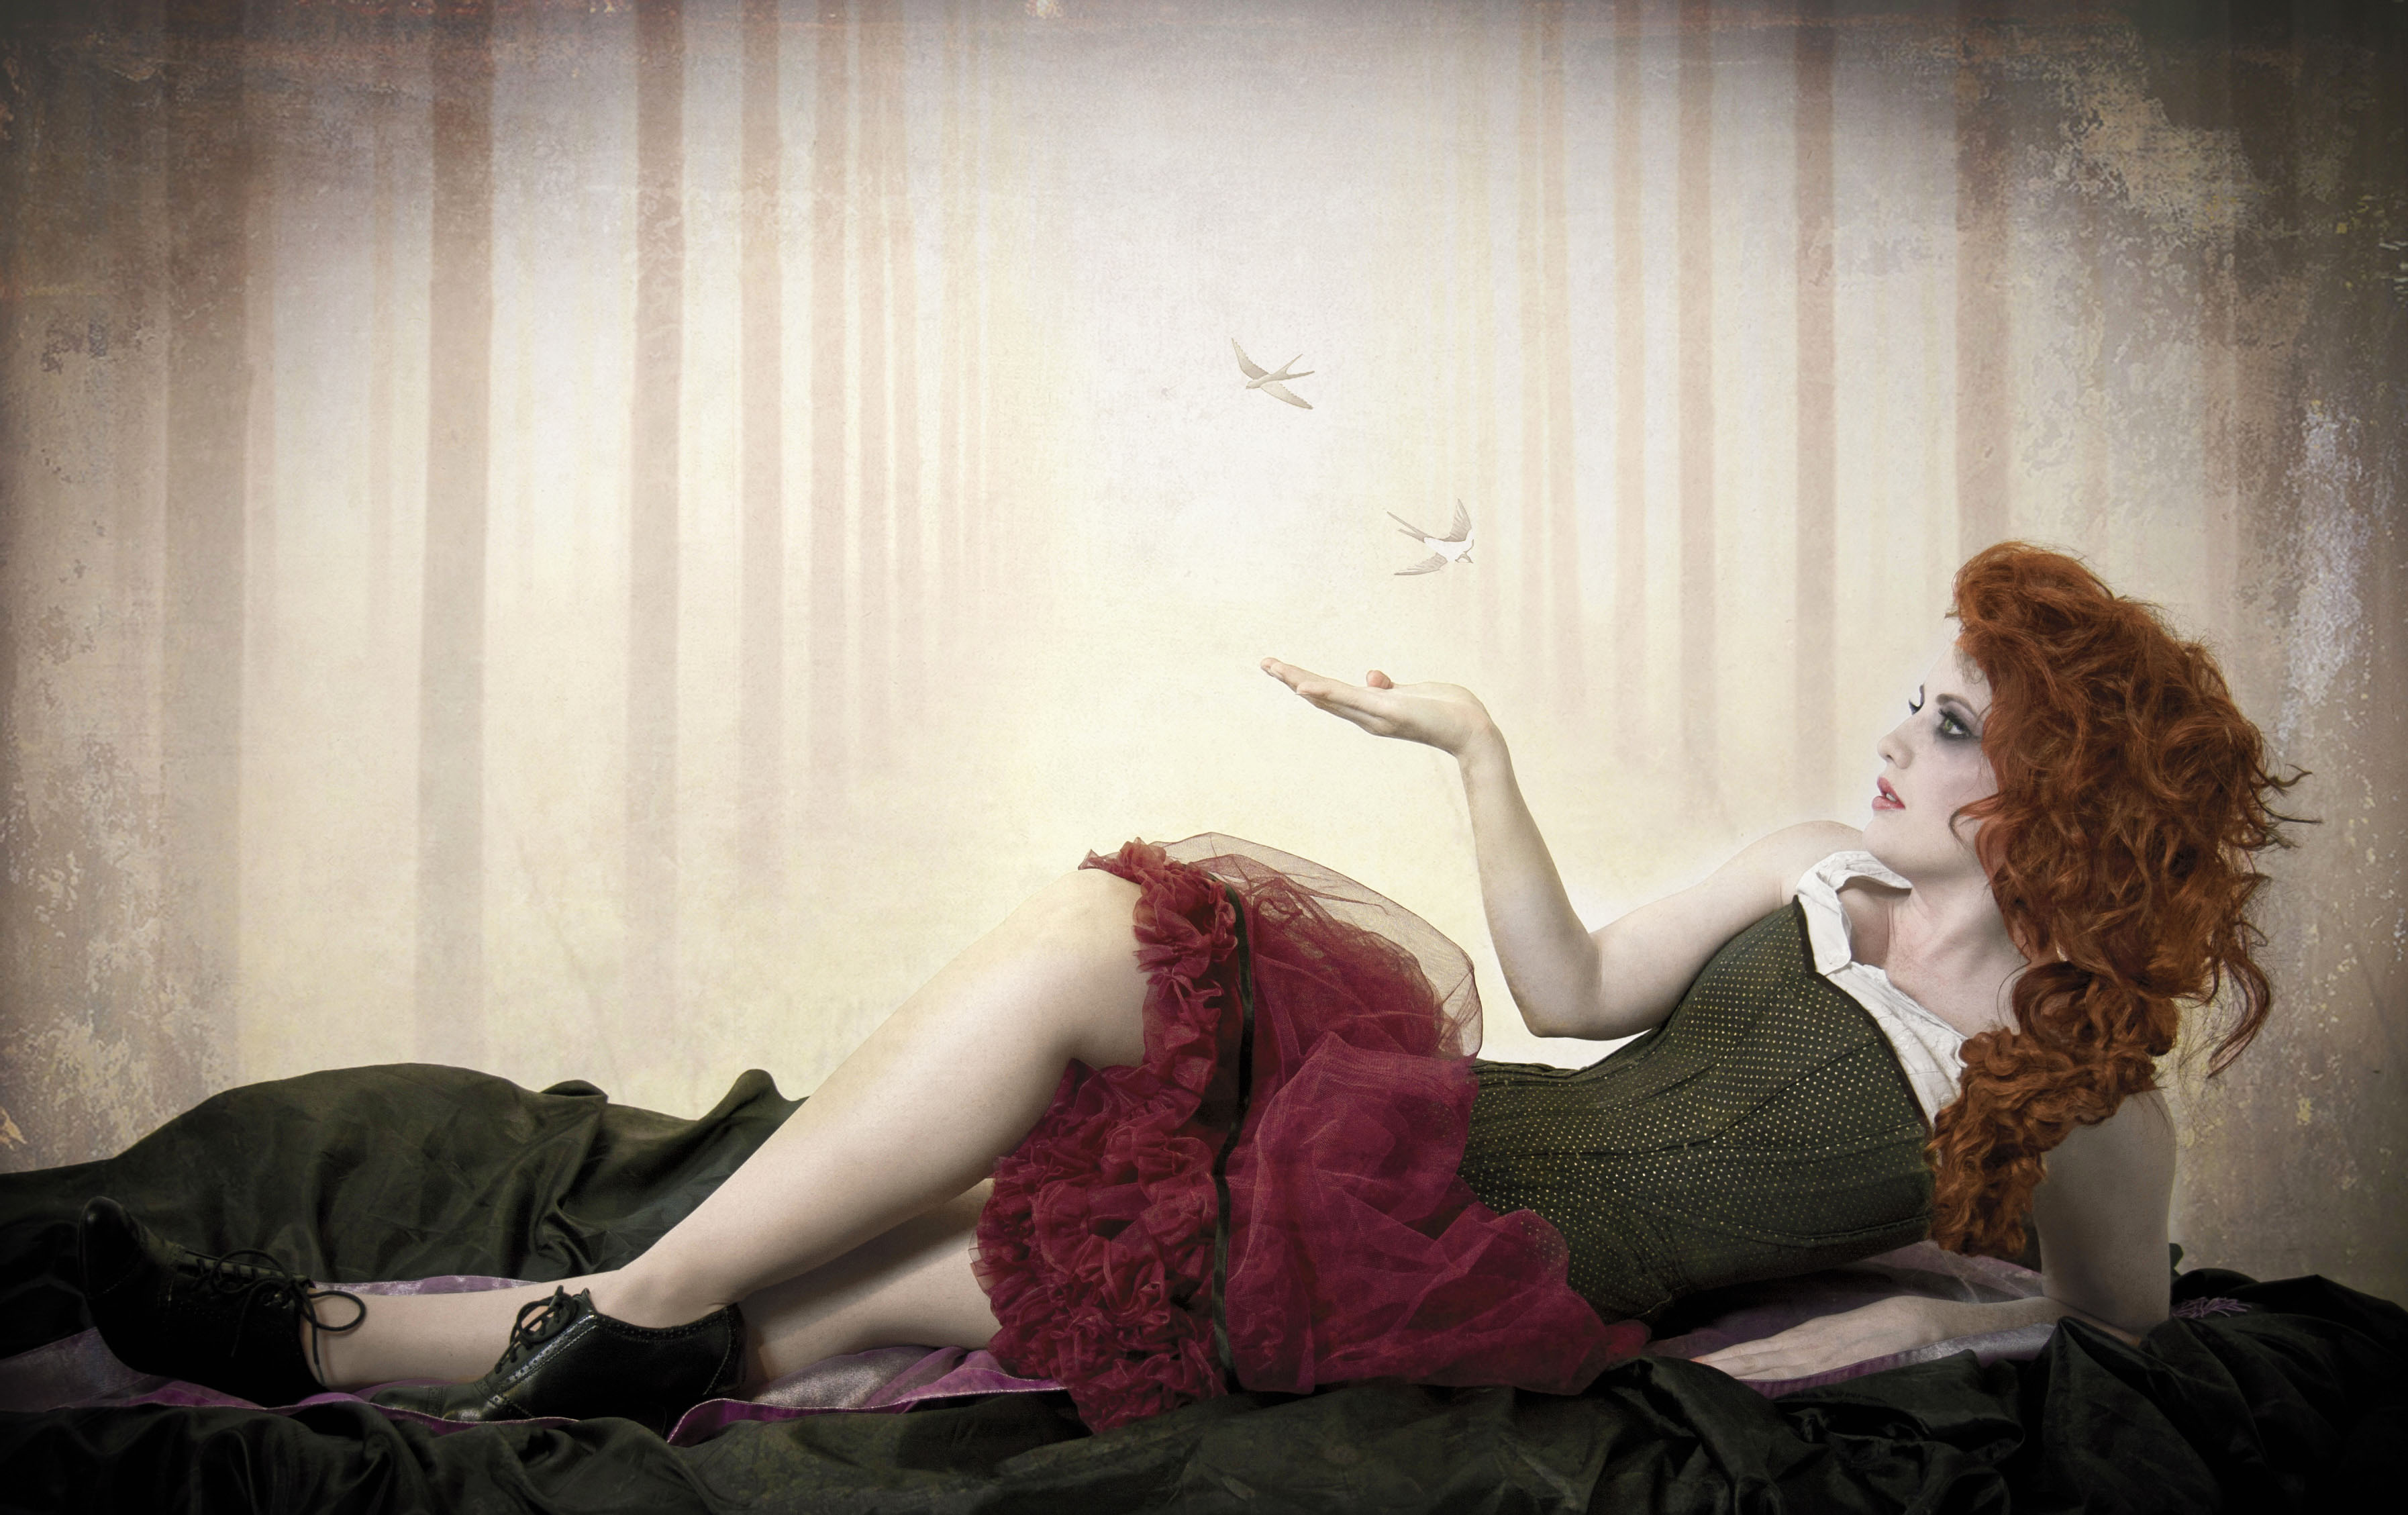
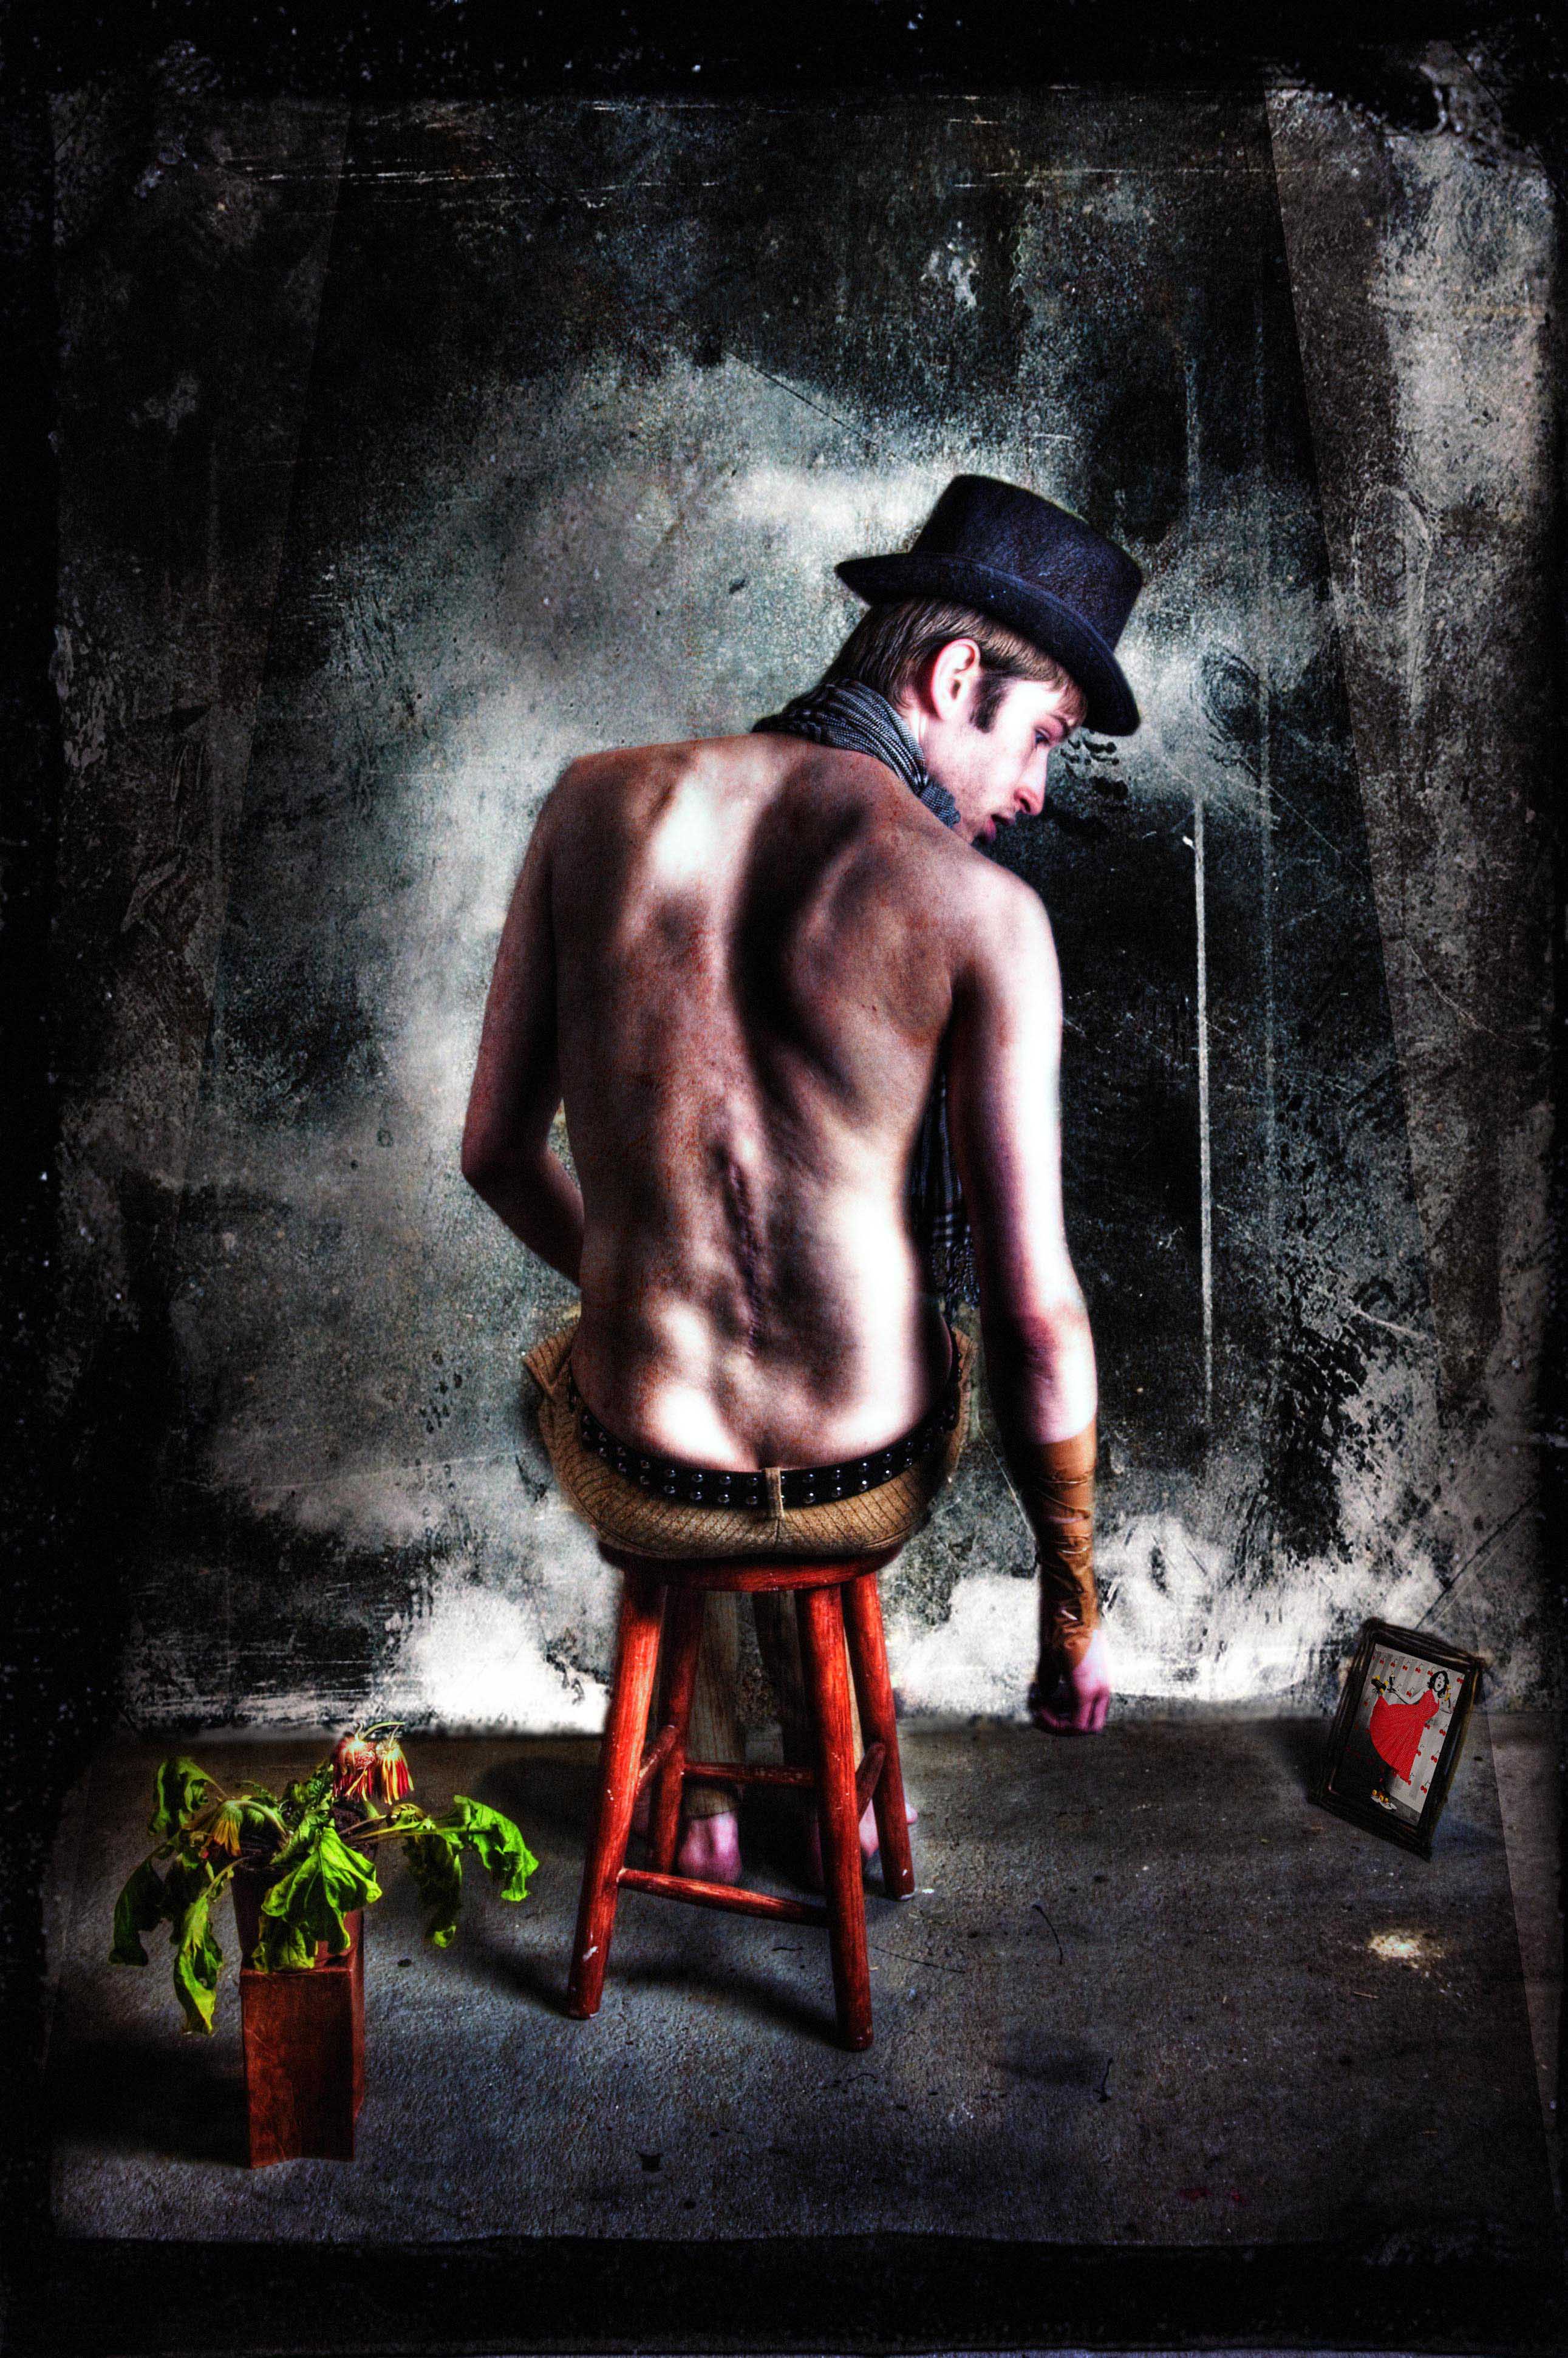
Here are some examples of textured images, all it really takes is bags of patience, some experimenting, and a little imagination!


0 comments