Understanding light is a concept that makes a good photographer, and an even greater skill to master is knowing how to recreate different light effects in the studio .
Using lighting accessories like off-camera flashes or strobes, and studying how to trigger them from a different position than on top of the camera, will give an overall different aesthetic to your photographs.
The setup of the lights for portrait lighting is absolutely important in order to create a wonderful photo. Shadows and light play across the subject’s face to create different patterns . Recognizing and understanding how different these lighting patterns are and when are they best applied are the basics to start achieving these wonderful photos.
We will discuss the six, most-known lighting methods in an off-camera flash setup, and give you the basic instructions on how to create these essential portrait setups.
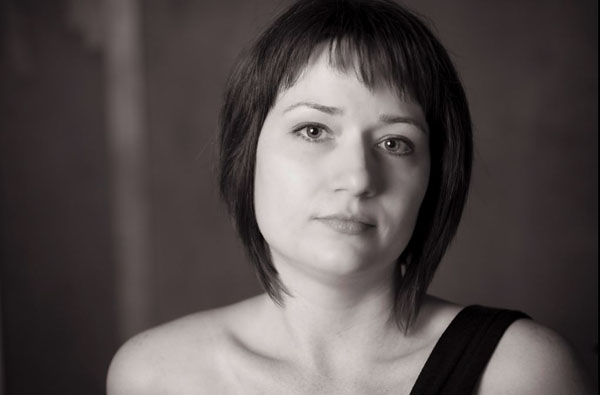
Rembrandt Lighting
Named like that because of how the famous painter would frequently illuminate his portraits. This dramatic lighting is great to emphasize texture and it works great for full faces, as it mixes light with shadows.
Also called 45-degree lighting or “chairoscuro” (light-dark in Italian), it is a great way to start with studio light, as you can achieve this light with one source and a reflector or two source lights. The key light will face the subject at about a 45-degree angle, next to the reflector, or the fill light will be placed on the opposite side of the model. The camera will be midway between the key light and the fill light. A lot of portrait photographers use this kind of basic lighting, as it provides great, professional results.
You can distinguish it because one side of the subject’s face is very well lit, and the other side will have a small, triangular or diamond-like highlight on the opposite eye and cheek. This triangle shouldn’t be wider or longer than the subject’s eye and nose, in which case you can adjust the light or reflector to correct it.
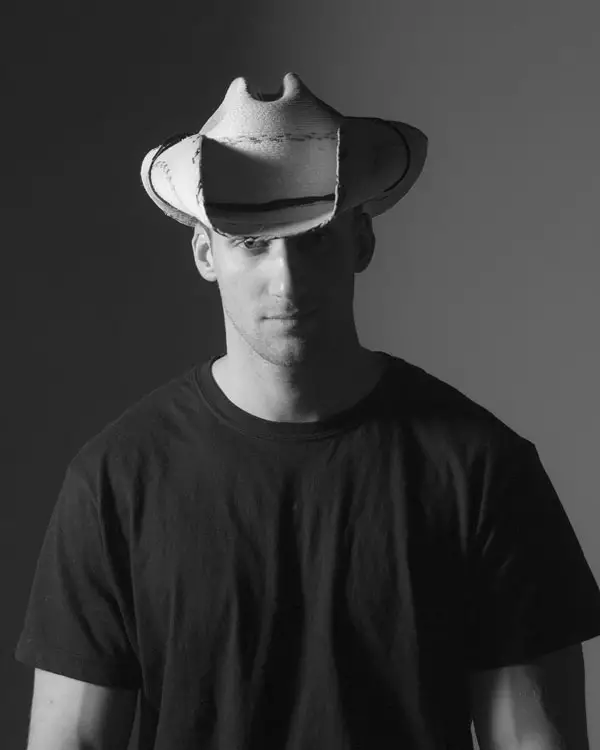
Split Lighting
Split lighting is achieved when the main light illuminates only half the face. This dramatic effect of light looks like it is dividing the face in two: One side will be lit while the other side will remain in shadow.
You can create this lighting pattern by placing the main source 90 degrees to the side (right or left) of the subject you are photographing. If you use only this source of light, no fill or reflector light, it will be even more dramatic. Depending on this setup, if you decide to use a reflector on the other side of the main light, this will soften the shadow and create a different, more subtle effect that transmits a different sensation to the photograph.
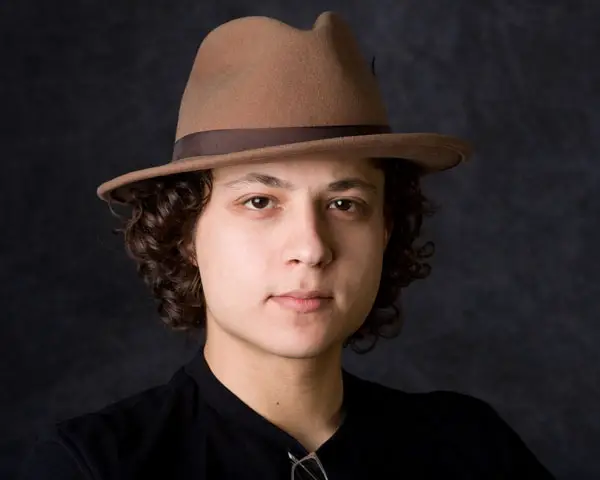
This lighting method is a good choice when you wish to create a mysterious or a striking appearance with the light and shadows in play. It is often used for male portraits, and it is an excellent option for slimming a wide face or nose.
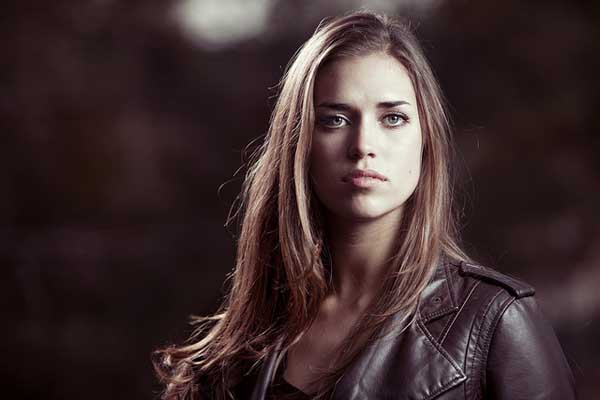
Loop Lighting
Named like this because of the loop-shaped shadow that is created at an angle of the nose, this lighting pattern is one of the most frequently used because it lights most of the face, giving a fine and interesting effect, while still creating the desired sense of depth.
This light is easy to setup and will create the most flattering light for mostly everyone, as many subjects have oval-shaped faces.
Loop lighting is achieved by positioning your main light high and to the side of the subject, in a 30- to 45-degree angle in both the vertical axis and in the horizontal axis. You can start by using continuous lighting, and adjust the light according to the person.
The light should be just above eye level since putting the main light way too high will create weird shadows and eliminate the catchlight in the eyes.The nose shadow should drop in a small loop on either side of the nose, it shouldn’t drop lower than the lip or extend beyond the edge of the mouth, and it shouldn’t overlap with the cheek shadow.
Using a fill light is another option and most recommended, so the face is well-lit and the shadows are subtle. However, avoid conflicting shadows from the fill light or reflection. Experiment with the light until you get the correct results!
Paramount Lighting
Also known as the “butterfly light,” it’s main characteristic is the butterfly-shaped shadow that it casts below the nose. When the nose is pointing in the direction of the light, and the light is high enough to cast a shadow, you will see the butterfly portrait light.
In order to achieve this, all you have to do is place the main light source right in front of the subject, but instead of placing it at the same height than the camera, you should place it higher, so the lighting is falling on the subject from above.
The light will then be in a 45-degree angle from the camera, but in the vertical axis. You can easily achieve this with one source of light, but a lot of variations exist for reflectors and even rim light.
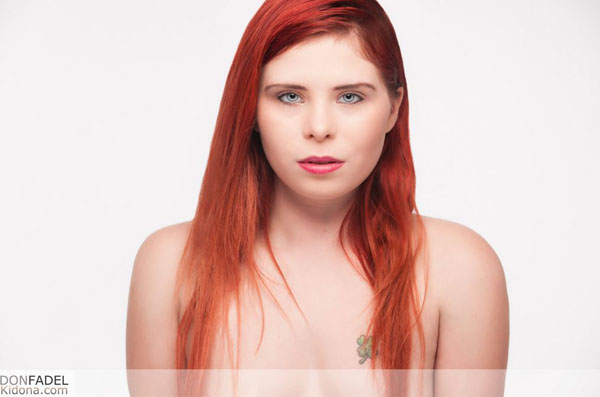
This method of light is frequently used for fashion portraits and is best suited for subjects with a normal, oval face or with a leaner face . It is considered to be glamor style of lighting, often used for feminine portraits.
Broad or Short Lighting
The above lighting patterns will be the main ones. However, you will also find information about broad or short lighting, which is the style of the light in which any of the patterns can be applied.
Broad lighting is when the subject’s face is angled, so it is not facing the camera, in a three-quarter view. The light source is spread across the side of the face closest to the camera and the wider side as well. This style will create an effect of a broader face, as most of the face will be lit. It’s great for people who are slim or thin.
Just the opposite of this will be to use short lighting. The subject will also be angled from the camera, but the light source is illuminating the side of the face that is farthest from the camera. Short lighting is generally flattering for most faces because it produces a slimming effect.
Want to Learn More?
Watch this great video for more tips:


0 comments