While it is relatively easy to go outside and just “point and shoot,” there are better ways to take pictures in the great outdoors. Snapping photos in the outdoors rather than indoors brings a whole new list of considerations to deal with.
From the weight of your pack to the eventual downpour, there are certain preparations you can take before setting out on your journey that will make the experience that much better. The following simple tips will help you to learn shooting perfect outdoor photography .
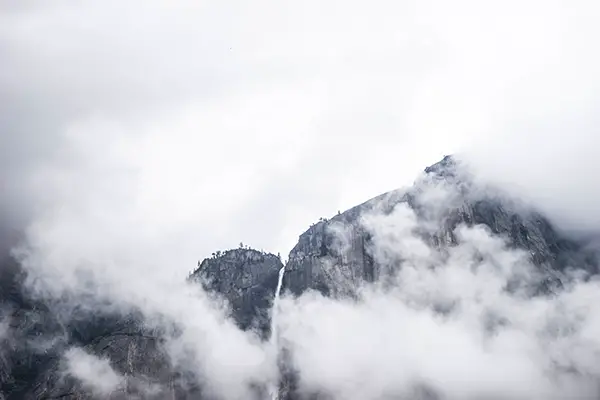
Dress for the weather
Depending on the image you are trying to get, you may be hiking or standing in pouring rain, a waist-deep mountain lake, a cold snowbank, sub-freezing temperatures, or under the hot desert sun. The last thing you want is to fail in getting to your destination or for your clothes to get in the way of your camera equipment or shutter finger.
There is a variety of clothing available that can help you out. Sensory gloves for outdoor photography adventures enable you to operate your gear in cold conditions. Ponchos can protect you and your tripod-mounted gear from the rain.
Overshoes will keep you dry in the middle of that lake. Knee pads and other padding will ensure your comfort for hours as you wait for that fox to run by. Getting the appropriate apparel will provide you this comfort and ability for any photography mission.
Watch out for the weight of your pack
In choosing your apparel and other gear, like an outdoor photo backpack, camping supplies, and food, be conscious of how much it weighs. You will be carrying this and your camera accessories to your location of choice. Heavy packs are difficult to manage and possibly discouraging for getting to the best spot for a photo opportunity.

Lightweight tripods and other lightweight camera equipment are out there, as well as lightweight packs, clothes, sleeping bags, sleeping pads, stoves, food, and other accessories. You can also cut down on weight by omitting any extraneous luxury or personal items.
Remember it all adds up, and you might want to compare ounce or pound information before purchasing an item. Your body will definitely thank you for taking this into consideration!
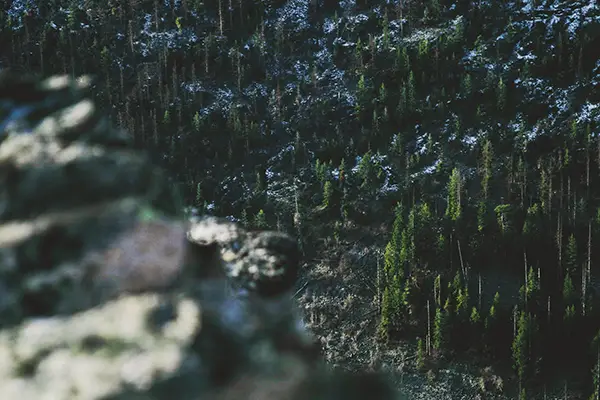
Plan to stop for photos
The whole point have selecting great camera equipment and lugging it outside is to take great pictures! This may seem obvious, but if you are going on a hike you should check out beforehand where you might want to stop. The stop could be off a side trail you had not considered before, or you might want to hit a spot at a certain time of day (for instance sunrise or sunset, see the last tip on the Golden Hour below).
You will also want to schedule these stops at a time when you might naturally need to take a break. Otherwise you could rush the shot or move slowly enough that you don’t get anywhere. You could potentially take so long that you will be hiking in the dark in order to get home or to your campsite.
Plan ahead to allow yourself time to get to the spot, time to set up the shot, and time to take the shot at the right moment. Also have some backup plans! You may schedule a shot only to find the whole area in a fog or a side trail washed out.
Choose the perfect gear
Like the old motto “be prepared,” you will want camera accessories that can hold up well in extreme weather and protect your favorite camera from any ill effects. The right cases, rain covers, and waterproof bags will help you protect your gear from rain. Also look to see how your camera is sealed to check where any weak spots might be located. Pictures in the rain can be pretty cool, and you should not be deterred for fear of getting your camera wet.
If you don’t already have the right gear or clothes that are lightweight, can withstand the weather, and can protect your camera, shop around online to update your supplies. There are suppliers that will offer free shipping and personalized customer service to help you find exactly what you need.
Purchasing photography accessories takes the same care as shopping for your camera, so research your preferred products beforehand and don’t be afraid to ask for help.
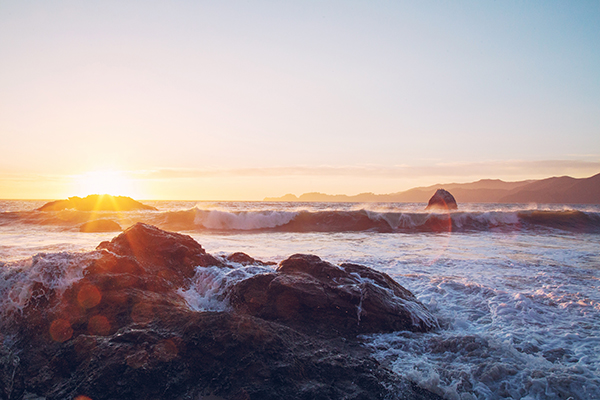
Capture the “Golden Hour”
The “Golden Hour” or the “Magic Hour” in photography is that time just before the sun rises and just after the sun sets. It is when the lighting and angle of the sun simply makes everything more wonderful. Best of all, it is like a free add-on to your photo that comes with its own brilliant filter. The sun at these times provides a soft light that adds great shadows and dimensions.
There are several ways to make use of the light when capturing these magical photos. First, if you have the option it would be wise to turn off the auto-white balance to enable for better pictures. You can then situate yourself with the sun at your back so that your subject is frontlit and gorgeous.
Although, remember that if you are photographing people you will have to watch out for eye squinting. You can also face the sun to have a backlit photo. Position yourself and the subject correctly and you can create a neat rim effect with the light providing a halo around the main focus. Additionally, you can angle your lens in a way that will capture sun flares. Each sun flare will be unique to your photograph, and it instills a kind of personal touch in the image you shot that day.
To capture the Golden Hour it takes some preparation to find out when it occurs and how to get there at the right time. You can find out online when the sun rises and sets for the area you will be in. Remember you only have a limited time to snatch these photos, so click fast!


0 comments