Successful landscape photography is made up of multiple elements, such as location, composition, proper depth of field, lighting, equipment used and other aspects.
In the guide below on the basics of landscape photography, I will attempt to shed some light on what these elements are and how they work together to make landscape photos that stand out differ from ordinary landscape snapshots. Let’s get going.
Location
The first thing to consider when shooting landscapes is the location. There’s a few websites you can use to find a location, one of which is ShotHotspot. Using this website you can find photos from any location around the world and search by keywords, location and types of photos such as landscapes, cities or wildlife. All the photos are sourced from collections on websites such as Flickr and Panoramio.
Another thing to consider is what spot to take the photo from. It’s a good idea to scout out the area beforehand to find the best point of view, because you could have the best possible conditions to shoot in but if you’ve chosen a bad spot this could ruin your photo.
Background
Once you’ve chosen the location to take your photo you can begin composing the shot. The first thing to consider is what you want as your backdrop, this could be anything such as mountains, a lake or trees.
It’s important to pay attention when composing your shot that you have a level horizon, because a wonky photo can ruin your shot and you’ll only have to edit this in post processing and lose parts of the image when realigning it. An easy method that a lot of photographers use to ensure the horizon is level is to line up the horizon with the grid in your camera’s viewfinder.
Foreground
Adding subjects in the foreground makes for a more interesting photo, and also adds some depth to it. The foreground is the part of the scene nearest to the camera and usually near the bottom of the photo. Some things you could try putting in the foreground include rocks, trees or leading lines.
The Rule of Thirds
The rule of thirds is a good starting point for composing your shots, but note that this is just a guide and photographers often break this rule.
First you need to split your image into sections with two equally spaced lines vertically and two horizontally. Now you place a point of interest on intersecting points and along the lines. This should improve your photos straight away and create a more pleasing looking image.
Balance
Balance in photography is when all the parts of your image have equally weighted subjects, so one area of the photo doesn’t have more weight and subjects than others. This can be achieved in a few ways, one of which is to place the subject in the centre of the photo, but this can result in a very boring photo. Putting the subject on one side of the photo can create an unbalanced photo, but by placing subjects on both sides of the photo you should have a more balanced photo.
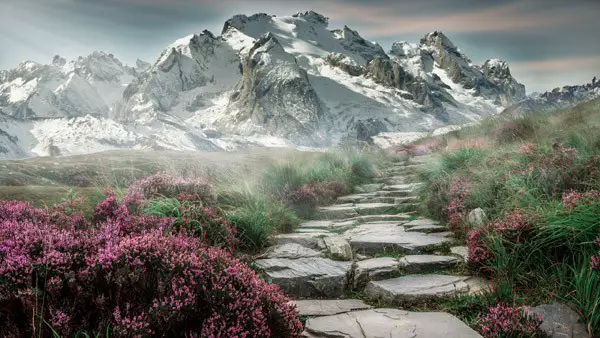
Leading Lines
Leading lines are useful for leading the viewers eye through the photo to points of interest and the main subject, but the lines can be the main subject as well. The lines usually start in the foreground and at the bottom of the image, and go upwards through the image. The lines don’t have to be straight, they can be curved and winding such as a river, road, a hedge or rows of flowers.
Patterns
Patterns can act as lead in lines or just add more interest, and can be anything from a field of flowers to a line of rocks. Breaking up the pattern by placing an object that doesn’t fit in can further emphasize the pattern.
Depth of Field
Depth of field is the amount of your scene that’s in focus, and usually with landscape photography you want as much of the scene in focus as possible. To achieve this you need a small aperture (higher f number), and a common aperture used for this is around f/11 or more. Note that with a smaller aperture comes a slower shutter speed, so this needs to be compensated with a higher ISO or tripod.
Lighting and Weather
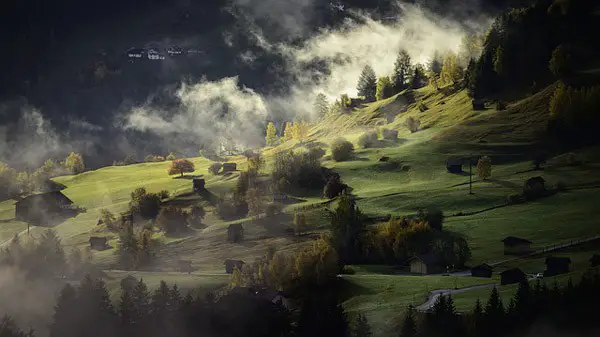
Lighting is affected most by the time of day and the weather. The best times to shoot are at sunset or sunrise which photographers often call the golden hours because the sun casts a golden coloured light. At these times shadows are longer and shapes and textures are more prominent, giving you more dramatic photos.

Midday and overcast days are probably the worst times to shoot landscapes.
-At midday when the sun’s at it’s highest, there’s hardly any shadows and the light is very flat.
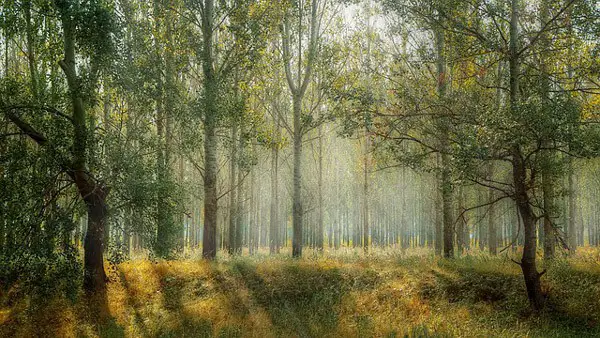
-On overcast days there’s very little colour and the light is very flat and boring. But they can work if for example there’s sunrays shining through gaps in the clouds, which can look quite dramatic.
Lens
The lens you choose can have a big effect on your photos. A common lens to use for landscapes is a wide angle lens because these have a wider view and so show more of the scene. Another plus is they allow more light through and so faster shutter speeds can be used. But one thing to consider when using a wide angle lens is anything in your foreground near to your camera will appear much bigger than the rest of the image. This can look unrealistic but is sometimes the desired effect.
Filters
Photographers often use filters in landscape photography. The two most commonly used for this are the Polarizer and ND Grad.
Polarizer– The polarizer increases saturation and darkens colours, for example a blue sky will appear darker and a deeper blue, also polarizers are used to remove reflections in water, glass and many other things.
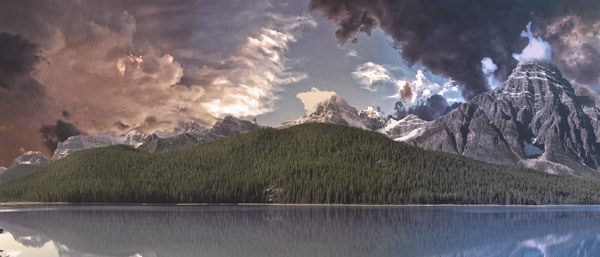
ND Grad– The ND Grad darkens part of the image, and is commonly used to darken the sky to stop it from overexposing and therefore losing details. But it’s also used for a dramatic effect to make clouds appear darker and more imposing.
Tripod
The tripod is a part of every serious landscape photographers gear set. It’s used to stop camera shake when using slow shutter speeds. This is useful for when the scene is darker or when using smaller apertures and you don’t want to use higher ISO settings and lose picture quality.
File Format
The file format you choose is important if you intend on editing your photos, and the best format for this is undoubtedly RAW. This is because RAW stores the unprocessed colour information and a higher dynamic range, while JPEG’s are processed by the camera and so lose some of this. This extra information gives you more room to tweak your photos in photo editing software and gives complete control over your final image.
I hope this guide has helped you get started with landscape photography.
Click this link to read a more complete guide on landscape photography for beginners.
To learn more about equipment for landscape photography, click this link.


3 comments