There are some photographers who like to click images and convert them into black-and-white photos in the post-production phase. There’s nothing wrong with this procedure; it’s just that it is time consuming. So, instead of converting the photos into black and white later, wouldn’t it be better to shoot photos in black and white in the first place?
In today’s digital world, most people prefer full color photographs while black-and-white photography is considered a thing of the past. However, there are many photographers who opt for monochromatic images. Such black-and-white images have the ability to display simple, raw emotions of the people and beautiful landscapes that can’t be shown through color photos.
Black-and-white photographs emphasize qualities like light and shadow, pattern and texture. Shooting such monochromatic images is an art that requires more attention to equipment, process, composition, tonality and lighting. Let’s check out some of the necessary techniques to create striking monochromatic images through digital or instant-photo cameras.
Shoot in Color
Most of the digital and instant-photo cameras available, these days, have a black-and-white preset. This feature can be used to take photos directly in black-and-white. It is preferable to shoot in the camera’s RAW format and use the black-and-white preset. RAW format provides photographers with increased control over the final photograph.
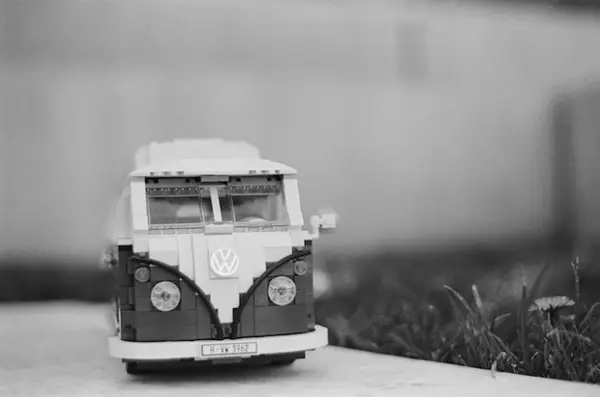
The photographers will be able to view the black-and-white conversion on the camera’s display when shooting in RAW format. The black-and-white photos displayed on the camera’s screen give photographers a preview of the way the black-and-white version would look.
Shoot at the Lowest ISO Setting
Even though the grainy film look is mostly used in black-and-white photography, it is best to stick to the lowest possible ISO setting for taking photos. Most photographers think it is better to add the grainy look in post production. Earlier, photographers used to add this grainy look to their photos by using high ISO films on their instant cameras.
Shooting in high ISO generates image noise, so it is preferable to shoot in the lowest ISO setting. It’s preferable to get a sharp shot with slight noise rather than a noiseless shot in which the subject is a blur.
Shoot on Those Gray Days
The dull, gray winter days are the best, natural-shooting conditions for capturing great-quality, black-and-white photos.
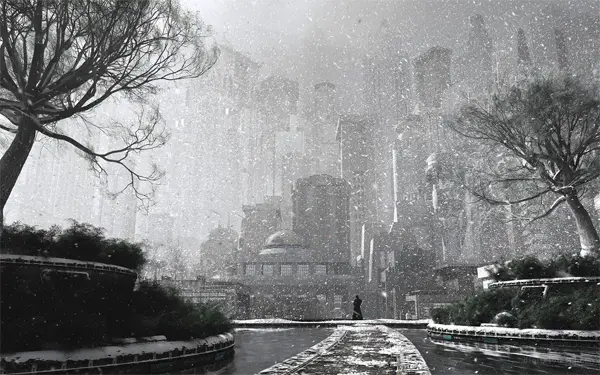
The soft light during such days gives silky, smooth transitions on the subjects. This serves as the perfect shooting conditions for the use of digital or instant cameras for taking some excellent, black-and-white photos.
Learn to See Black and White
It is necessary to view the world in monochromatic colors for pulling off amazing, black-and-white photography. Once a photographer trains himself to see in black and white, it becomes easier to pick out situations that are suitable for black-and-white photography. It is preferable to imagine the subject in black and white before taking a shot. The photographer needs to look at the subject in terms of shadows and contrasts, lines and shapes.
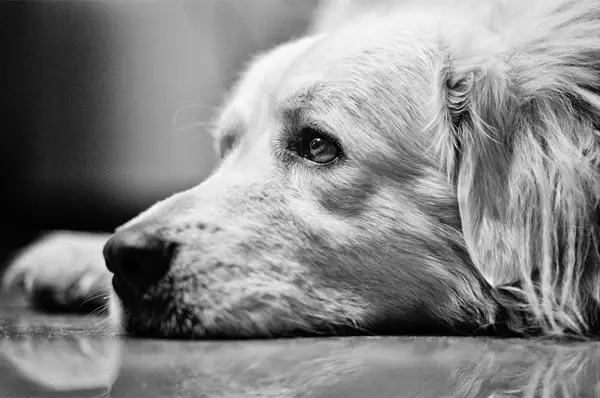
This will help in determining the ideal manner in which that subject needs to be captured. This might also help the photographer capture the subject in a different angle that he had not thought of earlier. The basic idea is to get into the black-and-white headspace that can help in choosing an entirely different way to shoot a particular subject.
Using Artificial Lighting
Usually, shadows are used in black-and-white photography to define shapes and details. There is a possibility that lighting may hamper the quality of the image. In nature photography, it is essential to shoot black-and-white photographs in a different way as opposed to the one used for color photos.
Natural Shooting Conditions
When it comes to landscape photography, it is considered best to shoot at dawn or dusk. In short, when the sun is low and the light is even and soft. However, it is just the opposite for black-and-white photography. In order to create better black-and-white photos, it would be best to take photos during the middle of the day.
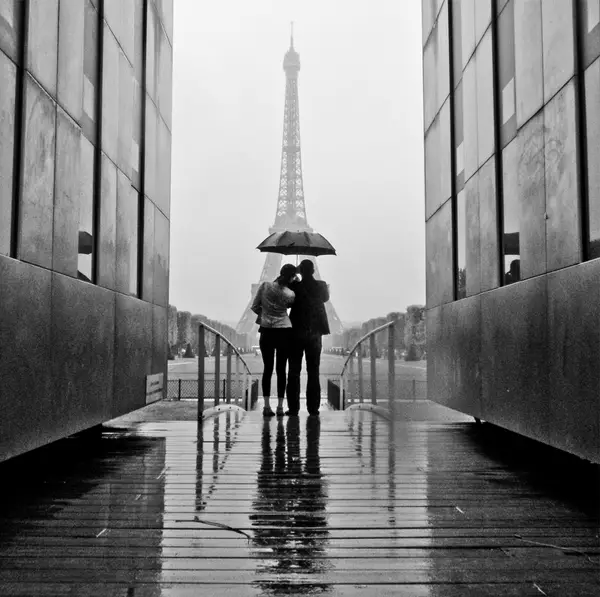
During this time, heavier shadows are created that help in emphasizing the lines and shapes in the composition. Another way would be to click photos when directly looking towards the sun. This produces excellent shapes of the trees, windmills and other such strong shapes against the sky.
Conclusion
Shapes tend to cast shadows that highlight the shape of the subject. The lighting around the subject plays a big role in how the shadows show it. There is a possibility that an abundance of color can cause beautiful shapes to vanish. This is where black-and-white photography comes into the picture, as it can help in emphasizing these forms.
After all, we are discussing black-and-white photography.
Black-and-white pictures look their best when they are shot informally by a photographic artist. With a specific end goal to improve the nature of these types of photographs, there are some actionable steps any expert or novice, photographic artist could utilize while snapping their subjects.
Apart from shapes, the photographers also need to focus on structures that are perfect when the subjects are hair, sand, skin or wood. It’s necessary to ensure that the photographer doesn’t add too much of a contrast in photos. The best way to attract attention to the subject is to remove color and harsh contrast. A photographer who has an interest in black and white photography needs to experiment with monochromatic colors and think unique ways of shooting.
Author bio: Suraj is a tech geek, always on the move to know something more about gadgets that re-innovate the world.He also likes to write about them.
…


Interesting post, but I disagree with the statement “Earlier, photographers used to add this grainy look to their photos by using high ISO films on their instant cameras.” Even the 3000 speed instant films are fairly fine grained for their speed. Film shooters looking for grain were more likely to shoot films like Tri-X, HP5 or Delta 3200, and if desired push process them to enhance grain characteristics. Also, certain developers could be used that would accentuate grain more than others.
The critical reason to shoot in RAW, is that if you don’t (e.g. you shoot only JPEG and with a B&W in-camera preset), you have not captured any colour channel information and therefore forgo any opportunity to apply the most often used colour filters (e.g. red, green, orange etc.) in post-camera editing.
Do not attempt DIY software for anything as valuable as your online commerce website. If you have to work alone, take some time to learn about the basics of graphic design or enlist a skilled person to provide you their services for difficult tasks such as clipping path.