DSLR or point-and-shoot? Digital SLR cameras are excellent, but they are geared for expert-level photographers, whether amateur or professional.
That hasn’t stopped their mainstream appeal, however—I’m sure you’ve seen people who lug along their DSLRs, and the only lens they have is the one it came with, and all of the settings are default. You may have also seen that rare beast, the lonely person who uses a DSLR to take self-shots.
Admittedly, DSLRs do take fantastic photographs, but the average person will never know how to make that happen, or frankly, will never need to in the first place. Technology has enabled even the most inexpensive point-and-shoot cameras to capture images analogous to those by a DSLR.
In this guide, we’ll show you how to tinker with your compact camera to let it capture those beautiful shots. After all, the most important part of any photograph is the photographer, and not the camera itself. But first, some context!
A Brief History of Digital Cameras
The younger members of our audience may not remember this, but there was a time when you could only take 12, 24, or 36 shots at a time, because cameras used film. Then you had to take the film to the store to have it developed, which took days (or develop it yourself, which professional photographers are still doing up to this day).

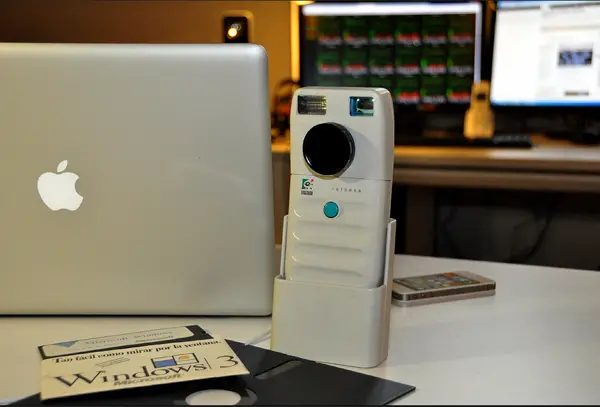
Digital cameras changed everything. The essential component needed for digital cameras was invented in 1969: the charge-couple device, which enabled images to become digital data directly, bypassing the chemical process used in traditional cameras.
However, digital cameras were not introduced to mainstream consumers until the last decade of the 20th century, when Logitech released the Dycam Model 1, which took photographs in greyscale at a low 376 by 240 resolution. It also had enough storage capacity for 32 shots. The first Dycam was technically inferior to the compact film cameras at the time, but paved the way for digital photography.
The rapid development of cheap flash memory enabled the available storage of cameras to grow exponentially. Modern digital cameras usually use SD cards, which have capacities up to 128 gigabytes, enough for millions of photographs. In addition, the paltry 90,240resolution of the original Logitech Dycam has been superseded by the multiple megapixel resolutions of even the cheapest digital cameras.
These days, excellent digital cameras can be bought for less than USD 100, made by reputable manufacturers such as Sony, Canon, Olympus, and Nikon. While this is still more expensive than comparable film cameras, the money saved from film and development costs more than makes up for the relatively high initial price.
Digital photography has also made waves in filmmaking, with independent directors making great movies on tiny budgets.
Taking DSLR-quality Images with Compact Cameras
However, the convenient nature of digital photography has taught us to be careless with our pictures. You might think that when you can take as many photographs as you want, good technique isn’t particularly necessary.
Wrong. Even though you have all the space in the world and can take millions of shots, if you have to delete over 90 percent of them, it’s horribly time-consuming and inefficient. How do you begin to improve each and every shot? Have a look at some basic tips.
1. Pay attention to the aperture.
Lens aperture refers to the opening that allows light to fall on the lens. The bigger the aperture, the more light can fall on the lens, and the shorter the shutter time becomes.
Conversely, because the same amount of light should typically fall on the lens, a smaller aperture will result in less light entering, and a longer shutter time to allow for all that light to fall on the lens.

Large lens apertures are good for close-up shots, with the foreground sharp and the background blurry. The opposite is generally true for small lens apertures—the background is sharp and the foreground is blurry. However, this is all dependent on the actual focus point and distance to the subject—these effects are primarily due to the increased bokeh, or blurring, that comes with larger apertures.
While most point-and-shoots don’t have aperture settings, aperture is most closely tied to Sport and Landscape modes, corresponding to large and small aperture, respectively.
2. Use a lossless file format.
Many compact cameras are set to use JPG, which is a compromise between image quality and the digital size of the image. However, a little bit like the MP3 audio format, this balance between size and quality has its drawbacks—the compression used in creating a JPG creates image artifacts, affecting detail. This is especially true in night shots.

Use the camera’s “raw data” setting to get the best possible shots. It’ll take up more space, but flash memory is cheap. Plus, the raw nature of the files will let you do some processing in Photoshop later without any losses in quality. Not all point-and-shoots have this capability, however, so if this is a critical feature for you, doublecheck before you buy.
3. Buy a tripod.
Tripods are useful in all sorts of situations. They will help keep your camera still, which is invaluable—your hand shaking introduces issues in focus and sharpness.
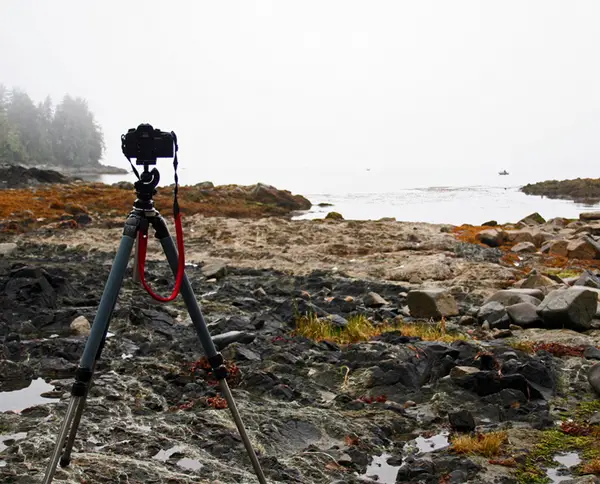
And in conjunction with your camera’s timer, tripods will let you be in those photographs as well, which will be great for family pictures.
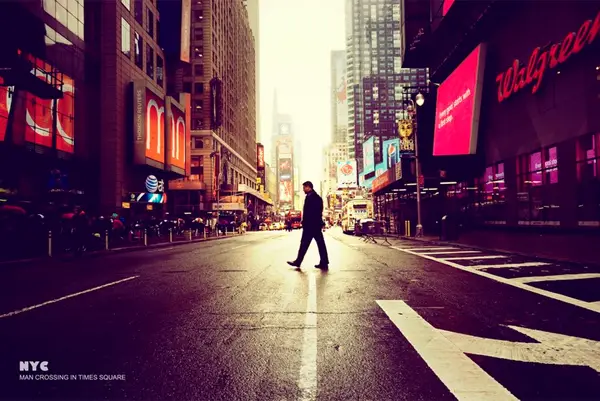
4. Be creative. Compose.
The most common misconception about great photographs is that they are spur-of-the-moment creations. This might be true for dynamic scenes, such as sporting events or riots, but keep in mind that photographers take hundreds or thousands of shots and filter them intensively afterward.
Learn your composition. Basic guidelines like the rule of thirds should be applied. Understand how colors play with each other, and how the available light affects them. Think of what you want to take a picture of and how to capture its essence.
While creativity can’t be taught, a great standby is to look at photography books and emulate what the greats have done. Then you can adapt your own style.
The same characteristics that have made us take digital cameras for granted—great functionality out-of-the-box and ample memory space—are precisely what makes them ideal for practice. Figure out how best to hold your camera, as well as what angles bring out the best features in people, objects, and landscapes.
Even if you only have a compact camera, remember that the best camera in the world is the one you have with you. With enough time and dedication, you’ll shoot like a pro.
About the author: This is a contributed post by Jay Manangan who loves reading blogs like gaming, photography and inspirational blog. He’s also a Hardcore gamer, from console to PC. He shares some of his ideas in different camera related blogs.


0 comments