Growing up, I was one of those kids running around and telling everyone that I’m going to be an astronaut. I had a room that would make you feel like Buzz Lightyear could actually live in it and forget he’s on Earth. So it was pretty obvious that somehow I’d find myself getting into astronomy.
Now I never really became an astronaut but currently, I’m into amateur astronomy – particularly astrophotography. I still remember the first photo of the sky I took with my old Pentax digital camera when I once went on a camping trip with my family in the mountains. Unfortunately, it was just darkness with a few white dots.
That’s something thats bound to happen if you never really understand photography in the first place. To be successful when it comes to taking great astrophotos, you have to know the basics of both astronomy and photography. Whether you’re a beginner or not, when it comes taking great photos, shooting the sky can get tricky and will require patience.
Astrophotography with DSLRs and Telescopes
If you want to take astrophotography to the next level, aside from getting a wide range of lenses, what you can also do is to use telescopes. Using a telescope can blow your mind if you’re aiming to shoot a more particular subject in the night sky like the moon.
Let’s get to know the things and steps you have to keep in mind for you to be able to take great astrophotos with your DSLR and also how to make use of a telescope for better pictures. Let’s first cover the basics, which means taking photos with just your DSLR.
Getting the Right Set-Up with your DSLR
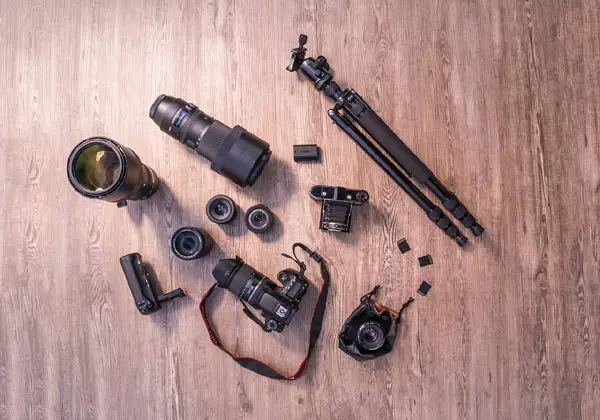
If you’re already planning on your set-up, your equipment should consist of the following:
-
DSLR – just make sure that it’s the type that you can manually control
-
Wide angle lens – f/1.4 to 2.8 – 24mm (it’s really optional and up to you, but this range is what works great for me)
-
Steady tripod
-
Remote control – this shouldn’t be optional because it will help you a lot when it comes to making sure your camera is steady when you take that perfect shot.
Who says you should always start with the best equipment if you want to get into astrophotography? On the contrary, you can use almost any manual camera to take a photo of the sky that will leave you amazed.
Point-and-shoot cameras would even work with taking a great photo but only if you’re okay with their massive depth of field. If you’re only aiming to shoot the night sky and the stars, then this will already do some of the job.
DSLRs have a lot of advantages when it comes to taking astrophotos. This type of camera has a better sensitivity to light and since most of the time, you’ll shoot the night sky, you’ll need as much light as you can to avoid underexposed photos.
The best thing about a DSLR is that you get to control most of its functionality. This is something you’ll greatly appreciate once you’re very much accustomed to how all the buttons and features of your DSLR are used.
If you’re new to the whole thing, DSLRs are pretty much capable of what point-and-shoot cameras can do while point-and-shoot cameras can’t really do what a DSLR can. One thing that really sets those two apart would be the lenses.
A point-and-shoot camera has a fixed lens, while DSLRs can be partnered with different lenses. As long as the lens that you want fits your DSLR (directly or through an adapter), then you can enjoy using it.
Focal Length and Aperture
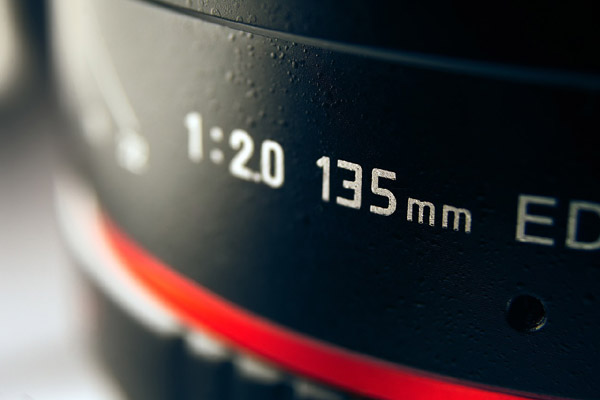
The lens that you will use plays a major role when it comes to the quality of the photos you will take. Always choose a fast wide angle lens. For the focal length, it’s always preferable to have a 24mm lens for an APS-C camera or 16mm or lower for full-frame cameras. This could help you get a wider depth of field.
Since we’re talking about a wide depth of field, keep in mind that shooting a particular subject in the sky won’t work with this focal length. A focal length ranging from 300-500mm is what’s going to work with, let’s say, shooting the moon.
For your lens’ aperture, since taking great astrophotos happens when the sky is dark, the best setting would always be f/2.8 or lower. This also reduces aberrations that could look good or bad in your photos.
For shooting the moon, it’s again a different story. You’ll need to have a lens with an aperture of f/11. When it comes to shooting the moon with your DSLR, choosing a long telephoto lens is the best way to go.
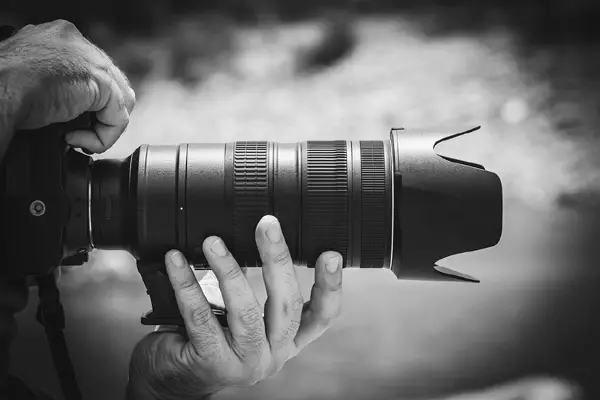
Steadiness is Key
A steady tripod will really help you a lot when it comes to making sure that your camera gets less movement when taking photos. Of course, who wants to get blurry shots of the sky?
You can get any tripod that you want but one tip to share is for you to place heavy items on the feet of your tripod. Aside from that, always make sure you place it on an even area.
This could be hard when you’re out in a terrain or park but one thing you can do is to always bring a plank. It may sound odd to be carrying that around, but you can get the best shots because of this.
Even while trying to take that photo, your finger will make your camera move a bit so you may really find a remote control for a DSLR useful. You can even say it’s a requirement to avoid unintentionally moving the camera when pressing the shutter release.
A remote control is a lifesaver. You may sometimes get too excited when you know you’re getting a great shot so it avoids ruining it.
Pick the Perfect Location
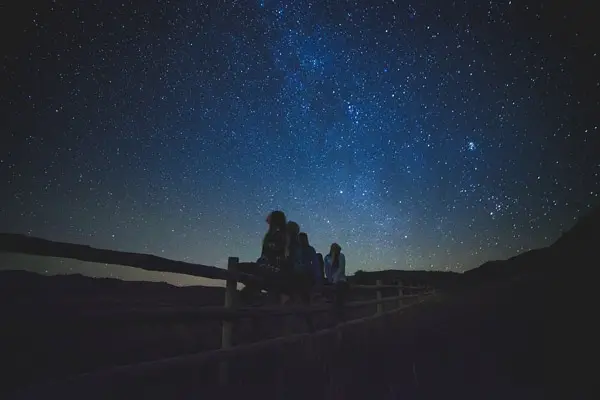
Astrophotography isn’t all about the sky. A lot of photographers’ best shots are usually outlined by an object or even a person. You can choose to include mountains, the sea, trees, or even the city’s outline in your photos. It honestly adds more drama to your photo. You might really love including the city’s outline as this could get really challenging.
The reason why this could get challenging is the light pollution. That’s something you’d like to avoid when taking astrophotos. You can use a dark sky finder to help you locate a good spot where there’s not much light. Just make sure that the place you’ll pick is for the public.
The other thing to consider is the altitude. It’s always great to take photos of the night sky when you’re on a mountain. The experience itself could even make you even fall more in love with the night sky.
The higher you are, the better and more vivid your shots would be. High areas are also great for stargazing.
Once you have the equipment you need and found a great location, then you should be all set! Now if you plan on taking astrophotography to the next level, we’ll now move on to how you could take great astrophotos with a telescope.
Taking Photos with a Telescope
There are two methods that you could use to take photos of the night sky or any heavenly bodies with a telescope. Before we move on to what those are, here is the equipment to use:
-
Telescope – a telescope with a focal length of at least 80mm could already be a good start
-
T Ring and T Adapter – you have to make sure that both of these would fit your telescope and camera
-
Telescope Mount
Telescopes
Owning a telescope could be something really expensive and so you should only purchase one if you want to take astrophotography seriously. It’s rare for you to get a good enough telescope under $500 unless you look for one in the used market.
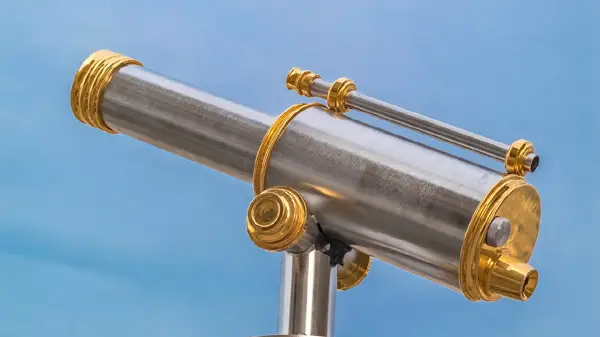
Before you get confused on how telescopes are measured because the terminologies used are the same with camera lenses, what you really have to keep in mind is this: telescopes are listed with their apertures while camera lenses are listed with their focal lengths. So if you hear someone say he or she has an 80mm telescope, don’t think of camera lens’ focal length.
There are different types of telescopes that you can get but you may find that refractors with long focal length work best for astrophotography. A telescope with a long focal length is good for focusing on objects in the night sky. Reflectors are probably the least ideal kind of telescope to use for taking astrophotos since they only have short focal lengths.
As already mentioned, a telescope purchase could really cost you a lot even if you’ll search the used market. Before purchasing, it’s always best to read reviews of telescopes like from TelescopicWatch so that you won’t get stuck with a expensive equipment that will never really satisfy your astrophotography journey.
Two Methods for taking Astrophotos with a Telescope
1. Prime Focus
This method is done by using the telescope as your camera lens, so this will only work with DSLRs. You’ll need accessories for this to happen, like the T Ring and T Adapter. You can easily get these accessories from telescope retailers or online (from links above).
-
T Rings – this should be screwed to your camera lens’ groove.
-
T Adapter – This is what you attach to your telescope so that your camera with a T Ring can be locked with it. Basically, a T adapter replaces the eyepiece of your telescope.
Purchasing both of these accessories wouldn’t really cost you much so don’t worry about that. Now, this method is best for planetary photos and shooting the moon, especially if your telescope has a long focal length.
For this method, bracketing is highly suggested because getting the right exposure could be very challenging. You have to know how your camera works so that you can easily play with the ISO, aperture, and focal length settings.
2. Afocal Method
This method sounds simple but it’s actually pretty tricky. To execute this, all you just really have to do is to point your camera lens on the eyepiece of your telescope. Both of your telescope’s eyepiece and camera lens’ focus should be set to infinity.
Actually, the infinity setting works best for any method in astrophotography. It’s always a must to get all the control you can.
There’s no need for any accessories when it comes to using this method. In fact, this could also work with your smartphone, but a digital camera works best here. A camera with a live view is also preferable because it makes sure that you get what you really want.
What’s challenging here is the alignment of both your devices. You’ll always have to adjust both when you need to so it could get tedious. With that said, this is not really recommended for trailing. Patience is really important when using this method.
Another thing to look out for when using the afocal method is vignetting. If this happens, it simply means that your camera is too far from your telescope’s eyepiece.
Post-Processing
To be able to take a great astrophoto worth bragging about also means that you should have a good skill with editing. This will make you get the most from your image.
Play around with the lighting, contrast, and color. You can even use filters to make your photo more defined. This could help your subjects like a nebula or the Milky Way look more defined. This is when you can make the stars pop on your photo.
For something more advanced. Stacking your photos could also help you produce a photo with greater depth of field. This also allows you to give more focus on your subject and lessen the noise in your photo.
A Few Tips for Astrophotography
-
For WB, it’s best to use the daytime balance setting for the lens to see the actual colors of the stars. Customizing this could also work.
-
Choose to shoot in JPEG and RAW. JPEG is for your preview and RAW is best for processing.
-
Use heat straps on your camera lens to avoid dew and moisture.
-
Since you’ll be shooting in the dark, using a headlamp would be a great option for visibility.
-
Carry a star map with you or better yet, find an app that could help you locate constellations, nebulae, and galaxies.
-
Exposure length should be at 30 seconds.
-
Check your camera’s histogram. As a general preference, the rise should always be somewhere in the middle.
More Accessories for Astrophotography
To make things a little easier for yourself, you can obtain a complete imaging system that works with any telescope, such as this one . It is not expensive when you consider the fact that you are getting the imager, a monitor for more than one person to view, and can even watch from the comfort and warmth of your room with a wifi adapter.
And if finding and identifying planets is an issue, try one of the autoguider accessories such as this one. Make sure it fits your specific scope though.
Final Thoughts
Taking a great astrophoto is not really as simple as pointing your camera towards the sky and pressing the shutter release. Always make sure you’ve got the basics covered before getting into it to avoid frustration.
Now a great astrophoto won’t just happen in your backyard unless you live in a remote area with low light pollution. Go out there and start shooting! Let me know how it goes.
For more on long exposure photography, take a look at this article.


2 comments