Understanding the editing process is necessary for every photographer, especially if you’re in the business of real estate photography.
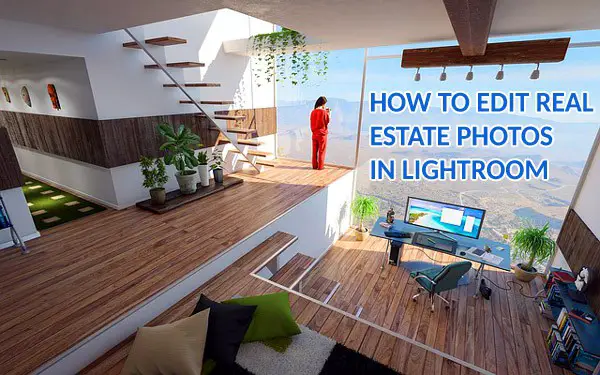
You need to know the methods of post-processing so you are familiar with the necessary steps you have to take in order to achieve the output that you need. From the photo shoot down to the post-processing, a professional photographer should know the methods involved in order to produce quality photos that will sell properties right away.
Shooting RAW
For photographers, shooting RAW is a must. Unlike JPEG, the RAW file format captures all the image data that can be captured by the sensor. JPEG, on the other hand, has compressed information. With RAW, you are able to correct problems that you potentially could not with JPEG and create high-quality images.
In shooting real estate RAW, you get to record higher levels of brightness which can be necessary for interiors. It is easy to correct exposure, which will be done through Adobe Lightroom. You can also do non-destructive editing with RAW which allows you to adjust without affecting the original data.
There are a ton of benefits to shooting RAW and it’s always the pro-choice whenever you’re out for a shoot.
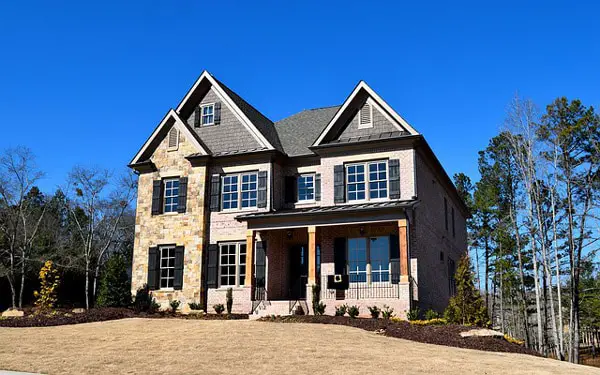
Editing Exteriors in Adobe Lightroom
Once you have your photos shot on RAW, you need to go over them for retouching so these are ready for client’s use. When editing, Adobe Lightroom is often the most trusted software. It allows you to make adjustments and apply color presets on your images.
Adjust the exposure. Check the exposure of your photos. If it’s underexposed, try to recover the exposure by dragging the exposure bar. Adjust the exposure accordingly depending on what the image needs. You can also adjust the contrast in order to add a little punch to your image.
Change the highlights and shadows. Move the highlights bar to the left in order to remove the hotspots in exposure. If there are dark areas in the photo, up the shadows bar in order bring in the details to the photo. Ensure that you fine-tune the highlights and shadows as you seem fit.
Set the whites and blacks. Hold the Alt key on Windows or the Option key on Mac while dragging the Whites slider to the right in order to expand the brightest whites. The screen will turn black and you will have to continue dragging until you see dots of whites. Hold down the same key for the Blacks slider while you’re dragging it. This turns the screen white. Continue dragging the slider to the left until the black areas in the photo start to appear. This adds a punch back to the image.
Move the clarity. Add a little bit of clarity to the image by moving the clarity slider. This adds a little blow to the mid-range tones without affecting the highlights and shadows.
Adjust the temperature. Once you have a good overall exposure on your photo, check the temperature of your photo. If you think adding a cool tone to the image is important, drag the temperature slider to the left until you’re satisfied.
De-saturate the correct colors. Scroll down to the HSL/Color/B&W tab and click on the saturation option. To choose a specific color that you want to de-saturate or over-saturate without affecting the rest of the image, click on the small clicker box, pick the area that you want to de-saturate and drag the mouse down.
Define your skies. If your image is shot outdoors and you have a washed out sky, what you can do is click on Luminance and drag the Blue slider to the left in order to bring the color out.
Control the detail.Adjust the amount of sharpening by moving the sliders around. Add a little bit of radius just to put in some details on the photo. With masking, hold the Alt or the Option key down while dragging the slider to the right. This adds a little sharpening to the image.
Do a little noise reduction. If you’ve upped the shadows, you may need to increase the luminance a little bit. This removes the grain that your image has from sharpening.
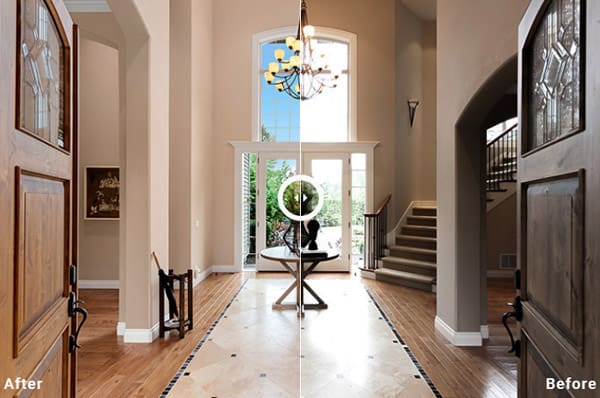
Click on the lens correction. In Lightroom, there are options for lens correction. Tick all the options or boxes under lens correction and click vertical adjustments. The boxes are: enable profile correction, remove chromatic aberrations, and constraint crop. This adjusts your image immediately. You can readjust vertical corrections by increasing the vertical correction to bring out the edges of the building or home. Check the verticals to ensure that they are aligned properly.
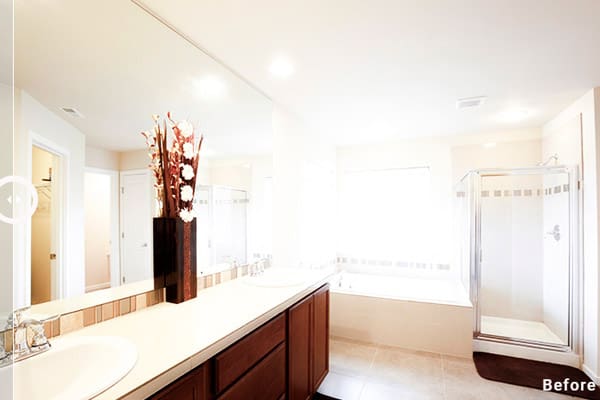
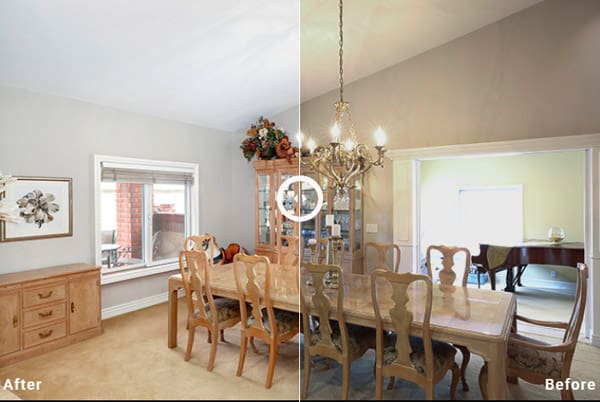
Editing Interiors in Adobe Lightroom
Editing interior photos can be quite different from editing exterior shots. Often, you get slightly underexposed images because you’re working indoors.
Adjust exposure. With these shots, adjust the exposure slider to the right and add a little contrast to the image by dragging the slider to the right. Adjust depending on the needs of your image.
Modify the highlights and shadows. Since you have light coming from the windows, you may want to pull down the highlights a bit to the left. Bring up the shadows bar in order to level out the darker areas of the photos.
Raise the whites and blacks. Hold down the Alt key if you’re on Windows or the Option key if you’re on Mac, and drag the Whites slider to the right until you see specs of white on the black screen. For your blacks, hold the same keys and drag the slider to the left until you see a couple of specs of black show up.
Adjust the warmth of your photo. If your photo looks too warm, move the temperature slider to the left to make it a tad bit cooler. Adjust this depending on your preference. You can also adjust the tint to the left as needed to remove the magenta tint to the image.
Move the clarity, vibrance, and saturation. Add a little clarity to your photo by moving the slider to the right. You can opt to bring up the vibrance more in order to bring more color to the photo. Increasing the saturation will also bring the color to the greens and the oranges to your interior photos.
Play with the tone curve. If your image looks a little bit flat, bring the medium tone curve into your photo to see what it does. Usually doing so adds a punch back to your photos.
De-saturate some of the colors. This step will depend on your personal taste. However, desaturating the oranges and yellows will add a bit of a cool tone to the photo.
Adjust the sharpening and noise reduction. Move the sharpening amount slider depending on your preference and adjust the masking accordingly. Set the noise reduction depending on how far you dragged up your shadows to get your image sharp.
Lens correction. The last step is to tick all the options under lens correction and click the vertical correction button. This aligns the edges properly and automatically.
For more on real estate photography, have a look at this article.


3 comments