You’re skiing or snowboarding down the mountain, trying to capture as much thrilling footage as possible. You’ve got your GoPro mounted on your helmet, in a random spot that “felt” right.
As the terrain changes, you’re constantly moving and tilting your camera, trying to predict what will look best when viewed later. If your GoPro is not properly mounted, it can be difficult to get a steady shot or capture the real feel of the action.
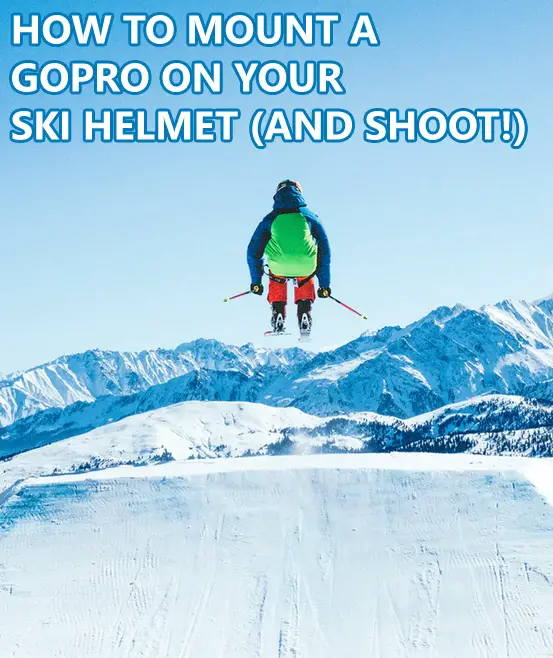
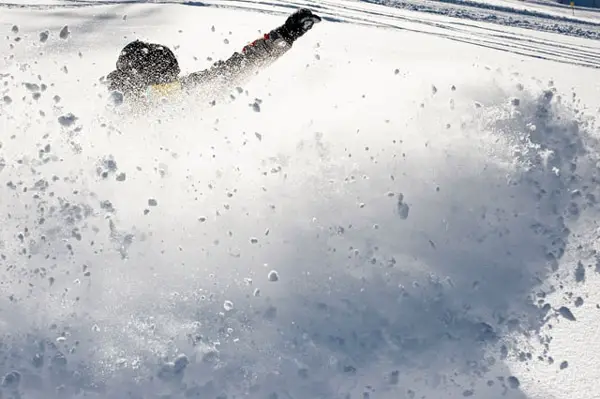
The last thing you want is to find yourself adjusting your GoPro on the go, which can lead to some spectacular crashes and lost cameras.
As a general rule, mounting a GoPro on a ski helmet for the best images and security involves placing it away from the light source, close to eye level, perpendicular to the slope, and using special adhesive or bolts away from any foam padding. Let’s discuss mounting an action camera in detail, including location, angle, mount types, and best practices for shooting.
Where To Mount Your GoPro
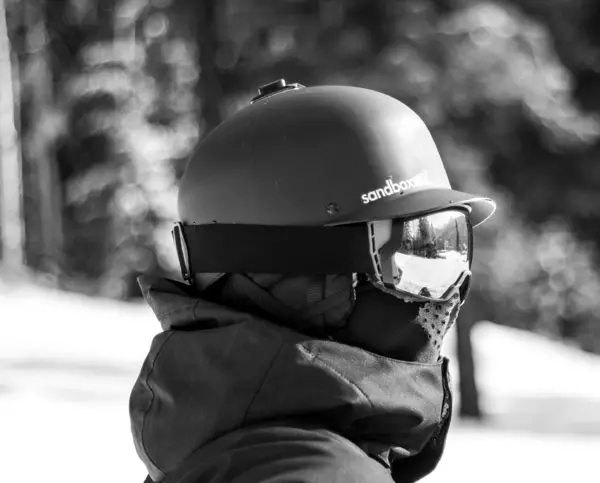
GoPro cameras are designed to be versatile and can be mounted just about anywhere. They’re even waterproof up to 164 feet, making them perfect for skiing or other messy winter sports such as snowboarding or winter fat biking. The safest place to mount your GoPro when skiing is on a helmet — more specifically in a spot that prevents you from getting hit in the face with debris should an accident occur.
Keep your GoPro out of the path of sunlight and avoid filming in bright daylight. You’ll get better footage when you film closer to dusk or dawn. Be sure that your light source is coming from behind the lens, so there’s no glare on it.
Mounting your GoPro on a helmet is a good idea, and you have two options:
- The first option is to mount the camera on your helmet using a helmet mount with preapplied adhesive. This will keep it firmly in place in most conditions but ensure that everything stays put during rough skiing or boarding.
- You can modify a mount or your helmet to securely attach your GoPro. Be careful if you choose this method as modifying your helmet, especially when drilling holes or adding screws, can compromise the integrity of your helmet.
Is it Safe to Mount a GoPro on a Helmet?
Perhaps you’re wondering if it’s safe to mount GoPro on a helmet. The answer is yes, as long as the camera is well secured and not too close to your eyes or other soft tissues, the helmet will actually protect you from the camera in case of a fall. It is much safer than mounting a camera on a hat or bare head.
Here are a few tips on how you can mount your GoPro camera onto your ski helmet safely:
- Find a good spot near the top of the visor area and attach with an adhesive backed mount, strong double-sided tape, or use screws, bolts, rivets — anything that will stay secure. Avoid using hot glue because it’s difficult to remove if needed for future adjustments.
- Place mounting hardware at least half inch away from any foam padding so there is no chance that they’ll come into contact should an accident happen.
- If you’re using an adhesive base, make sure to use one designed specifically for this purpose, so there are no concerns about whether or not it’ll hold up under harsh conditions. It should follow the curvature of the mounting surface.
GoPro Helmet Mount Ideas
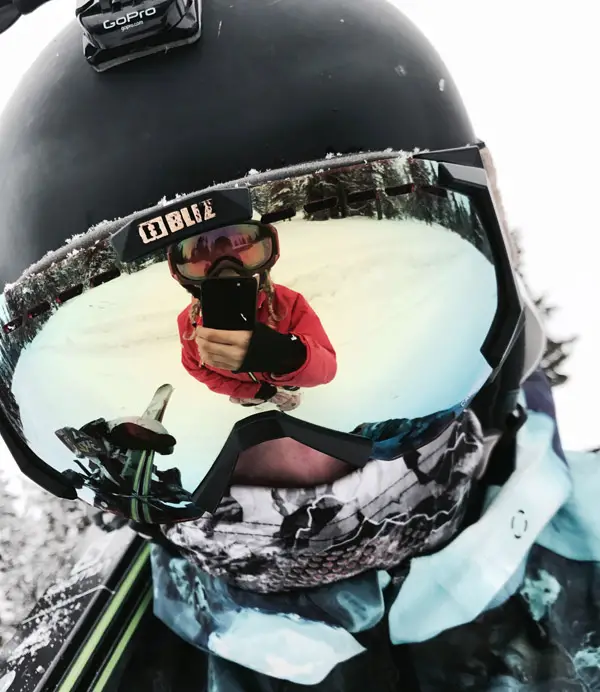
As mentioned earlier, the best place to mount a GoPro on a ski helmet is the front of the helmet. While there are different types of ski helmets, the front of the helmet is typically open to give you a better view. Most of these helmets also come with mounting points for a GoPro. However, you can also mount your GoPro on the top of a ski helmet to get unobstructed views of your buddies following you or, depending on the style you wear, use a chin mount for your camera.
This method will provide an interesting point-of-view perspective and allow you to get shots from under your chin or behind your head when skiing in difficult terrain with limited visibility. Unfortunately, mounting points for these helmet types aren’t always available, so be sure to check first before drilling any holes or buying one. Here are some GoPro helmet mount ideas to keep in mind:
- Use a GoPro helmet mount kit that you can attach to the back or side of your ski helmet
- Add an adhesive mounting pad, like those made by GoPro’s partner company, Explore Products, to attach the camera directly onto your headgear and then strap it in with a bungee cord for safety purposes
- Drill holes into one of the sides of your ski helmet (using rubber plugs to protect from cold) and attach an adhesive sticky mount (be aware this could compromise safety)
- Buy a helmet from the ski rental shop that has GoPro mounts already installed on it, or one with removable pins to make your own mounting points
- Attach a JOBY GorillaPod tripod for low angle and creative shots
- Find out if there are any mounts available on helmets you’re interested in buying before purchasing them – some manufacturers will include these as standard features nowadays. Otherwise, check online retailers who specialize in action cam accessories such as GoPole Industries Inc., PolarPro filters, or other companies specializing in action cam accessories for GoPro.
How Do You Get Good GoPro Ski Footage?
The first aspect of getting good footage is by attaching the camera where it will capture what your eyes see and record every moment, which can make skiing all the more fun (and safer without having to worry about the camera) because you’ll be able to relive all of those moments again later. But how do you know where that perfect spot is?
There are plenty of options — like chest strap mounts, goggle straps, and even ski poles — but the most common are either head mounts or chest straps. For example, chest strap mounts come in two varieties:
- Those that attach to your shirt with a buckle (like the C-Loop)
- Those that wrap around your torso with Velcro closures (like the Zooki) – both offer different benefits
While all these options are great, the best place to mount a GoPro when skiing is on top of your helmet so you can capture great footage without it being obstructed by accessories and limbs.
Here are some tips to get good GoPro footage:
- Learn the basics of using a GoPro before getting on the lift
- Before you hit the slopes, make sure your camera is properly mounted on top of your helmet, so it’s easy to use and accessible during tough maneuvers
- Ski slowly for more control over shots
- Use an external microphone that will help enhance audio
- Use your GoPro pole mount to capture footage of what’s around you like your friends
- Mount your GoPro at an angle that will give it the best visibility (test recording at home)
- Avoid mounting it way down below where it will get obscured by snow
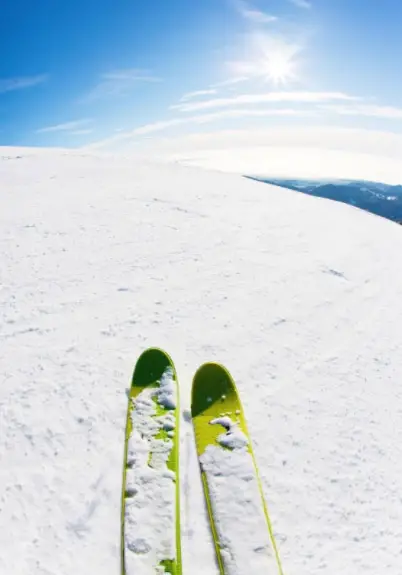
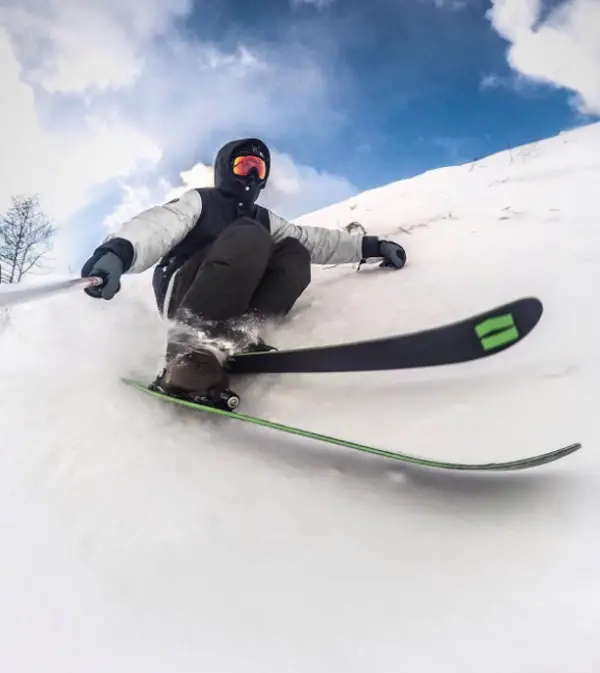
- Mounting your GoPro as close to the subject’s eye level as possible will give you footage that feels closer and more personal
- When filming, remember these three things: keep it steady for best results, use a high shutter speed to avoid blurriness (like going from 30fps to 60 fps), and be sure not to get too close — sometimes less is more
- Shoot at an angle perpendicular to the slope but be careful about going too close to your subject which may take away valuable context (such as being able to see who’s skiing alongside)
- Use multiple cameras or move the camera position to different locations for a more interesting final product
How Do You Make a Good Ski Film?
You’ve invested in the latest GoPro and know how to mount it on your helmet. Now it’s time to make your ski film. Of course, you’ll need to create quality and interesting content that will engage the viewer. How do you do this? First, the best ski films are usually shot in 1080p 30fps with a wide-angle. The GoPro camera will give you that nice and clear picture of your skis carving through the snow as they make their way down the slope.
If you want to go for that cinematic slightly stroby look that doesnt scream camcorder footage, see if your camera can shoot at 24 fps. On the other hand, if you plan on slowing down the footage after shooting reminiscent of Art of Flight, look for a 120fps or 240fps setting in your camera.
Find an angle that will allow viewers to see what’s happening but which also has a good field of view and is interesting with foreground, middle ground, and background elements. Features on some GoPros, like Protune, can also help to increase this quality.
Unsurprisingly, this video is going to take up a lot of memory on your GoPro. It’s important that you have enough space and time for the camera to record, so make sure you’ve got plenty of storage capacity and extra batteries.
To create good quality videos, start by asking yourself a few questions:
- What do you want to say?
- What do you want to include in the video?
- Does it need music?
- Should there be narration, or should the action speak for itself?
- Do you want to show family members/friends skiing alongside you as well?
- Are you doing it for fun, or are you trying to document your technique for Vlogging?
- Do you want the video to be short or long?
- What is your audience’s attention span, and how much time can they spend watching a video?
- Should there be any cuts, edits, etc., so that the viewer doesn’t get bored with too many shots of the same thing?
- What are your goals for this video?
The final step is to figure out how you want your footage edited and what kind of video editor will work best with the type of file formats that your camera produces. Many people find iMovie Express from Apple or Windows Movie Maker more than enough. Others use Adobe Premiere Pro, Final Cut Pro X, Sony Vegas Pro, Avid Media Composer, or even open-source software such as Shotcut, which is capable of editing a wider range of file types.
You may need some technical know-how to navigate them to create professional-quality videos. If you’re not feeling confident using these platforms on your own, then it’s worth investing in an online course to help you learn the basics before diving into production. Making quality videos is all about attention to detail so consider planning ahead. Think of how you can get the best shots and angles, then work on how you can create videos that impress.
Below is a tutorial on capturing great footage:
Other Mounting Places
Due to their wide angle lenses, GoPro cameras provide the best images when mounted as close to the subject as possible when not on the helmet. This way, the camera can capture the whole subject while providing a clear view.
There are even more options for mounting locations (and the number increases as people come up with new ones), including chest mounts, arm mounts, hat mounts, hand mounts, wrist mounts, and of course selfie stick mounts. I personally have used all of them and incorporated a variety of angles into my action films.
Whichever option you choose, make sure the camera is securely mounted so that it won’t fall off during particularly intense skiing conditions.
GoPro Ski Pole Mount
The GoPro ski pole mount is perfect for capturing action shots while you’re skiing or even snowboarding. You’ll have to attach the GoPro to a ski trekking pole or your ski poles themselves.
This is a great option when you want to capture perspective from the snow as well. It’s also worth noting that you’ll need a really sturdy pole for this mount, so make sure you get poles that are made of carbon fiber or aluminum rather than something like bamboo (which can break). Don’t use wimpy selfie sticks not designed for extreme sports.
- You will need a GoPro handlebar/ski pole mount and an appropriately sized pole to mount your GoPro on your ski poles
- To attach it onto your ski poles, just slide the handlebar mount over one end and tighten by sliding the tightening knob until snug
- Then place your camera in the slot provided, and tighten the locking knob.
- The handlebar/ski pole mount will allow you to use your ski poles during any exercise or activity while also capturing footage from many angles – this makes it an especially versatile option
If you want something more secure, dont want to deal with sticks or are going into extreme terrain like chutes, use a strap to attach your GoPro to one of your wrists or arms while skiing. This will keep it tight against your body if you’re on an aggressive run down the mountain (which is typically when most people are looking for action shots).
Go Ahead and Have Some Fun
Whether you want to create videos for personal use, your video youtube channel, or promote your ski resort, learning how to make good videos will help you get the most out of your skiing experience. With a GoPro camera and the right mount, you can make a ski video that captures your adventure from all angles. And don’t forget your camera can take high resolution images as well, or you can always take screenshots of videos if you want to freeze some great action (sometimes the safest way to go). So get out there and have fun riding. Remember to keep safety in mind and make sure you are using the right gear.
Check out this article for tips on photographing winter sports.


1 comment