How often have you seen great properties being completely ruined by awful photography? That’s right – terrible interior and exterior photos are a norm, especially when made by average camera users who know next to nothing about composition, lighting or specifications.
But the truth is that taking nice rental property photos is within your reach, even if you’re new to photography.
Whether you’re a newbie photographer who wants to try shooting interiors, or you simply want to successfully rent your house, here are the 13 tips to help you take great interior photographs.
1. Assume an objective perspective
Before you go on with your photo shoot of the house, there are at least a few issues you need to examine first. Consider your property, list all its features that make it stand out on the market and figure out how to expose them. Then it’s time to consider your pricing and how the photos of the property will relate to it – if you’re going for a high-value and high-priced strategy, your photos should be part of it.
2. Prepare your rooms
It’s paramount that you completely clear the space and get rid of distracting objects before you begin to shoot. Stuff which turns people off is usually found in the bathroom or kitchen. Consider decorating the space a little – for bathrooms, it’s worth to add towels and robes, remove personal items and bottles. Add a soft green plant like orchid or fern to soften the room.
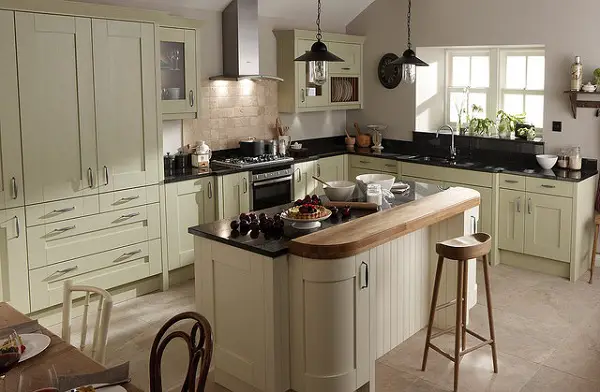
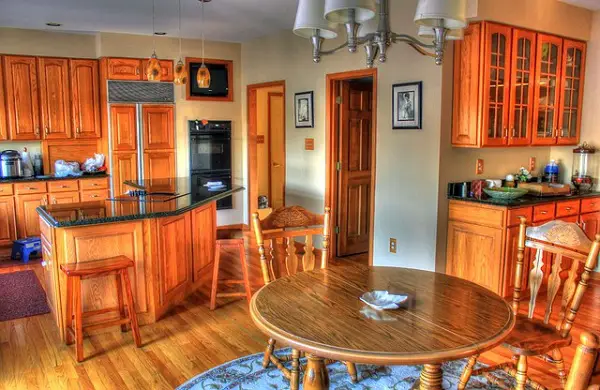
3. Turn on all the lights
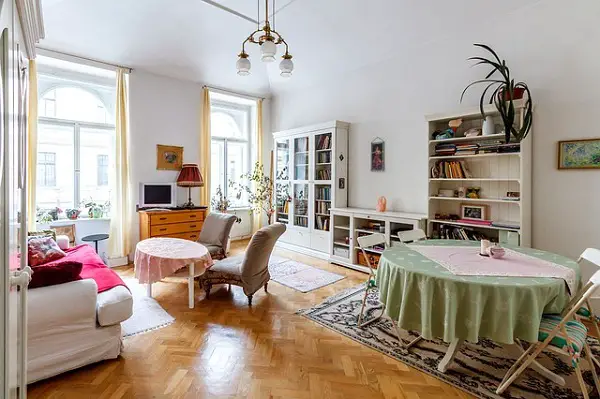
Lighting is a key factor is shooting great interior photos. Open all the shutters or windows, turn on all the lights and switch on under-unit lights in the kitchen. All this light will create a warm atmosphere and provide an inviting light and shade to your shots. Empty rooms will look cosier and reflective surfaces will shine in an elegant way.
You can always increase lighting with a photoflood bulb of high wattage. Make sure to place it behind the camera or hide it in a dark corner to help bounce light off the wall or ceiling. You can even place it outside the window.
Consider the flash function of your camera – take a few shots of the same room with different photos to see which ones work best. Flash is tricky to use as it can easily bleach a shot or flatten it – that’s why you should first try to find a source of light elsewhere.
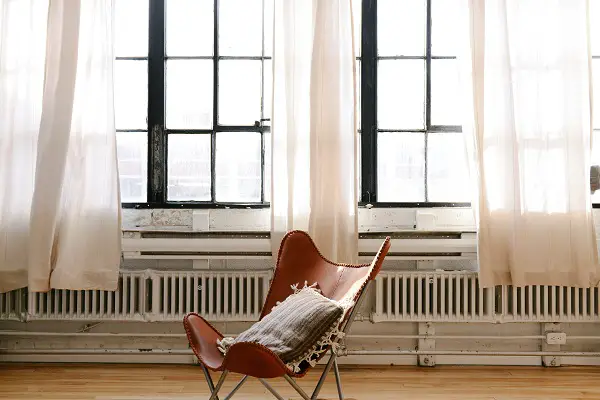
4. Leading or converging lines
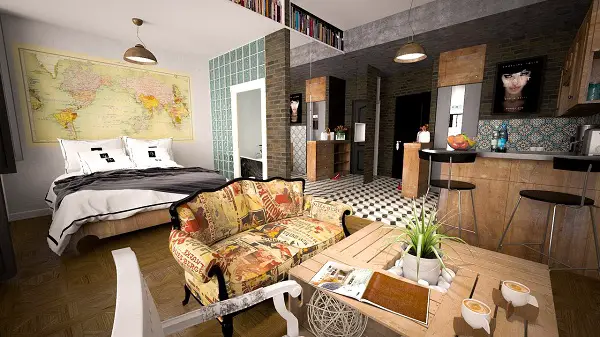
When taking photos of rooms, beds and other furniture, try going from one corner to another corner. Shooting them square on will create a boring composition. During your photo shoot, go for lines from the bottom left of the shot to the top right of the shot. This kind of line will take the viewer’s eyes into the shot.
5. Follow the rule of thirds
The famous rule of thirds is there to help you compose your images to make them more interesting and engaging. Try to imagine a white rectangle and draw a classic noughts and crosses grid on it – you should end up with 2 vertical and 2 horizontal lines. Place the central point of interest in your photo on these lines. It could be a lamp or sculpture on the sideboard – locate them on the vertical line and you can be sure to have the horizontal one to keep your shot square.
6. Try different positions
Changing the perspective can turn to be very inspiring during a photo shoot. Prepare a step ladder to take shots from a higher point. You can sit, squat or even lay down on the floor to create a deep shots and interesting angles.
Assume different positions when it comes to your lighting too. Our eyes expect photos to read like a book – from left to right. The left side of the image should be lighter and the right should be darker. Remember that you can always “flip” the photo in your editing software.
7. Check your shutter speed
It’s worth to closely examine the settings of your camera before the photo shoot. Some cameras allow users to change the speed you take the shot at – you can play with that, but never go below a 30th of a second unless you’re using a tripod. 60th or 125th and above will be enough to capture the shot steadily if there’s no movement. A monopod will be perfect for steadying the camera when taking photos of small rooms.
8. Change your focus
Another interesting feature to check out is the aperture which can give different depths of field in focus. An aperture of f8 or f16 could for instance be used to capture everything in the shot. Lower apertures (think f4 or f2.8) will make the centre of an object sharp and its outer edges blurred. These settings are great for shooting interesting items or for close-up detail shots.
9. Use a tripod
This simple piece of equipment can help you take photos of better quality. Hand held cameras are best for taking pictures in the spur of a moment, but a tripod gives enough stability to take photographs which are clearer and sharper.
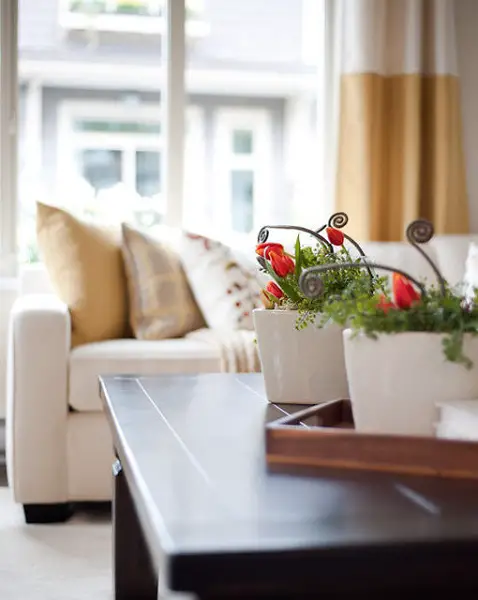
10. Benefit from white balance option
Sometimes you’ll have to photograph white interiors and your camera will struggle because it won’t be able to distinguish between the white and the white. Check whether your camera has a white balance option to help you with this. Make sure to change it back to normal before taking other shots – otherwise they will be wrongly exposed.
It’s a good idea to balance white and neutral spaces with green plants, fruit or fresh flowers. You can even add a touch of colour with a vase or cushion.
11. Landscape or portrait orientation
Sometimes picture orientation can play a major role in the reception of your shots. Most house listing websites prefer horizontal landscape orientation, but if you plan to share your home on Pinterest, you should know that the platform gives more space vertically to images.
These differences should be taken into account before the photo shoot so you end up with pictures you can use in different contexts. That’s why it’s best to get both a landscape and a portrait orientation of your best shots.
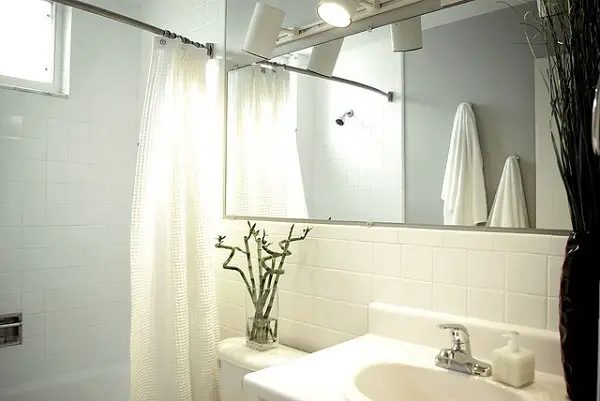
12. Stay out of the mirror
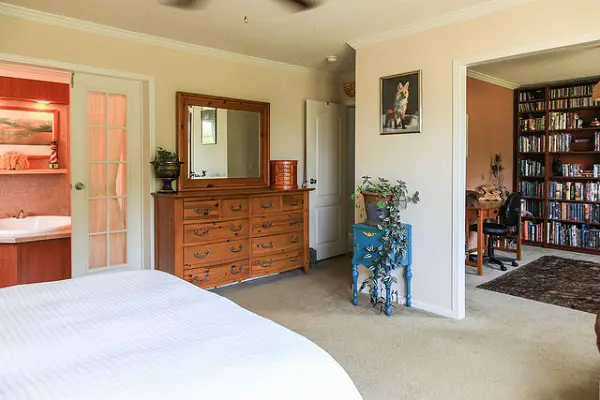
A common mistake of amateur photographers is catching themselves taking the photo in the mirror. Photographing bathrooms or bedrooms, make sure to steer clear from the mirror – your presence in the picture will ruin the shot.
13. Processing the image
Once you’re done with the actual shooting, it’s time you plugged in your camera to a computer. Import all images and start to work on them using specialized editing software. You can soften or sharpen the pictures, tidy up imperfections, play with lighting and contrast – a simple editing tool is enough to take a picture from average to great.
If you don’t have time for Photoshop or can’t do it your own, you can outsource real estate photo editing for a reasonable price and get results back in several days.
Following these tips, you’ll be on your way to taking fantastic interior photos that will make your property shine on the market. When advertising your properties, remember about a few more rules for the maximum effect.


0 comments