When people talk about digital camera settings, there are three main ones that pop up: shutter speed, aperture and ISO. They all relate to light and the way your camera captures it: Shutter speed controls the length of time your camera lets in the light, aperture determines the size of the opening in your lens that light travels through and ISO adjusts the sensitivity of the image sensor.
Knowing how to manipulate these options opens up a well of possibilities for a photographer, and today I’m going to break down the basics of ISO for you.
What ISO Is
The “ISO setting” or “ISO number” on your camera determines its sensitivity to light; it’s also called film speed. In film photography, this setting is applied to the film whereas, in digital photography, it applies to the image sensor.
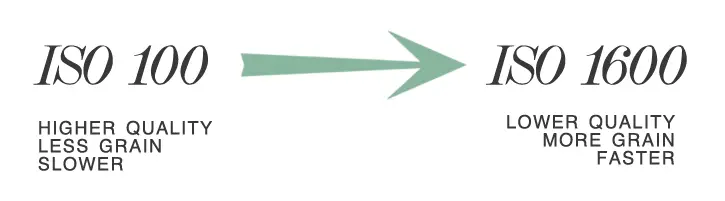
In both cases, a lower ISO setting will yield clearer, sharper images at a lower speed. A higher ISO number will take a quicker shot at the expense of image clarity and sharpness; this loss of quality will show on the image as grain.
In other words, as the ISO number or sensitivity to light increases, so do the speed with which the camera shoots and the grain allowed in the photograph.
What ISO Stands for

ISO literally means International Organization for Standardization. This organization sets standards for a whole range of things, many of which have absolutely nothing to do with photography. The standards that cameras’ sensitivity to light are linked to are ISO 5, ISO 2240 and ISO 5800, and apparently that’s enough to name ISO after the organization that set those standards.
You may now be wondering why I’m telling you this in an article that hopes to help you understand ISO, and the answer would be so you don’t have to break your brain trying to figure out if the ISO acronym on your camera stands for something that Google is mischievously hiding from you. It doesn’t.
This is the part where I would explain to you what light sensitivity is measured in and how it works, but the truth is I dropped all math and science when I went for the humanities-based Bachillerato option at 16, so none of it makes any sense to me. At all. It may be clearer to you.
How to Adjust Your ISO Settings
Predictably enough, you can change your ISO by clicking on the button that says ISO underneath it. On my Canon DSLR this button is on top of the camera body, below the shutter speed wheel/main dial and the shutter button.
The ISO settings all — or most — cameras offer are a sequence of numbers following a geometric progression where each number is the previous one multiplied by two. That means ISO 200 will be twice as fast and produce twice as much grain as ISO 100… as I’m sure you already worked out by yourself.
When to Adjust Your ISO Settings
As a general rule, you should set your camera to the lowest possible ISO to produce the clearest possible image. In ideal lighting conditions — i.e. outside, under a nice, clear sky — an ISO of 100 or 200 will yield excellent results without grain or blurriness.
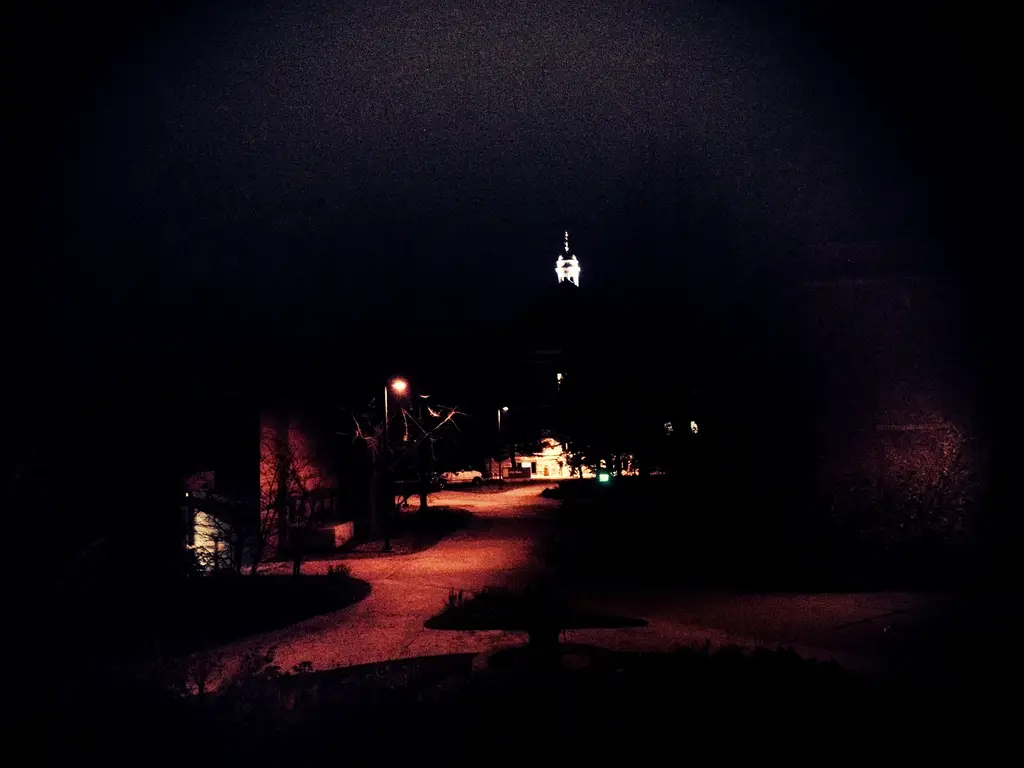
Bumping up your ISO comes in handy when the lighting isn’t quite so ideal — when it’s cloudy or bleary, you’ll get faster results from an ISO of 400. If you’re indoors and using artificial lighting, an ISO of 800 will help matters a lot. If it’s nighttime and you don’t want to rely on flash — flash usually spotlights the subject and leaves the background in the dark — you can raise your ISO to 1600 or 3200 (if your camera goes that high!), and you’ll be able to capture the whole scene.
As is the case with most settings, adjusting your camera to produce great shots in poor lighting conditions is a trade-off. You’ll get quick shots with a high ISO, but they’ll have grain; you’ll get good shots with a low ISO, but you’ll have to account for the slow speed with a tripod, a trick to reduce camera shake or strong, artificial lighting like flash. If you’re shooting a fast-moving subject — people usually mention sports here; I see that and raise you my cat — increasing your ISO setting may be a better option than increasing your shutter speed. A grainy subject is more visible than an underexposed one.
A Note on Post-Processing
You can play with grain creatively, but if you think you may want a grain-free version of your image at some point, I recommend shooting at the lowest possible ISO and adding noise in post-processing. Grain is easier to fake than it is to remove.
That said, don’t be afraid to trade image clarity for speed, particularly if you’re shooting in a non-professional context. Better to have a grainy picture of your cat sliding off your desk while hanging on to the curtain than one where he’s so blurry or so dark that you can’t even see him. As far as I’m concerned, that is the number-one reason to learn to use the ISO setting: photographing living subjects that often dwell in the great indoors. I hear that description applies to small humans, not just furry pets! So go capture some memories.
Click this link to learn about high iso settings and high iso, low light cameras.


0 comments