Some time ago, I wrote a post covering different options for organizing and storing your photos. I did this as a first step toward getting my own photographic catalog in order. I decided to pull the trigger, so to speak, and give it a go.
I decided to start out with Google+ Photo. I’m already pretty invested in the Google ecosystem, so it seemed like a natural place to start. Google has a good track record for making clean, easy-to-use, and let us not forget free, services.
Don’t let the fact that it’s tied in with Google’s social network, which you are most likely not using. You don’t have to actually use Google+ to utilize Google Photo. Sharing to other social media outlets, including Facebook and Twitter, is still easy.
Getting Started
I started by downloading Google’s standalone photo app, Picasa. When I opened Picasa, it searched my hard drive and located every folder with photos in it. But I ran into a problem. Picasa froze every time I tried to log in to my account. I don’t know if this is a common problem for other users, or if I just got unlucky.
I did a little searching to see if I could fix the problem, but as soon as I started reading about updating video drivers and other such technical hubbub, I decided to take the easy way out and work through Google Photo’s web app within Chrome. From there, I could drag and drop whatever folders I wanted to upload.
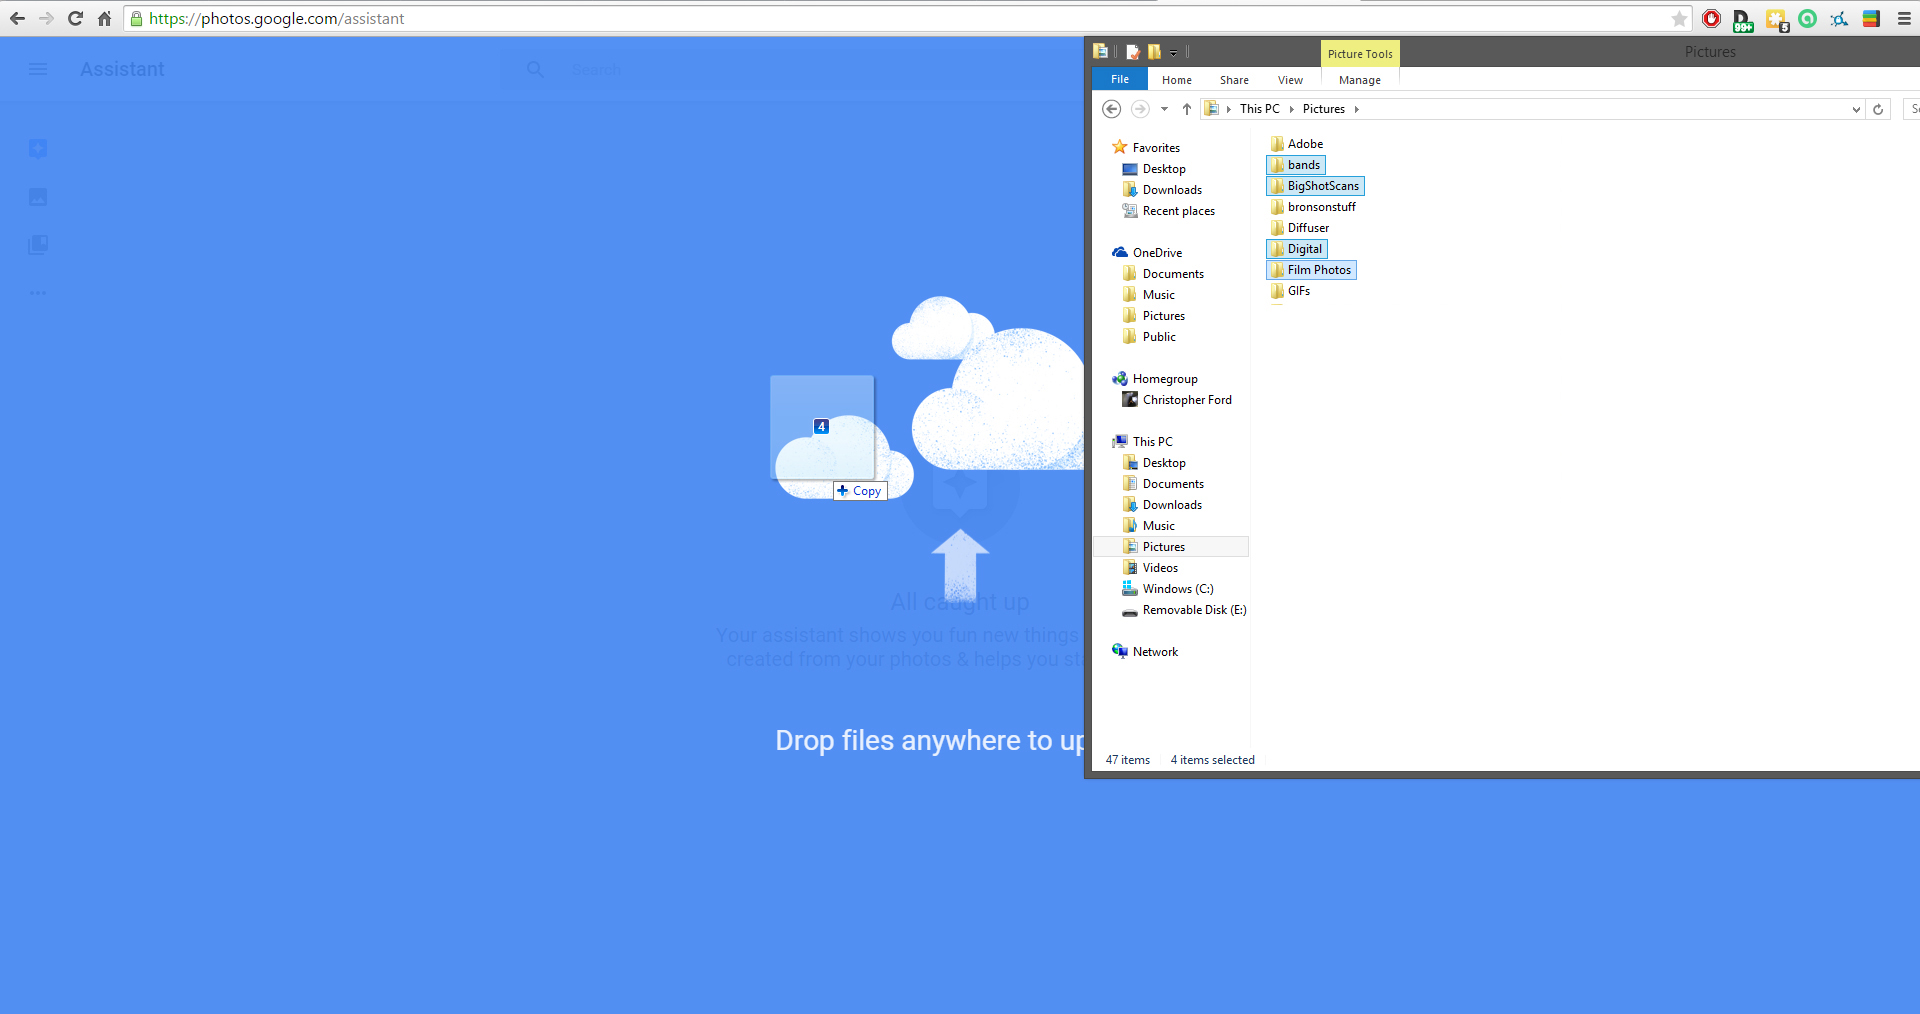
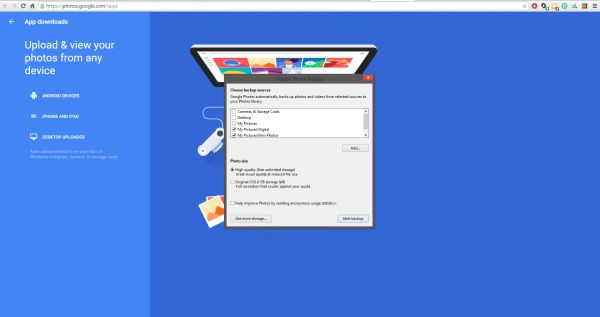
After doing some digging, though, I found the automatic uploader app for Windows and downloaded it. When I opened the app, it asked me to choose which folders I want to keep backed up, then it ran quietly in the background.
Organizing
After a few hours, I had between 4-5,000 photos uploaded. So I decided to look at my organizing options. Google will automatically organize all of your photos according to their dates. After that, I had a couple of options.
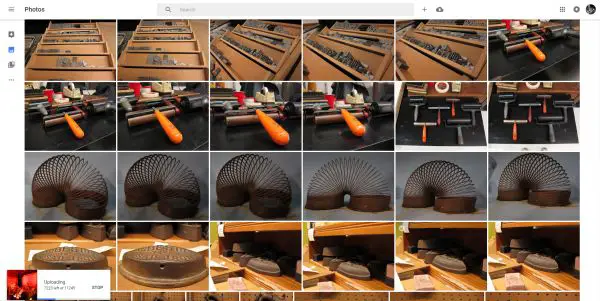
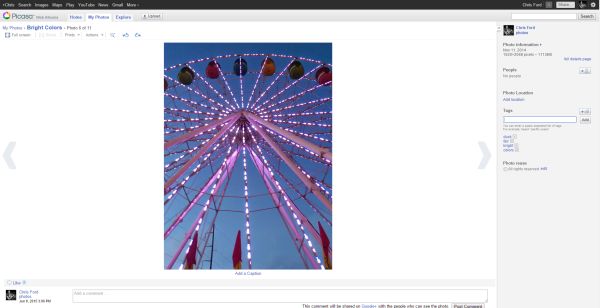
The first and easiest option to use is to place your photos in albums. Doing this is pretty simple. When you hover over a photo, a check mark appears in the upper-left corner. You can check every photo you want to group together. Then you click the “+” sign at the top of the page. From there, you can either see a list of all your albums or create a new one.
Organizing your photos this way is a tad bit tedious, and it isn’t the most comprehensive cataloging option. But you can place photos into multiple albums, so you can have albums based on events as well as albums based on properties like film photos, landscapes, night shots, etc.
The other, more comprehensive option is to tag your photos. Doing this, you can make your entire collection searchable by just about any criteria you want. This option is also tedious, but worth the time. The one drawback to this is that you can only tag photos through the Picasa app (which I did finally get to work).
Editing Tools
Google+ Photo does have some photo editing abilities, including adjusting brightness, hue and saturation, something called pop, which sharpens the image while adjusting the color, and adding a vignette. There are also a handful of filters, if you’re into that sort of thing.
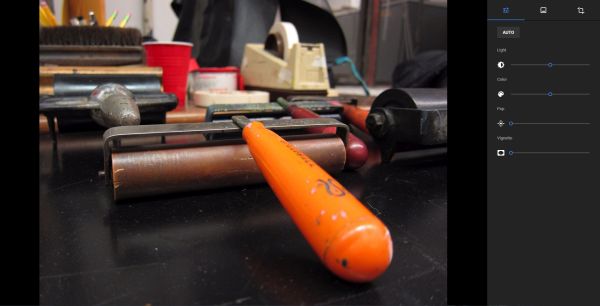
Google’s editor also has usable, albeit rudimentary, rotation and cropping abilities. I’m still waiting to find a web- or tablet-based photo editor that lets you crop with customized dimensions and resolution, though.
Bells and Whistles
Google also does some nifty tricks with your photos for you if you have the “Auto Awesome” featured enabled. If you upload a series of similar photos, it will sometimes, in what seems like a random way, put a handful of those photos together to make animated GIFs. You can make your own animations and collages, but oddly enough, you have to do that from an Android device, like a smartphone or tablet. Windows and iPhone users get left out in the cold.
They’re supposedly adding other options. This article at Lifehacker mentioned other effects, such as animated falling snow, panoramas and the ability to edit objects out of pictures. I didn’t find any of those options in my account, but it sounds like Google is rolling those options out slowly.
If you use lots of Google services, such as Gmail and Calendar, Google Photo will automatically arrange photos into albums using information from your email and calendar. My wife and I took a trip to Las Vegas last year. Our travel and hotel information were all in my email.
I took plenty of photos with my phone, which were automatically uploaded to my Google+ account. Google put most of those photos in an album for me automatically, labeled “Trip to Vegas.” It was kind of neat, but also kind of creepy.
Online Backup
Google+ Photo makes backing up your photos easy. You can set up automatic backup on your smartphone, tablet or computer without much hassle.
When you first start, Google will give you two options for file size. One option gives you unlimited storage, with the files being uploaded at a (potentially, depending on the photo) size. If you’re looking for a simple way to back up your photos for sharing and web use, this option will probably work fine for you. Google says on its website that it recommends this option for phone pics and point-and-shoot cameras.
The second option is to upload your original files as they are. With this option, the storage space comes from your Google Drive storage. If you’re shooting professional photos with large files and need the ability to access them remotely from the cloud, this option is probably your best bet. Every Google account comes with 15 gigabytes of space automatically, and their monthly rates to increase that are competitive with other popular options.
Should You Use It?
Well, it depends on what your cloud backup needs and restrictions are. If you want an easy way to access and share basic photos from anywhere and a way to keep them backed up without much thought, then Google will fill those needs.
If you lie more on the professional end, then you might want to compare prices. Tagging and organizing can be a bit tedious. But if you keep up with your tags and arrange your photos as you upload them, this won’t be too much of a problem. You can’t, as far as I could tell, tag multiple photos, but you can add photos to multiple albums. If you’re already heavily invested in the Google world, then Google Photos might be worth a try.
You can always organize your photos with a program like Lightroom. We’ve got a guide for that. And whether or not you decide to back up your work with Google or some other service, don’t forget to take some steps to prevent yourself from losing any important work. We’ve got a guide for that, too.


Thank you so much for nice article.