Product photography is one of the more technical types of photography. Whether I decide to shoot natural light or create in my studio, I need to be aware of and control everything in the area. Lighting, product position, depth of field, image stabilization, and the brand itself all come together in a product shoot.
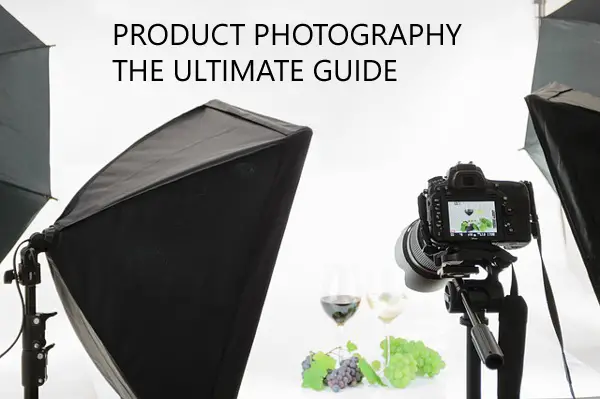
So what are the first things to consider if I decide to try a DIY product shoot? My tools, of course.
Which Product Photography Tools Do I Need?
Product photography is not only technical but particularly prop-heavy as well. We need to re-evaluate how we approach photography since most product shoots are essentially studio shoots.
The tools I need will depend mostly on the products I’m looking to showcase. If I want to sell grill supplies, I may not need an external flash because I’ll probably want to do an outdoor barbecue type shoot. But if I’m doing jewelry photography (or I want to isolate my grill tools in a lightbox) then I will undoubtedly need that flash unit. But let’s start with the tools every wannabe product photographer should consider.
Tripod
A tripod is a standard tool in the photographer’s arsenal as it provides the best possible image stabilization. Shooting handheld is not recommended with products because I want the sharpest images I can create. Even with image stabilization built into many cameras, sometimes they don’t compensate as well as possible.
Also, keep in mind product photos are almost certainly going to need cropping and editing. If the resulting product shots become fuzzy around the borders when I try to cut and zoom in on details, then they aren’t very flexible.
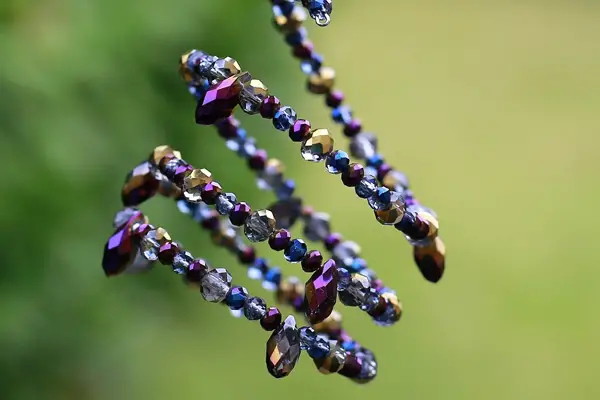
Image courtesy of Pixabay
Remote Shutter
A remote shutter is also useful for the same reason. If I jostle the camera while clicking the shutter, then blur is introduced even if I’m using a tripod. With these two tools, I can eliminate nearly every source of motion blur from my photographs!
Flash Units
Flash units are another essential tool for the product photographer. I need to ensure even lighting across the entire scene. Also, the natural light photographer should get acquainted with the flash unit in case the lighting doesn’t entirely cooperate as planned.
Manual flash is the best choice for a product shoot because Auto or TTL flash is set by the camera’s exposure metering system. This may or may not be the amount of lighting I need. And if I haven’t adjusted the metering properly then my results will vary tremendously.
If I’m more concerned about lighting up the subject rather than the surroundings or background, then I would use spot metering. If I want a well-exposed background, then I would choose center-weighted or evaluative (matrix) metering.
Lightbox
And last but certainly not least, I would consider buying or building a lightbox. Since this is an article on DIY product photography, let’s look at how to make one ourselves.
Building a Light Box
A lightbox is a potent tool that gives my images a clean, professional flavor with very little money and time needed. The main components are a background of poster paper, a box to act as a frame, white fabric, clam lamps, and bulbs for those lamps. I’ll also need scissors, glue, tape, and a ruler or tape measure.
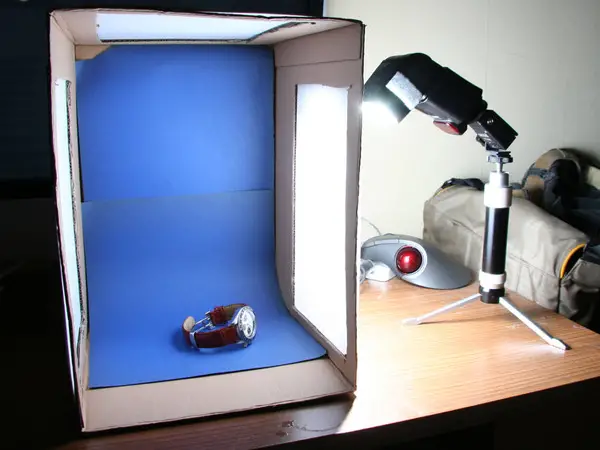
The box that will act as a frame can be constructed of cardboard. It should be large enough to fit the products I intend to shoot. If using a cardboard box, then I need to cut out most of the sides of my lightbox. Leave 1-2 inches of the exterior to act as a cardboard frame and remove the flaps from the open top. The top will become the front of my lightbox. The other sides of the box should remain uncut as well. I should now have an open-faced box with two open sides but intact edges for light to enter. The top, bottom, and back side are still intact for now.
Choose a paper color based on the background you prefer. Or even multiple colors. Black and white are the most common, but there’s no reason I can’t use red or blue if that’s the flavor I seek to create. White Bristol board is a heavyweight paper that works particularly well for this.
The key here is creating the illusion of an infinity curve with our background. This is done by taping the poster paper on one edge to the top back corner of the box. Then I allow the paper to gently curve towards the front of the box and leaving it unattached at the front. When I photograph products from the front, the background will appear to be an evenly lit space.
Next, I need to place fabric over the holes I’ve created. The fabric acts as a light diffuser and cuts down on the harshness of the direct lighting from my clamp lamps. Diffused light is scattered and helps fill in shadows created by uneven surfaces on my product to photograph.
Last, I set up my lamps. Ideally, I have a stand for the lamps but if not simply stack some bricks or something similarly heat resistant (lamps can get quite hot). The strength of the bulbs needed depends on how large my DIY light box is.
It is much better to have too much light rather than too little. Two 100 watt bulbs are ideal as long as I choose a color like natural sunlight or natural white. Many incandescent bulbs sometimes have a yellowish cast. The white fabric helps mitigate that but go with as white a light as you can. Fluorescent and LED lights can also be used as long as they are bright enough and I have the right type of fixture to power them.
If I still feel I don’t have enough light, then the best thing to do is to cut a hole in the top of the light box for a third light fixture. Don’t forget to add white fabric as needed to diffuse the light and keep things looking nice and even. Product photographers often use clear plastic pedestals for jewelry and other small objects.
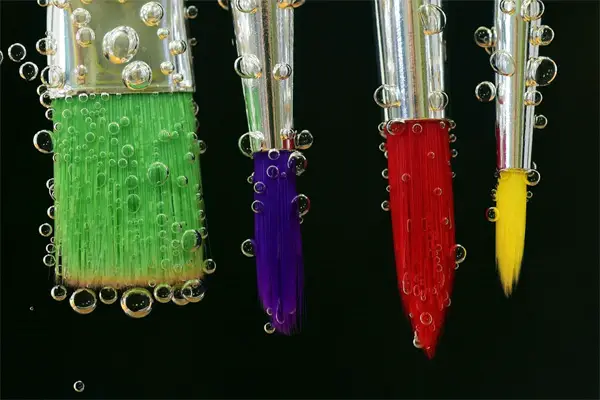
Image courtesy of Pixabay
Depth of field control
Of all of the composition elements in product photography, depth of field may be the most impactful. So what is depth of field? It’s the amount of a scene that is in sharp focus.
If my depth of field is small, then only a single subject or a portion of a subject or subjects are in focus. The photo will have a tiny slice of scenery that’s sharp while the background and possibly even foreground elements will be blurry.
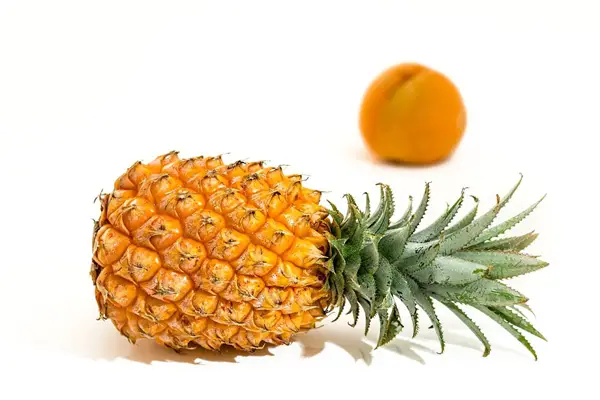
Image courtesy of Pixabay
If I’m using a significant depth of field, then more and more of a scene will be in sharp focus. Landscape photographers tend to use large (or wide) depths of field while product photographers usually use small (or narrow) depths of field. And this property is controlled by the aperture setting.
Essentially the aperture setting controls how large the hole in the lens that lets in light is. A large aperture hole allows loads of light and also creates a very narrow depth of field. A small aperture hole lets in less light and increases the depth of field.
Aperture is described in f/numbers. Say I’m doing a product shoot in a lightbox and I want to focus on solely the jewels of a ring while leaving the band blurred. I want a tiny f/number like f/1.4. Most cameras can create larger f/numbers, but small ones usually cost more. If a lens is rated as 18-55mm f/3.5-5.6, then it means this lens can only open as wide as f/3.5 at a focal length of 18 mm.
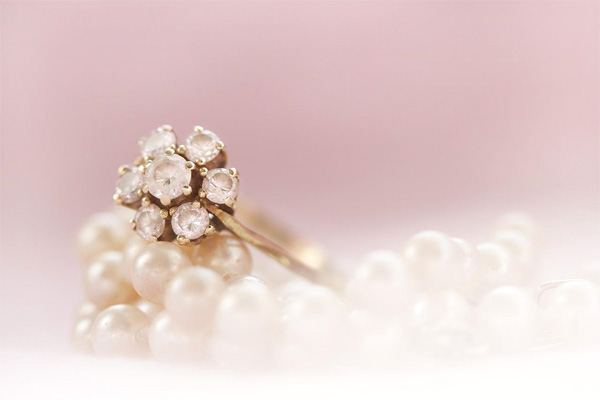
Image courtesy of Pixabay
For product photography, I might want something more like Nikon’s Nifty Fifty. Being a prime lens, it is fixed at a focal length of 50 mm, so it doesn’t zoom. But the aperture is fixed to f/1.8 which is a decent maximum aperture to use.
Best of all the Nifty Fifty (Nikon AF FX NIKKOR 50 mm f/1.8) is incredibly inexpensive. It also makes a decent portrait lens so long as I don’t mind standing a little far back from my subjects. If you can afford something even wider like f/1.4, even better.
Conclusion
Product shoots can be a bit frustrating at first, especially if new to photography. A strong foundation with the Exposure Triangle of aperture, shutter speed, and ISO will go a long way in smoothing out initial frustrations. And will also help keep images as noise free as possible because image noise is just as bad as blur when it comes to ruining good product photos.
But following the steps above and bringing the right tools to the shoot will make the learning process as simple as possible. The story told depends on the brand and style of storytelling.
If I’m shooting a wallet, then I will want not just images of the product in a lightbox. Having a model pose while taking the wallet out of his pocket will also help solidify its identity and sell nicely.
So keep these techniques and tips in mind but don’t forget to think outside of the lightbox as well!


2 comments