Well, I certainly hope you all enjoyed part 1 and have managed to take some stunning photographs of our Milky Way!
Photographing stars offers the exact same concept as shooting the Milky Way, but with this, there are a lot of different principles that come into play.
The Foreground
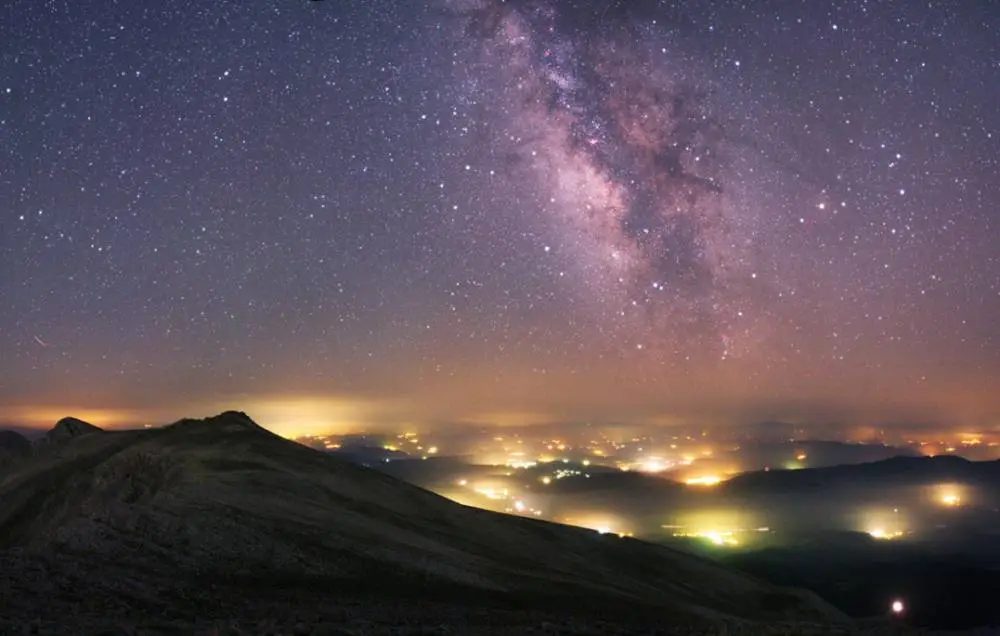
Stars on their own are rather dull and don’t really make for a great photograph. So it is important that the foreground of the image be taken quite heavily into account, as this will be where you’ll get your composition, leading the viewer up and into the main subject of the photograph.
A good foreground is key. This can be hard to find as, a lot of the time, you’ll need as few distractions as possible, but with clever skill, you can achieve that perfect balance.
Framing
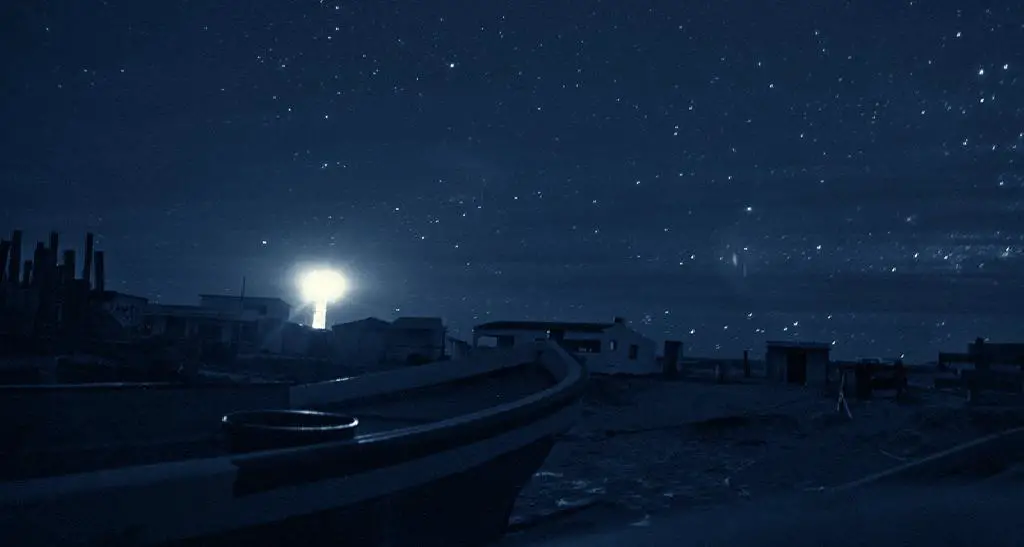
The foreground has to be thought of as a frame. This can be simply with the ground supporting the sky, perhaps just taking up a third of the bottom, or you could be looking up through some trees with your camera positioned perfectly vertical. That way, you can use the leaves or branches of a tree to frame the image. Of course, this can come with the added problem that, as stars require long exposure, trees and other non-stationary objects will appear to be blurred. So how do you get around this?
There are several ways. Some can be done at the time of the shoot, and others can be taken at home on your computer. But perhaps the best way is to keep it on location.
But here is a sequence that I stick to, as it certainly helps me to make sure I cover all of the tracks and end up with decent images. Of course, this sequence came from a lot of personal experimenting, so I urge you to do that, too, but, for time and effort, this, for me, is the best way.
Step 1
Once you have found the perfect place to photograph the stars with your framing option, set up some outdoor lighting to illuminate the tree, leaves or branches that you want to use as your frame. Position your camera and take a multitude of photographs at varied ISOs.
This will ensure that, when it comes to post, you have plenty of options.
Step 2
Now, you can use some of the principles from part 1, Photographing the Milky Way, or follow these guidelines:
- Mount the camera on a sturdy tripod. Load the camera with high-speed (at least ISO 200) film, or set the digital-camera speed to between 200 and 800. (400 film speed and higher will be noticeably grainier.)
- Turn off the autofocus mechanism and manually set the focus ring of the lens to just before infinity (or landscape/distance autofocus setting). If you are including a foreground in your image, make sure to take two images, one with the stars in focus and one with the foreground in focus. These can be combined later in most editing programs.
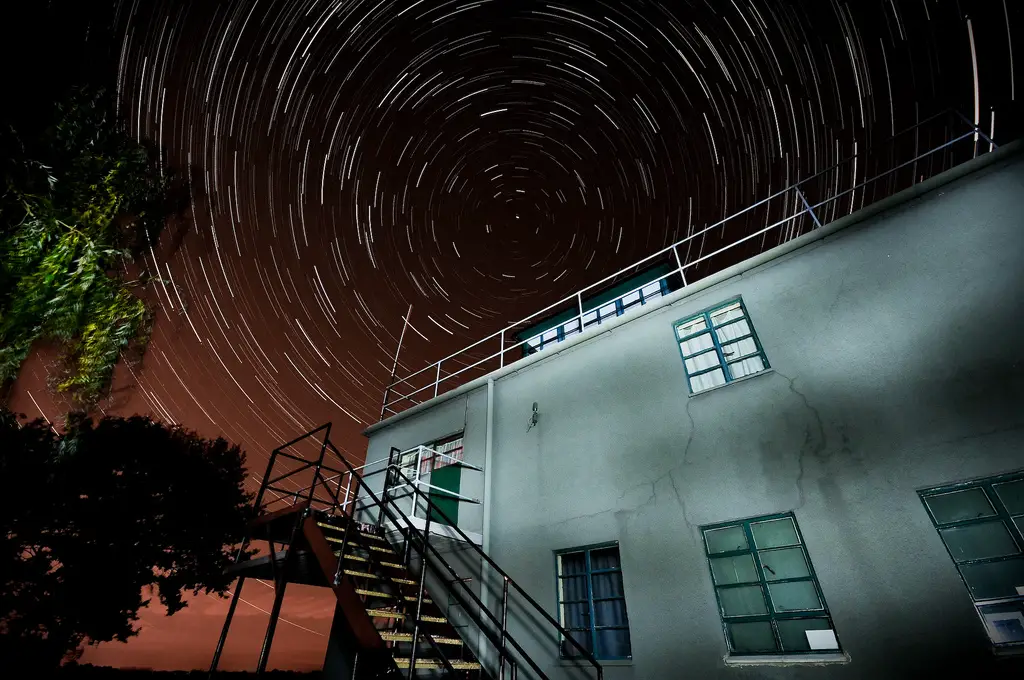
- Set the shutter speed to either the bulb setting or a range of settings between about two and 30 seconds.
- Point the camera at the desired area of the sky, trip the shutter (preferably using a cable release or the camera’s self-timer, in order to minimize vibration) and keep the shutter open for the desired length of time.
- Set the widest aperture, lowest f-stop for your lens.
Step 3 (optional)
Now take your images home and open them in Photoshop. Using the layers tool, combine each image so that you get your framed shot of leaves, trees or whatever it is that you wanted to use, and combine them to make one image, working your way through the blending tools until you find the right kind of look. Then, with the eraser tool, delete all of the overlay.
Warning: Deciding to use option 3 is cheating! This is not photography, but in fact, quite simply, visual artistry. Don’t be deceptive when people ask you how you achieved this amazing photograph. Be honest, and share the technique. A lot of photography computations would never allow such an image to be entered, so make sure that, if you plan to do anything with this photograph, you do so with complete transparency.
Photographing the stars without using option 3 and getting an image that looks great will give you so much more satisfaction. An 8-year-old with no photography training or practice could create such an image on his computer, and personally, I feel that Flickr and other portals are flooded with too much of this deception. This makes it too hard to tell who the ones are cutting the corners or who the ones are spending up to 4 hours outside in the cold, trying desperately to get their perfect images.
In part 3 next week, we’ll look at ways to photograph the moon at night! As always, if you happen to have any questions or examples of star photography you’d like us to see, please feel free to leave links below.


Is this a new post? Seriously ISO 400-800? I have a 6D that I can use at ISO 3200 with no issues on noise, probably could push it to 12800. One thing I didn’t notice mentioned is light pollution which is seriously something to consider.
Step 3 is cheating???? Ansel Adams would have probably never sold a print without the darkroom version of step 3. Get serious !!